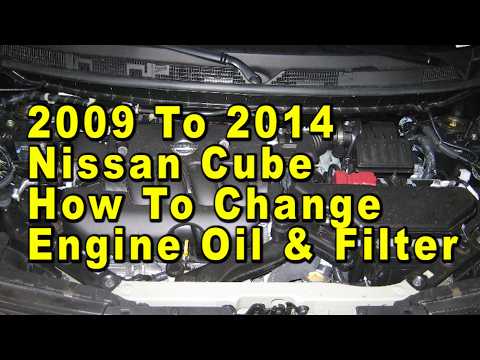
Quick answer: Engine Air Filter Replacement on a 2009–2014 Nissan Cube is rated Easy and takes about 10 minutes. Parts cost about $35. This guide walks you through the full job step by step, including the mistakes to avoid.
| Part Name |
Part Number |
Price |
Buy |
| Engine air filter for 2009-2014 Nissan Cube; verify engine, housing shape, and VIN fitment |
— |
$35.00 |
|
About prices: shown prices are typical retail averages and change frequently; cheaper alternatives may be available. Confirm the current price before buying.
💡 Pro tip: Order all parts at once to save on shipping
Step-by-Step Instructions
Follow these steps carefully
1
Open the hood and find the airbox on top of the engine
Park, set the parking brake, switch the engine off. Open the hood: the black airbox sits on top of the 1.8L MR18DE engine. Give it a few minutes to cool, then wipe the dust off the lid seam.
2
Flip open the spring clips around the lid
Flip open each spring clip around the lid — the Z12 Cube uses clips only, no screws. If a clip feels stuck, wiggle it side to side rather than forcing it upward, which can crack the plastic catch.
🔧 Mechanic's note — Ray Delgado
These little spring clips are what separate a five-minute job from a cracked airbox — if one feels stuck, wiggle it side to side and never lever it upward. I see snapped catches on these more than any other car.
3
Lift the lid away — the filter rides in the lid
Lift the lid up and off — the panel element is held up inside the lid by retaining clips, so expect the dirty filter hanging in it. If the lower housing feels loose, lift it off its grommets too.
4
Pop the old element out of the lid and inspect it
Press the old element out of the lid's clips and lift it free. Inspect it against daylight. Note the orientation — which face pointed down and any airflow arrow on the frame — because the replacement must sit exactly the same way.
5
Clean the housing and cover the intake opening
Clean the inside of the lower housing and the lid underside, removing grit in the corners. Before wiping near the intake duct, drape a cloth over the duct opening and the MAF area — and do not touch the MAF's sensing element.
🔧 Mechanic's note — Ray Delgado
In my experience, That drape-a-cloth trick over the duct opening is mine from years of finding sand in throttle bodies — five seconds of prevention beats an afternoon of rough-idle diagnosis.
6
Press the new filter into the lid and refit it
Press the new filter up into the lid's retaining clips until it sits flat all around with no bowed or sagging edge. Set the lid back onto the lower housing and confirm the filter's frame drops squarely into the base channel.
7
Latch every clip and verify with a test run
Flip each spring clip back over its catch until it snaps shut — a single open clip lets dusty air bypass the filter. Start the engine and idle, listening for hissing. Take a drive to confirm no warning lights.
All Done!
Test your repair before closing everything up. If something doesn't work right, double-check your steps.
⚠️ Common Mistakes to Avoid
- • Trying to pry the lid off with a screwdriver instead of simply flipping the spring clips — the Cube's lid needs no tools at all.
- • Installing the new element into the lower housing instead of pressing it up into the lid, where the retaining clips actually are.
- • Reinstalling the housing without checking that the intake duct seated fully onto its port, leaving a vacuum leak downstream of the filter.