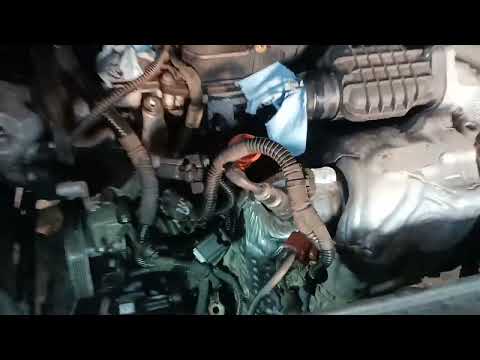
Quick answer: Alternator Replacement on a 2008–2015 Nissan Rogue is rated Moderate and takes about 1-2 hours. You'll need 6 tools for this job, and parts cost about $382. This guide walks you through the full job step by step, including the mistakes to avoid.
| Part Name |
Part Number |
Price |
Buy |
| Remanufactured Alternator (2.5L QR25DE, 12V 110A; 2008-2011: Nissan 23100-AU40D Hitachi-type; 2012-2015: 23100-JA02C Valeo-type — match your connector before buying) |
— |
$337.00 |
|
| Serpentine Drive Belt (inspect; replace if cracked or glazed) |
K060711 |
$45.00 |
|
About prices: shown prices are typical retail averages and change frequently; cheaper alternatives may be available. Confirm the current price before buying.
💡 Pro tip: Order all parts at once to save on shipping
Step-by-Step Instructions
Follow these steps carefully
1
Disconnect the battery
With a 10mm wrench, loosen the negative (-) terminal clamp, remove the cable, and tuck it where it can't touch the terminal. Do this first — the alternator's B+ terminal is always live.
🔧 Mechanic's note — Ray Delgado
I do the battery first, every time — that B+ stud is unfused and live even with the key out, and I've seen one slipped wrench to ground cause an arc flash and a melted harness.
2
Note the belt routing, then remove the drive belt
Photograph or sketch the serpentine belt routing before you touch it. Put a breaker bar on the automatic belt tensioner to release tension and slip the belt off the alternator pulley.
🔧 Mechanic's note — Ray Delgado
That belt-routing photo takes five seconds and saves me an hour — every engine bay looks obvious until the belt's off and I'm staring at eight pulleys wondering which way it went.
3
Disconnect the alternator electrical connector
Unplug the field/signal connector from the back of the alternator.
4
Remove the B+ terminal nut and harness
Remove the nut on the 'B' terminal and lift off the harness ring terminal. Keep the stud covered once exposed — it is unfused battery-positive.
5
Remove the harness bracket
Unbolt the small wiring harness bracket from the alternator body.
6
Remove the upper mounting bolt
Remove the upper alternator mounting bolt.
7
Remove the lower mounting bolt
Remove the lower alternator mounting bolt. The alternator is now free.
8
Lift the alternator out
Lift the alternator upward out of the engine bay. If it catches, rotate it slightly rather than prying against the radiator or wiring.
9
Install the new alternator
Lower the new unit into place, start the upper and lower mounting bolts by hand so nothing cross-threads, then snug them. Refit the harness bracket.
10
Reconnect the wiring
Reinstall the B+ harness and its nut, tightening carefully and only snugly — the factory service manual specifically warns against overtightening this stud. Reconnect the electrical connector.
11
Reinstall the drive belt
Route the belt per your photo, release the tensioner, and confirm the belt sits squarely in every pulley groove.
12
Reconnect the battery and verify charging
Reconnect the negative battery cable and start the engine; the battery warning light should be off, and a voltmeter across the terminals should read roughly 14.1 to 14.7 volts at idle. Recheck belt seating after a short drive.
All Done!
Test your repair before closing everything up. If something doesn't work right, double-check your steps.
⚠️ Common Mistakes to Avoid
- • Buying the wrong alternator: 2008-2011 Rogues use the Hitachi-type unit (Nissan 23100-AU40D); 2012-2015 use the Valeo-type (23100-JA02C) with a different connector. Match your old unit's connector before ordering.
- • Skipping the battery disconnect. One brush of a wrench on the live B+ terminal arcs hard and can fry the new alternator or wiring.
- • Forgetting the belt routing. The Rogue uses an automatic tensioner, so routing is the only thing to get right: photograph it before removal.
- • Overtightening the B+ terminal nut. The factory manual calls out careful tightening here: the stud snaps if you lean on it.
- • Reinstalling a cracked or glazed belt. The belt is already off: replace it now instead of doing this job twice.
- • Driving off without verifying output. A voltmeter check (about 14 volts at idle) takes 30 seconds and confirms the repair.