Quick answer: Oil Change on a 2012–2017 Toyota Camry is rated Easy and takes about 35-50 minutes. You'll need 6 tools for this job, and parts cost about $35. This guide walks you through the full job step by step, including the mistakes to avoid.
Oil spec
2.5L 4-cyl (2AR-FE)
Capacity 4.6 qt with filter Viscosity 0W-20 (alt: 5W-20) Spec ILSAC GF-5
| Part Name |
Part Number |
Price |
Buy |
| Synthetic Oil 0W-20 (5 quarts) |
— |
$28.00 |
|
| Oil filter cartridge element kit |
— |
$7.00 |
|
| New oil drain plug gasket |
— |
— |
|
About prices: shown prices are typical retail averages and change frequently; cheaper alternatives may be available. Confirm the current price before buying.
💡 Pro tip: Order all parts at once to save on shipping
Step-by-Step Instructions
Follow these steps carefully
1
Warm up and confirm the cartridge setup
Drive the Camry for five to ten minutes so the oil flows freely, then park on a flat surface, set the parking brake, and chock the wheels. The 2012–2017 Camry’s 2.5L 2AR-FE engine uses a cartridge-style filter inside a plastic housing underneath the engine — so buy a cartridge element kit (element plus O-rings) and the 64 mm 14-flute cap wrench made for Toyota cartridge housings before you start. Pop the hood, find the fill cap on the valve cover, and loosen it to vent the crankcase. Confirm the exact oil weight and capacity in the owner’s manual and on the filler-cap stamp; do not rely on memory.
2
Lift and access the under-engine panel
Raise the front on ramps or with a floor jack and rated jack stands. Identify the oil pan and its 14 mm drain plug, and the black plastic filter housing mounted on the lower side of the engine nearby.
3
Drain the oil pan
Slide the drain pan under the drain plug. Break the 14 mm plug loose with a socket, then unthread it by hand, keeping inward pressure so it does not drop into the hot oil.
🔧 Mechanic's note — Tom Becker
I keep inward pressure while unthreading the plug — I've dropped a drain plug into hot oil before, and fishing it out is exactly as fun as it sounds.
4
Drain and remove the cartridge housing
Then seat the 64 mm 14-flute cap wrench on the plastic housing and turn counter-clockwise with a steady pull. A 12-point socket or strap wrench can crack the plastic, so use the proper fluted tool.
5
Swap the element and O-rings
Lift the old pleated element out of the housing and discard it. Coat the new O-ring with fresh engine oil and seat it in the correct groove. Fit the new element into the housing.
6
Reinstall the housing and drain plug
Over-tightening cracks the plastic housing, and a hairline crack becomes a pressurized leak. Thread the drain plug in by hand with its new gasket, then tighten with the 14 mm socket to the manual’s spec.
🔧 Mechanic's note — Ray Delgado
I thread the plug in by hand first — I've cross-threaded a plastic housing before, and the hairline crack became a pressurized leak within days.
7
Refill the oil
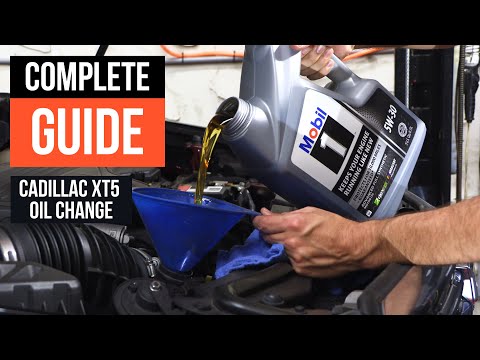
Refit the under-cover access panel and lower the car onto level ground. Pour the specified oil into the filler neck through a funnel, then seat the filler cap.
All Done!
Test your repair before closing everything up. If something doesn't work right, double-check your steps.
⚠️ Common Mistakes to Avoid
- • Cracking the plastic filter housing by over-tightening it past the manual’s spec.
- • Using a strap wrench instead of the 64 mm fluted tool, which damages the plastic cap.
- • Placing the housing O-ring in the wrong groove, causing a leak under pressure.
- • Forgetting to reinstall the housing’s small center drain plug before refilling.