The Summer Nightmare That Costs $1,500
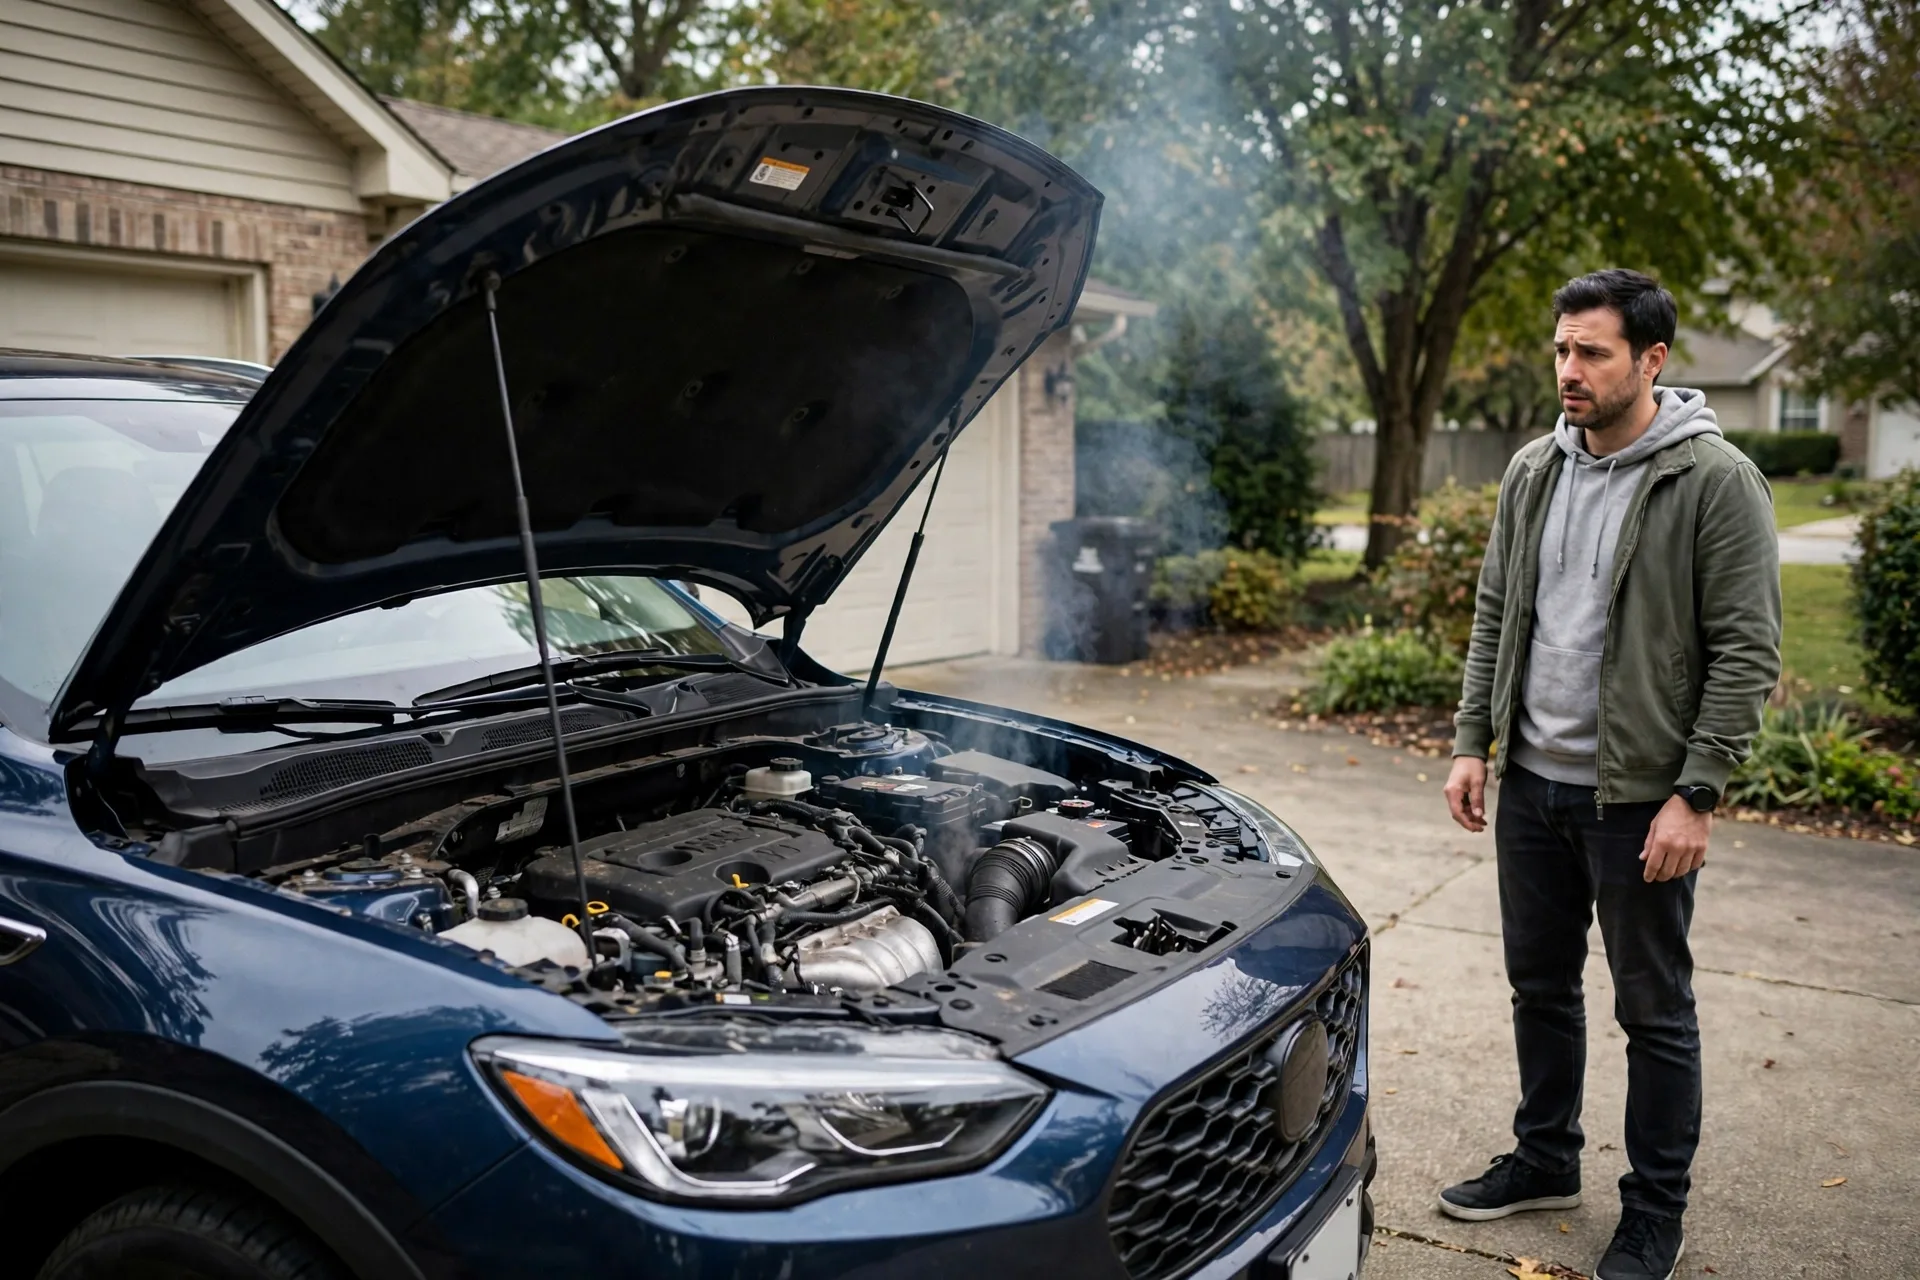
It's 95°F outside. You turn on your AC. Warm air blows out.
Could be (rough numbers — prices vary by vehicle and region):
- $40 refrigerant recharge (leak seal + refrigerant)
- $150 refrigerant leak repair
- $300 pressure switch
- $500 condenser replacement
- $1,500 compressor replacement
The problem? Most people (and some shops) just throw parts at it without proper diagnosis.
I've seen customers spend $500 on a compressor when they just needed a $30 relay. Or shops that charge $150 for "recharge" when there's a leak that will empty again in a week.
Let me show you how to diagnose AC problems systematically so you fix it right the first time.
How Car AC Works (Simplified)
Your AC system is a closed loop of refrigerant that moves heat from inside your car to outside.
Main components:
Compressor:
- Pump driven by engine belt
- Compresses refrigerant gas
- Raises pressure and temperature
Condenser:
- Radiator-like component in front of car
- Cools compressed refrigerant
- Turns gas into liquid
Receiver/Drier or Accumulator:
- Filters and stores refrigerant
- Removes moisture
Expansion Valve or Orifice Tube:
- Restricts refrigerant flow
- Causes pressure drop
- Refrigerant becomes very cold
Evaporator:
- Inside dashboard
- Cold refrigerant absorbs heat from cabin air
- Air blows across cold evaporator
- Cold air into cabin
How it works:
- Compressor compresses gas (hot, high pressure)
- Hot gas flows to condenser (cools down, becomes liquid)
- Liquid refrigerant through expansion valve (pressure drops, gets very cold)
- Cold refrigerant in evaporator (absorbs heat from cabin)
- Refrigerant returns to compressor as gas
- Cycle repeats
System must be:
- Sealed (no leaks)
- Properly charged (correct amount of refrigerant)
- All components working
Common Causes of AC Not Cooling
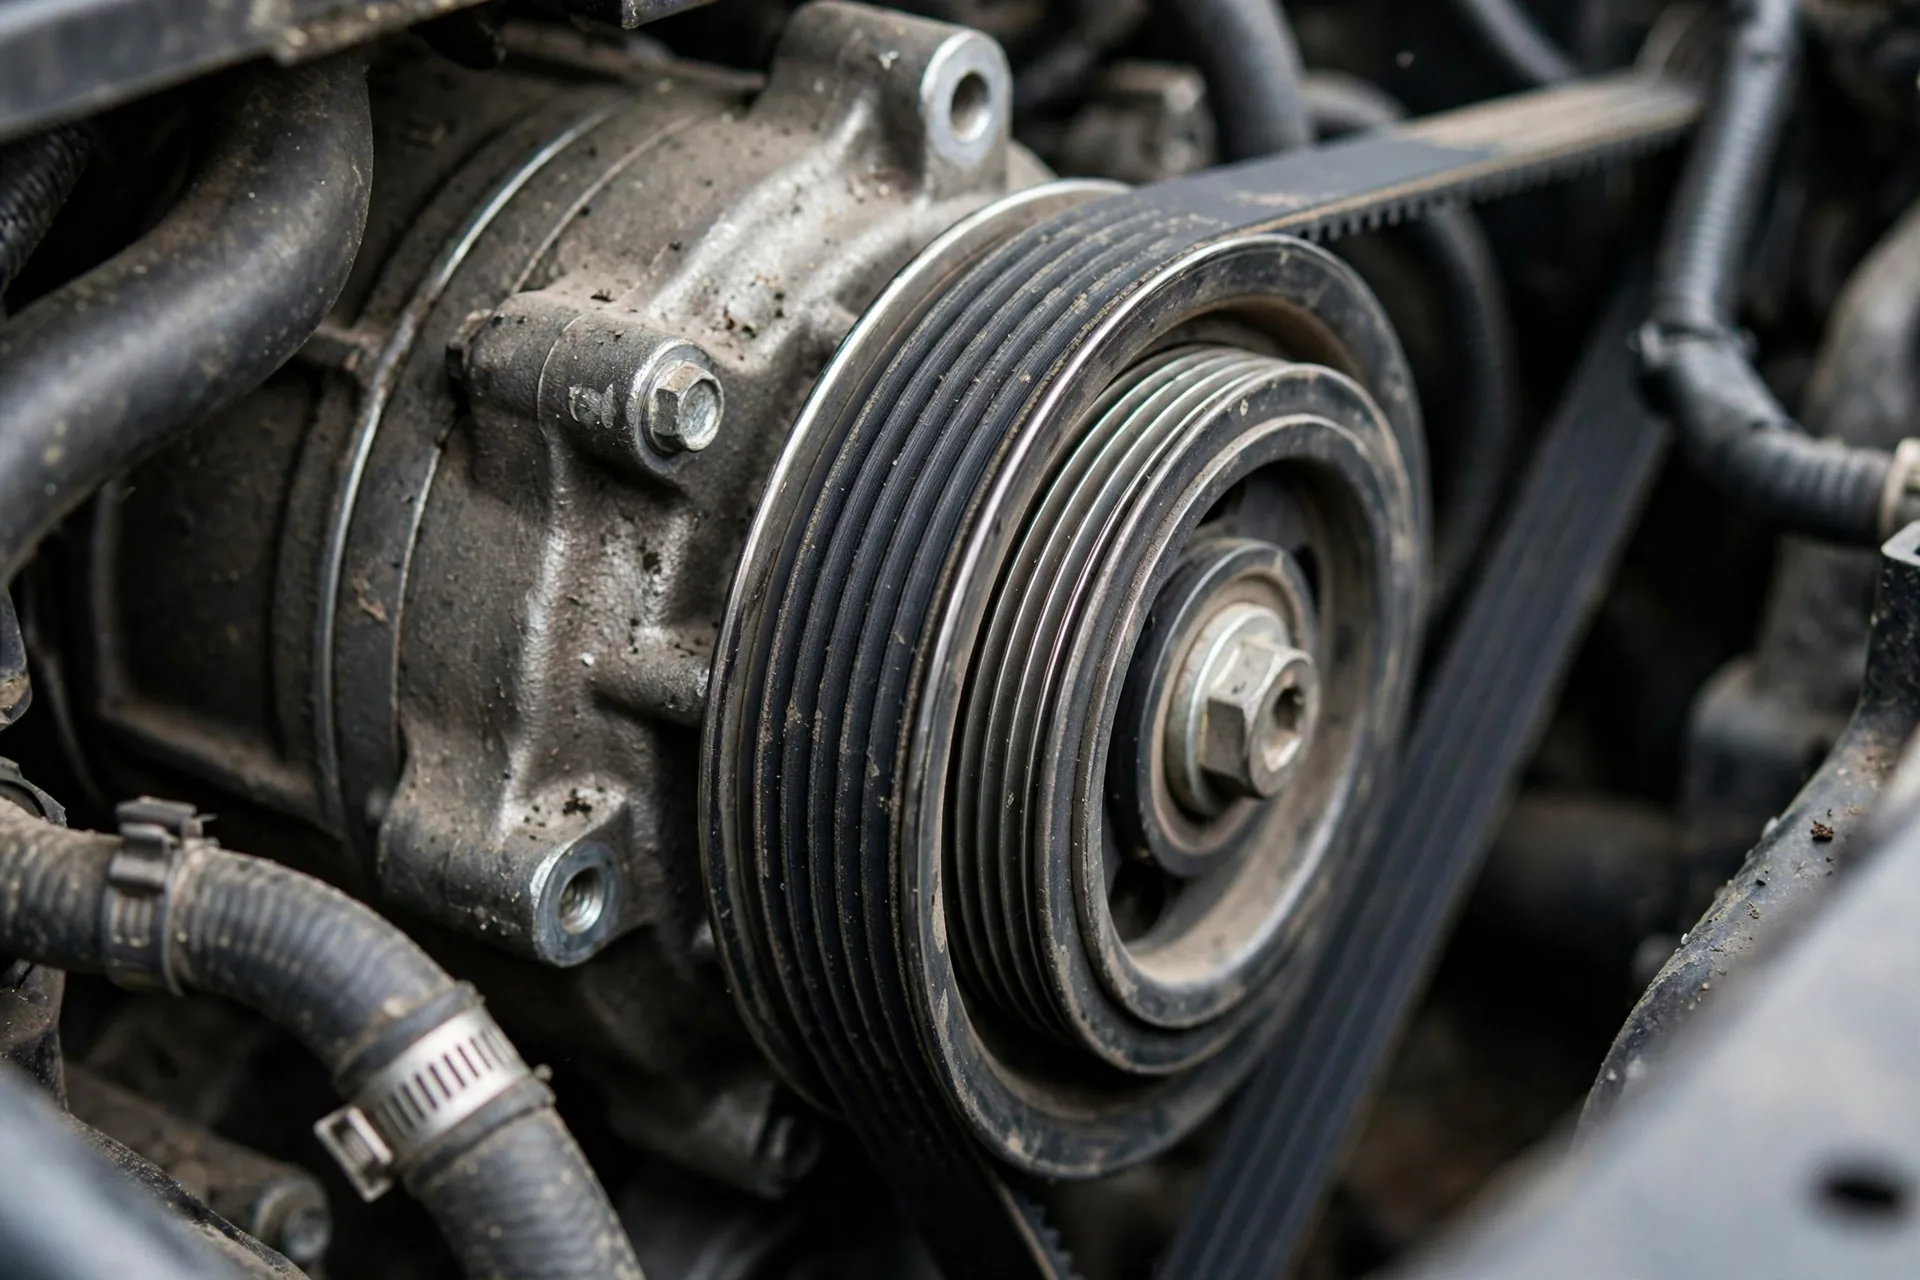
Related guide: 1990-1996 Chevrolet Lumina APV — Serpentine Belt Replacement — The belt drives the compressor — a glazed or slipping belt kills cooling before anything else fails.
Low Refrigerant (Most Common)
System has leak:
- Refrigerant leaked out
- System won't cool without refrigerant
- Need to find and fix leak
Common leak points:
- AC lines and hoses
- Compressor shaft seal
- Condenser (corrosion or impact)
- Evaporator (corrosion)
- Schrader valves (service ports)
- O-rings at connections
Signs:
- AC worked before, now doesn't
- Sometimes blows cold, then warm
- System only cools at highway speeds
Compressor Failure
Compressor won't engage:
- Clutch burned out
- Internal damage
- Seized bearing
Signs:
- Compressor clutch doesn't click on
- No sound when AC button pressed
- Belt squealing when AC on
- Metal shavings in system
Most expensive repair - $800-1,500+
Condenser Blocked or Damaged
Condenser can't cool refrigerant:
- Bugs and debris blocking fins
- Physical damage (road debris)
- Internal corrosion
Signs:
- AC works poorly
- High pressure readings
- Warm at idle, colder when moving
Electrical Issues
AC won't turn on:
- Blown fuse
- Bad relay
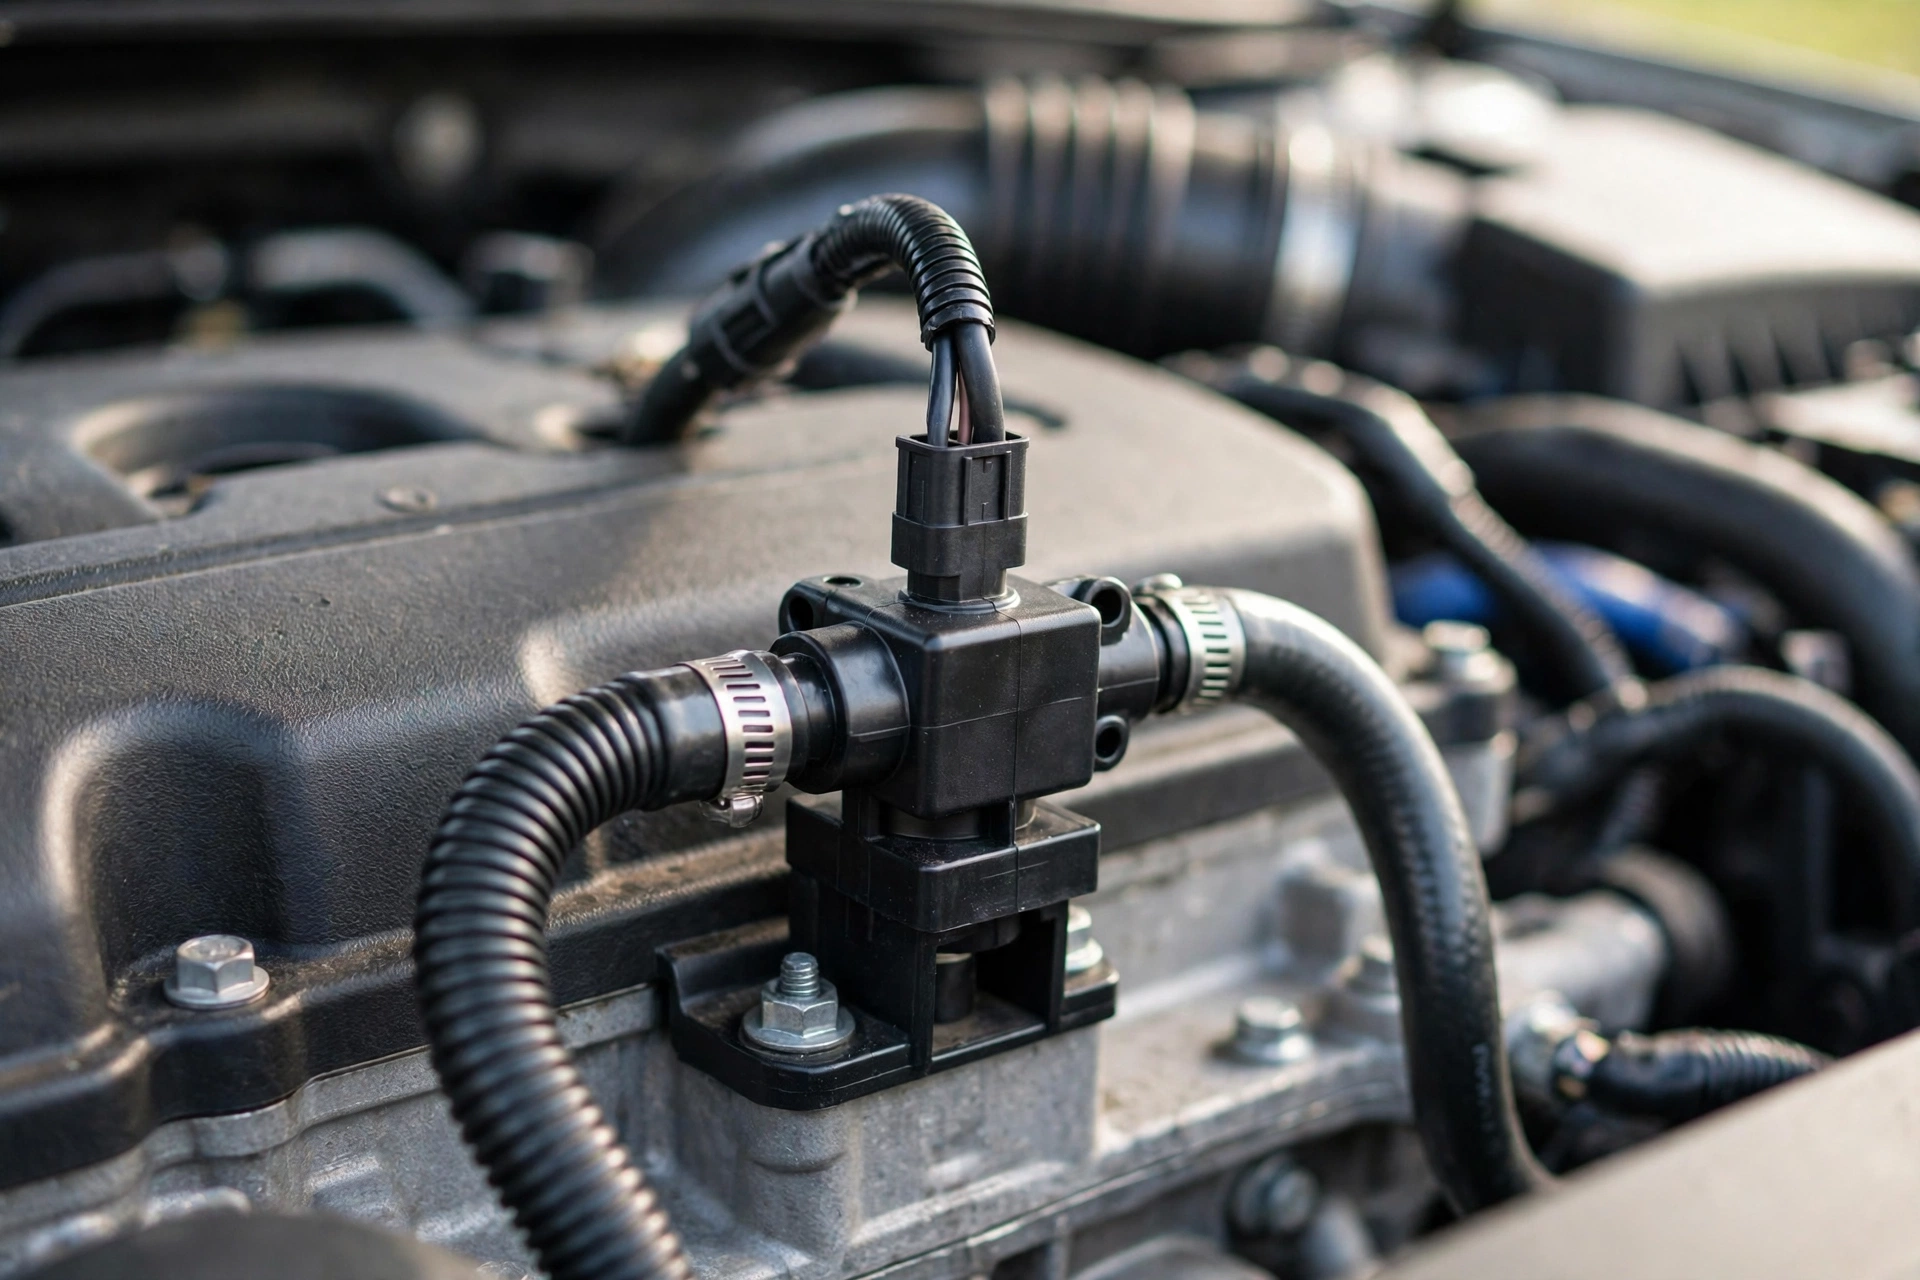
- Faulty pressure switch
- Broken wiring
Cheapest fixes if this is the problem
Blend Door Actuator (Not AC System)
Air mixes with heat:
- Blend door stuck
- Actuator failed
- Getting warm air mixed in
Sounds like AC problem but isn't
Signs:
- Clicking noise when changing temp
- Can't control temperature properly
- One side cold, one side warm
Diagnostic Steps (DIY)
Step 1: Check the Basics
Turn on AC:
- Max AC
- Recirculation on
- Fan on high
- Temperature to coldest
Listen:
- Does compressor click on? (You'll hear it)
- Does fan blow air? (Not AC issue if no air at all)
Look:
- Is compressor clutch engaging? (Front of compressor spins when AC on)
If compressor doesn't engage: Electrical problem, low refrigerant, or bad compressor
If compressor engages but air warm: Low refrigerant, bad compressor, or blockage
Step 2: Check Fuse and Relays
Locate AC fuse (owner's manual or fuse box diagram)
Check if blown: Replace if needed
Check AC relay:
- Swap with identical relay (horn, fuel pump, etc.)
- If AC works now, relay was bad
Cheapest fixes - fuse $2, relay $15-40
Step 3: Check for Leaks (Visual)
Look for:
- Oily residue on AC lines
- Oily area on compressor
- Damage to condenser
- Oil stains under car
Refrigerant is mixed with oil - leaks leave oily residue
If you see obvious leak: Need to repair before recharging
Step 4: Check Condenser
Look at condenser (in front of radiator)
Check for:
- Physical damage
- Bent fins
- Blockage (bugs, leaves, debris)
- Corrosion
Clean if needed - hose from back to front (gently)
Step 5: Professional Diagnosis
If above steps don't reveal problem:
Shop will:
- Check refrigerant pressure (low and high side)
- Vacuum system and check for leaks
- Use UV dye to find leaks
- Test compressor function
- Check electrical system
Proper diagnosis costs $80-150 but prevents wasting money on wrong parts
Pressure Readings (Advanced)
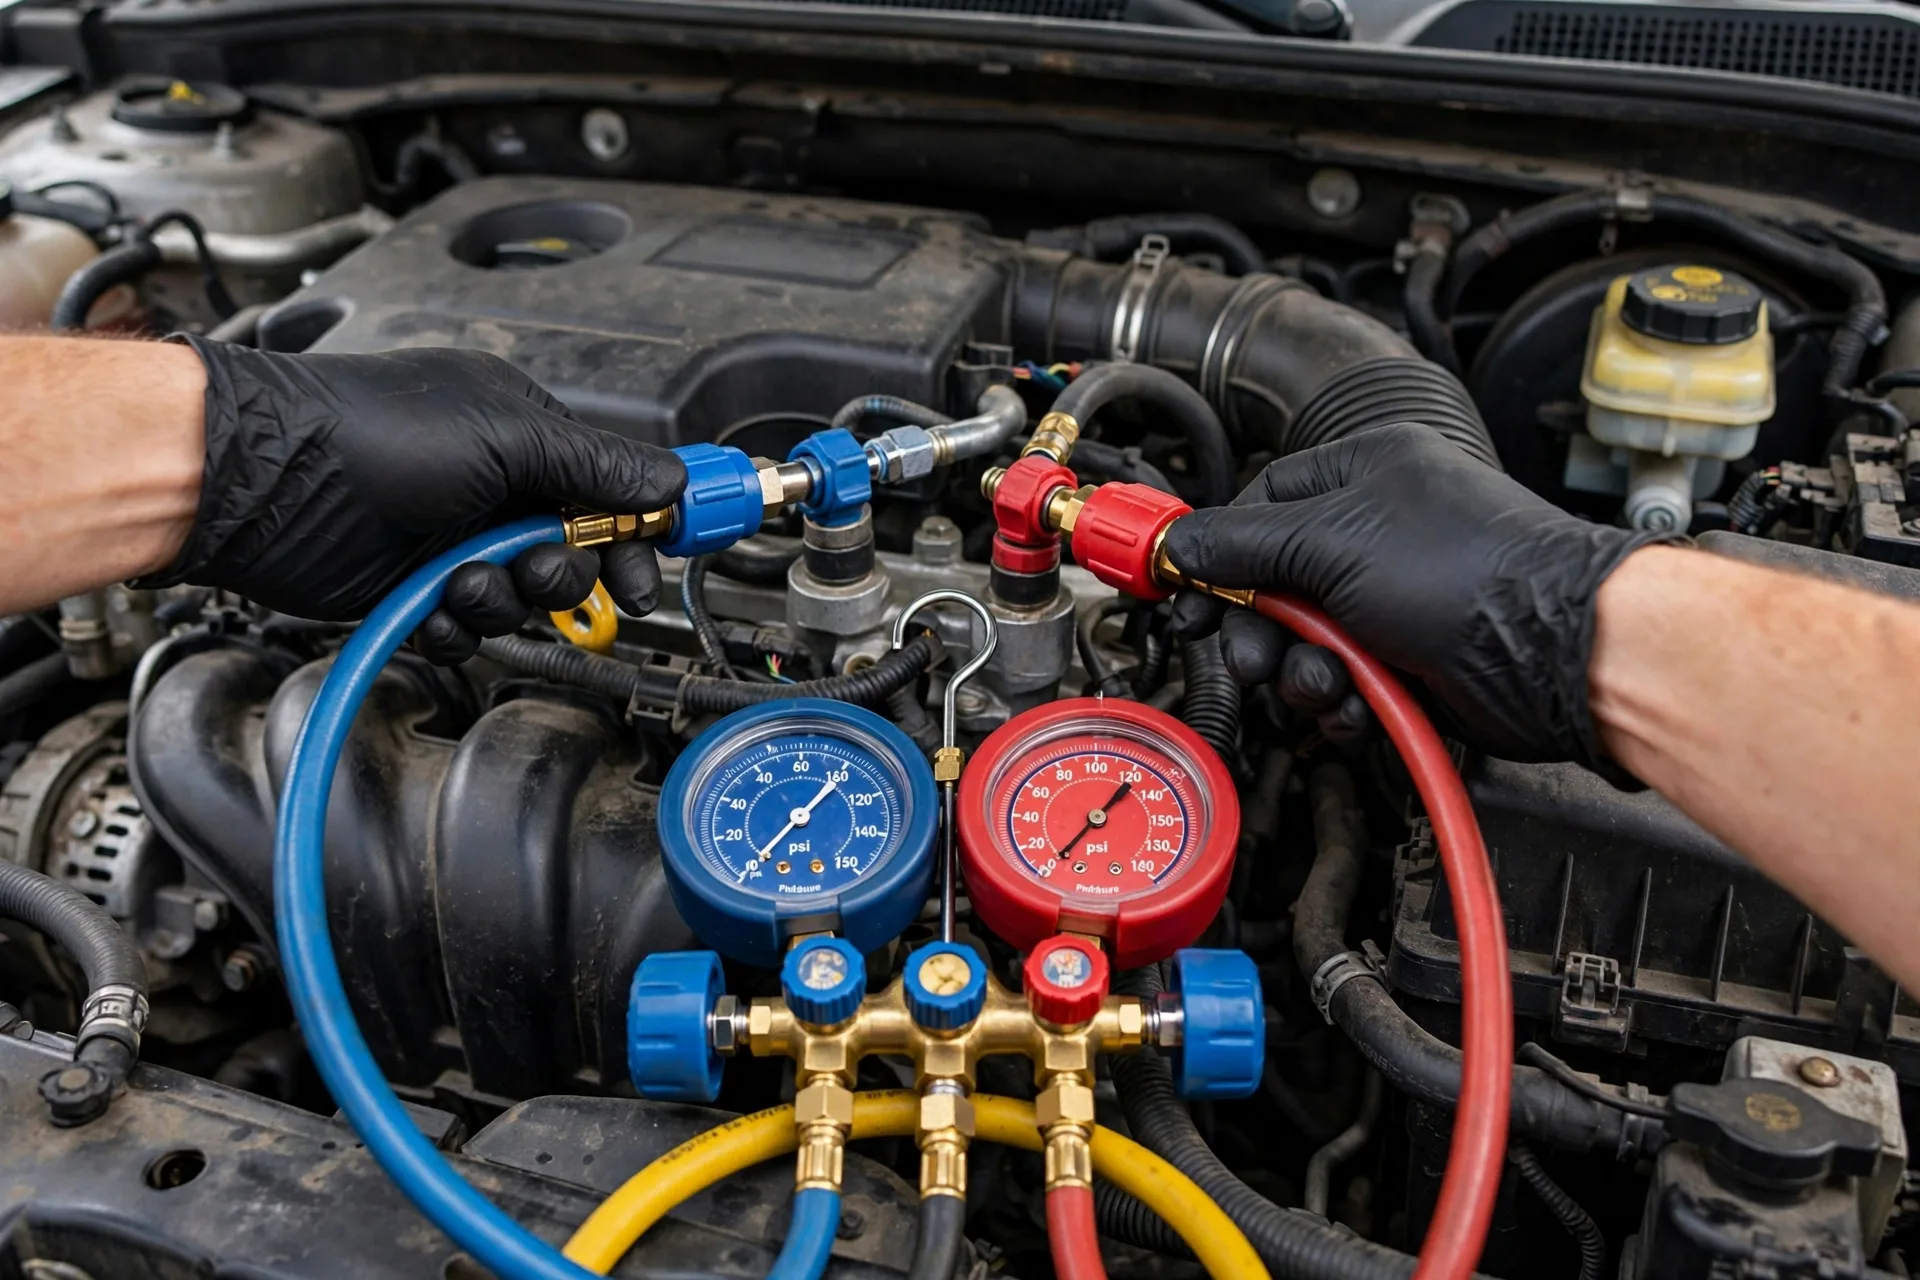
With AC manifold gauge set:
Can check:
- Low side pressure (suction)
- High side pressure (discharge)
Normal readings (80°F ambient):
- Low side: 25-45 PSI
- High side: 200-250 PSI
Both low: System undercharged (leak)
Low side high, high side low: Bad compressor
Both high: Overcharged or condenser issue
Low side very low or vacuum: Restriction (expansion valve or orifice tube)
Gauges cost $50-100 - useful if you work on AC regularly
Should You Recharge It Yourself?
DIY recharge kits ($40-60) available at auto parts stores
Pros:
- Cheap
- Easy
- Might work
Cons:
- Doesn't find leaks
- Can overcharge system (causes damage)
- Won't work if major component failed
- Refrigerant will leak out again if leak not fixed
When DIY recharge makes sense:
- AC worked last year, just needs top-off
- Very slow leak
- Quick fix for old car you're selling
- Emergency (heat wave)
When it doesn't:
- AC never worked
- Major leak
- Compressor not engaging
- System totally empty
My take: DIY recharge is temporary solution. Find and fix leak for permanent repair.
AC Recharge Process
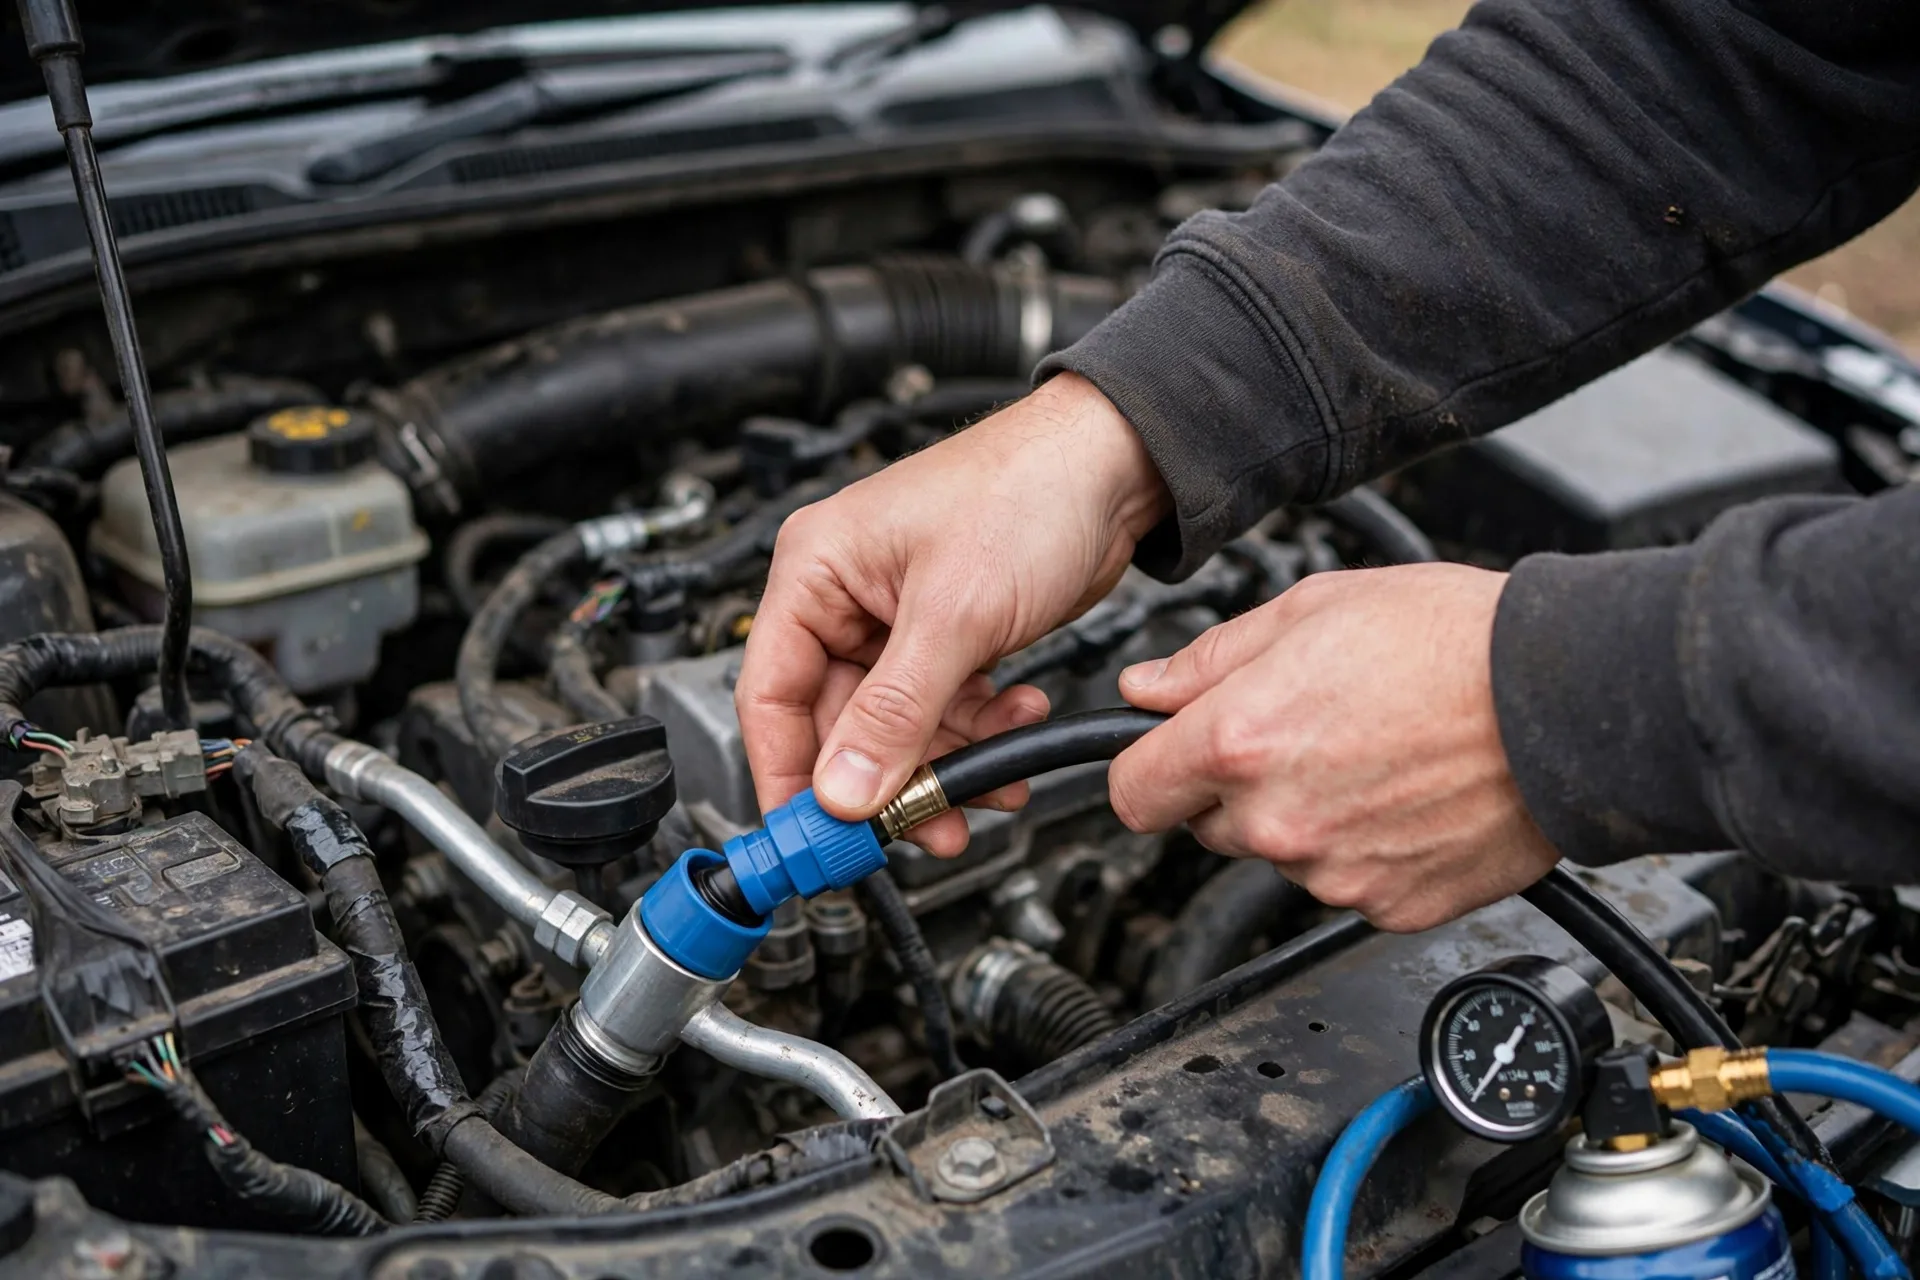
If doing it yourself:
- Buy correct refrigerant (R-134a for most 1995+ cars)
- Locate low-side port (larger of two ports, usually on larger line)
- Attach can and gauge
- Start engine
- Turn AC to max cold, high fan
- Add refrigerant slowly (engine running, AC on)
- Watch gauge - should be in green zone (25-45 PSI)
- Feel air temperature - should get cold
- Don't overcharge - follow gauge instructions
Important:
- Never use high-side port (dangerous pressure)
- Don't overcharge (damages compressor)
- Check temperature - if not cold after proper charge, system has other problem
Related guide: 1996-2014 Ford Econoline — AC Not Blowing Cold / Recharge DIY Guide | EZ Car Fix — Vehicle-specific AC recharge walkthrough with the right port locations.
Finding AC Leaks
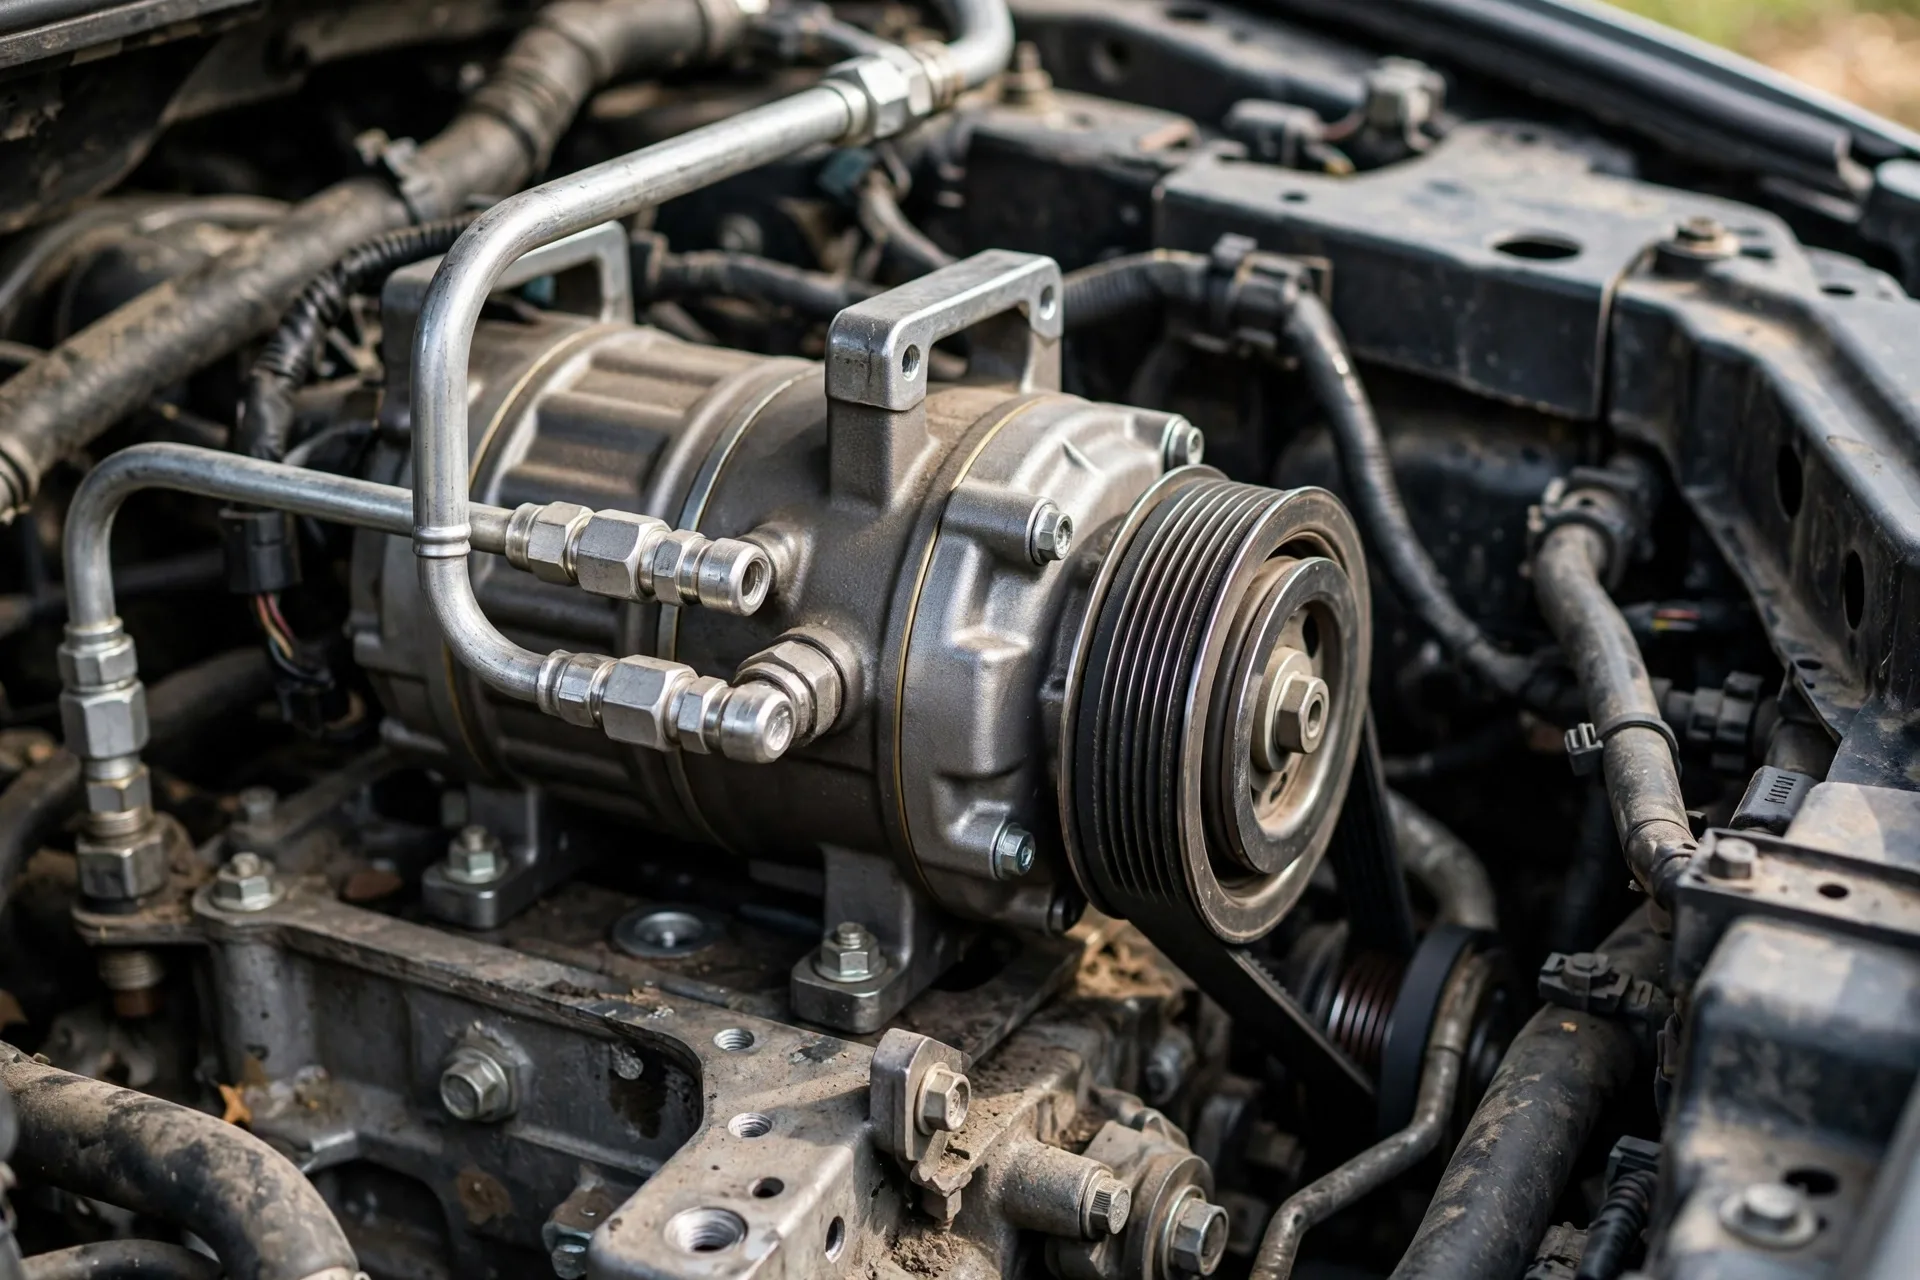
Methods:
UV Dye Method (Best)
Shop adds UV dye to system:
- Run AC for a while
- Use UV light to find dye leaking out
- Pinpoints exact location
Cost: $100-150 for dye service
Most accurate method
Electronic Leak Detector
Specialized tool sniffs for refrigerant
Can find small leaks that UV dye might miss
Shops have these - expensive for DIY
Soap Bubble Method
Spray soapy water on connections:
- Bubbles form at leaks
- Only works for larger leaks
- Free method
Least reliable but worth trying
AC Repair Costs
Diagnostic: $80-150
Refrigerant recharge: $100-200 (includes leak check)
Common repairs:
- Fuse or relay: $20-60
- Pressure switch: $150-300
- AC hose: $200-400
- Condenser: $400-800
- Evaporator: $800-1,500 (dashboard removal required)
- Compressor: $800-1,500
- Complete AC system overhaul: $1,500-3,000
Why so expensive?
- Specialized equipment (vacuum pump, gauges)
- Refrigerant handling certification required
- Labor intensive (especially evaporator)
- Some parts expensive (compressor, evaporator)
New vs. Remanufactured Compressors
New OEM: $800-1,500
- Best quality
- Full warranty
- Most expensive
Remanufactured: $300-700
- Rebuilt with new parts
- Good warranty usually
- Mid-price
Aftermarket new: $200-500
- Variable quality
- Shorter warranty
- Cheapest
My recommendation: Quality reman from good brand (Four Seasons, UAC) or OEM
Avoid ultra-cheap compressors - often fail quickly
When to Replace Other Components
If replacing compressor:
Should also replace:
- Receiver/drier or accumulator (moisture absorber)
- Expansion valve or orifice tube (cheap insurance)
- Flush system (remove old oil and debris)
Why: Compressor failure sends metal debris through system
If you don't: New compressor will fail from contamination
Cost adds: $200-400 more
But necessary for reliability
DIY vs. Professional AC Repair
DIY makes sense for:
- Recharging (temporary fix)
- Replacing fuse/relay
- Cleaning condenser
- Replacing accessible hoses
Professional required for:
- Evacuating refrigerant (illegal to vent to atmosphere)
- Vacuum testing for leaks
- Compressor replacement (requires specialized tools)
- Evaporator replacement (dashboard removal)
- Any major component replacement
AC work requires EPA certification to handle refrigerant legally
Most people use shop for AC repairs
Preventing AC Problems
How to extend AC life:
1. Run AC monthly (even in winter)
- Keeps seals lubricated
- Prevents compressor from seizing
- Just 10 minutes per month
2. Replace cabin air filter
- Every 15,000 miles
- Dirty filter restricts airflow
- Strains system
3. Park in shade when possible
- Reduces AC workload
- Less stress on system
4. Clean condenser annually
- Remove bugs and debris
- Improves cooling efficiency
5. Don't run AC on max constantly
- Stresses system
- Cycles compressor properly is better
6. Fix leaks promptly
- Small leak becomes big problem
- Low refrigerant damages compressor
R-134a vs. R-1234yf Refrigerant
R-134a:
- Used in most 1995-2015 cars
- Common, cheaper
- Kits available for DIY
R-1234yf:
- Used in 2013+ cars (varies by manufacturer)
- Environmentally friendly
- Much more expensive
- Requires special equipment
- Not DIY-friendly
Check which type your car uses before buying anything
R-1234yf recharge costs $300-500 due to expensive refrigerant
The Bottom Line
AC problems range from simple to expensive:
Diagnosis is key:
- Don't guess
- Check basics first (fuse, relay)
- Proper diagnosis saves money
Common issues:
- Low refrigerant from leak (most common)
- Bad compressor ($800-1,500)
- Electrical ($20-300)
- Condenser damage ($400-800)
DIY vs shop:
- DIY recharge: $40-60 (temporary)
- Shop recharge: $150-200 (with leak check)
- Major repairs: $400-1,500+
Prevention:
- Run AC monthly year-round
- Replace cabin filter
- Clean condenser
- Fix leaks promptly
Don't DIY if:
- System is empty
- Compressor doesn't engage
- You need permanent fix
- Car has R-1234yf refrigerant
Do get professional diagnosis ($80-150) before major repairs.
Don't suffer in summer heat - fix your AC properly.
Questions? Drop them below.
- Tom Becker, Senior Technician
Last reviewed: October 2026.