This Isn't Optional - Brakes Are Life or Death
I'm going to be blunt here: your brakes are the most important safety system on your car. Period. Not your airbags, not your seatbelts - your brakes. Because if you can't stop, nothing else matters.
In 14 years of wrenching, I've seen too many people ignore brake problems until it's almost too late. Or worse - until it IS too late. I've towed cars that crashed because the owner "was going to get the brakes done next week."
Don't be that person.
Let me teach you what I'd teach my own kids about brake pads.
How Brake Pads Actually Work (Quick Science)
Your brake system is simple but brilliant:
- You push the brake pedal
- Hydraulic fluid pressurizes
- Brake calipers squeeze
- Brake pads clamp onto rotors (the metal discs)
- Friction converts your car's motion into heat
- You stop
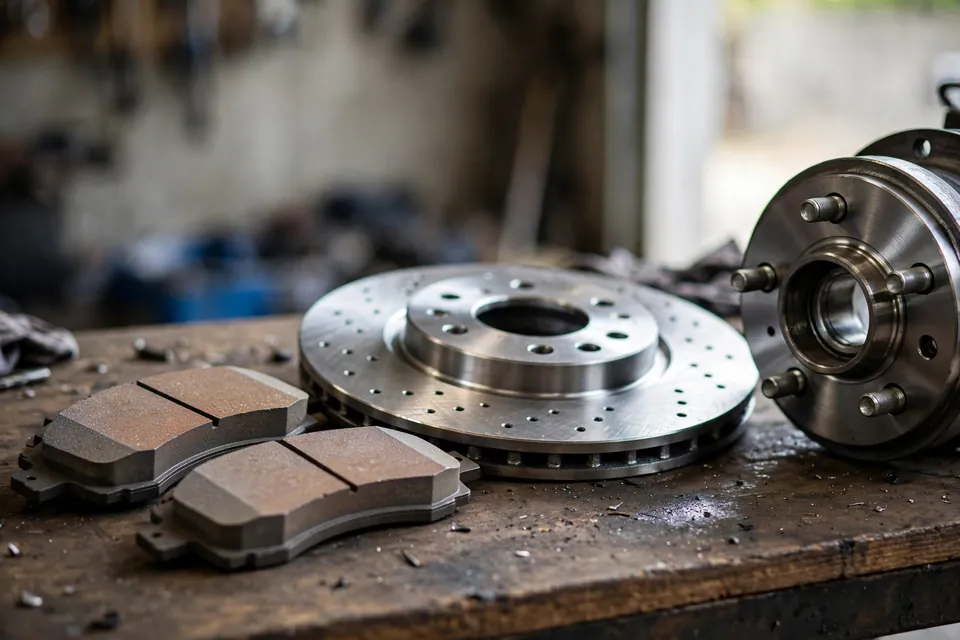
The brake pad is a metal backing plate with friction material bonded to it. Every time you brake, you're literally grinding away microscopic amounts of that friction material.
Eventually, the friction material wears down to nothing. When that happens, you're grinding metal on metal. That's when really bad things happen.
Warning Signs Your Brake Pads Are Dying
1. Squealing or Squeaking (The Wear Indicator)
Most brake pads have a small metal tab built in called a "wear indicator." When your pads get down to about 2-3mm of material left, this tab starts rubbing on the rotor.
The sound: High-pitched squealing when you brake. Sometimes it's constant, sometimes only when braking.
This is INTENTIONAL. The engineers designed it to be annoying so you can't ignore it.
What to do: You have maybe 1,000-2,000 miles before you're out of pad material. Schedule service within a couple weeks.
Important: Not all squeaking is wear indicators. Sometimes brake pads squeak from:
- Glazing (pads overheated and hardened)
- Dust and debris
- Cheap pads (some are just noisy)
- Moisture (goes away after a few brake applications)
But don't assume it's nothing. Have it checked.
2. Grinding or Scraping (YOU'RE TOO LATE)
If you hear a grinding, scraping, or metal-on-metal sound when braking, you've already run out of brake pad material.
You're now grinding the metal backing plate directly on the rotor. This is causing:
- Rotor damage (deep grooves, warping)
- Reduced braking power
- Longer stopping distances
- Risk of brake failure
- Expensive repairs
What to do: Stop driving immediately if possible. If you must drive, drive slowly and carefully to the nearest shop. You're gambling with your life at this point.
I've seen rotors ground so badly they were paper-thin and actually broke apart. The brake caliper piston punched through the rotor. Complete brake failure.
Don't let this be you.
3. Pulling to One Side
If your car pulls to the left or right when you brake, you likely have:
- Uneven brake pad wear
- Seized caliper on one side
- Contaminated brake pad (oil or grease)
Why it's dangerous: You don't have equal braking force on both sides. In an emergency stop, your car can spin out of control.
What to do: Get it checked within a few days. This isn't an immediate emergency usually, but don't put it off.
4. Pulsating or Vibrating Brake Pedal
If your brake pedal pulses or vibrates when you brake (especially at highway speeds), you likely have warped rotors.
What causes warping:
- Driving with worn brake pads (overheated rotors)
- Cheap rotors (poor quality metal)
- Over-torqued lug nuts (stresses rotors)
- Excessive heat cycles
Warped rotors can cause uneven pad wear and need to be resurfaced or replaced.
5. Soft or Spongy Brake Pedal
If your brake pedal feels soft, spongy, or goes closer to the floor than normal, you might have:
- Air in the brake lines (needs bleeding)
- Brake fluid leak
- Worn brake pads (caliper piston extended too far)
- Master cylinder failing
This is serious. Low or soft brakes can mean brake failure is imminent.
What to do: Get it checked immediately. Drive carefully and leave extra following distance.
6. Brake Warning Light On Dashboard
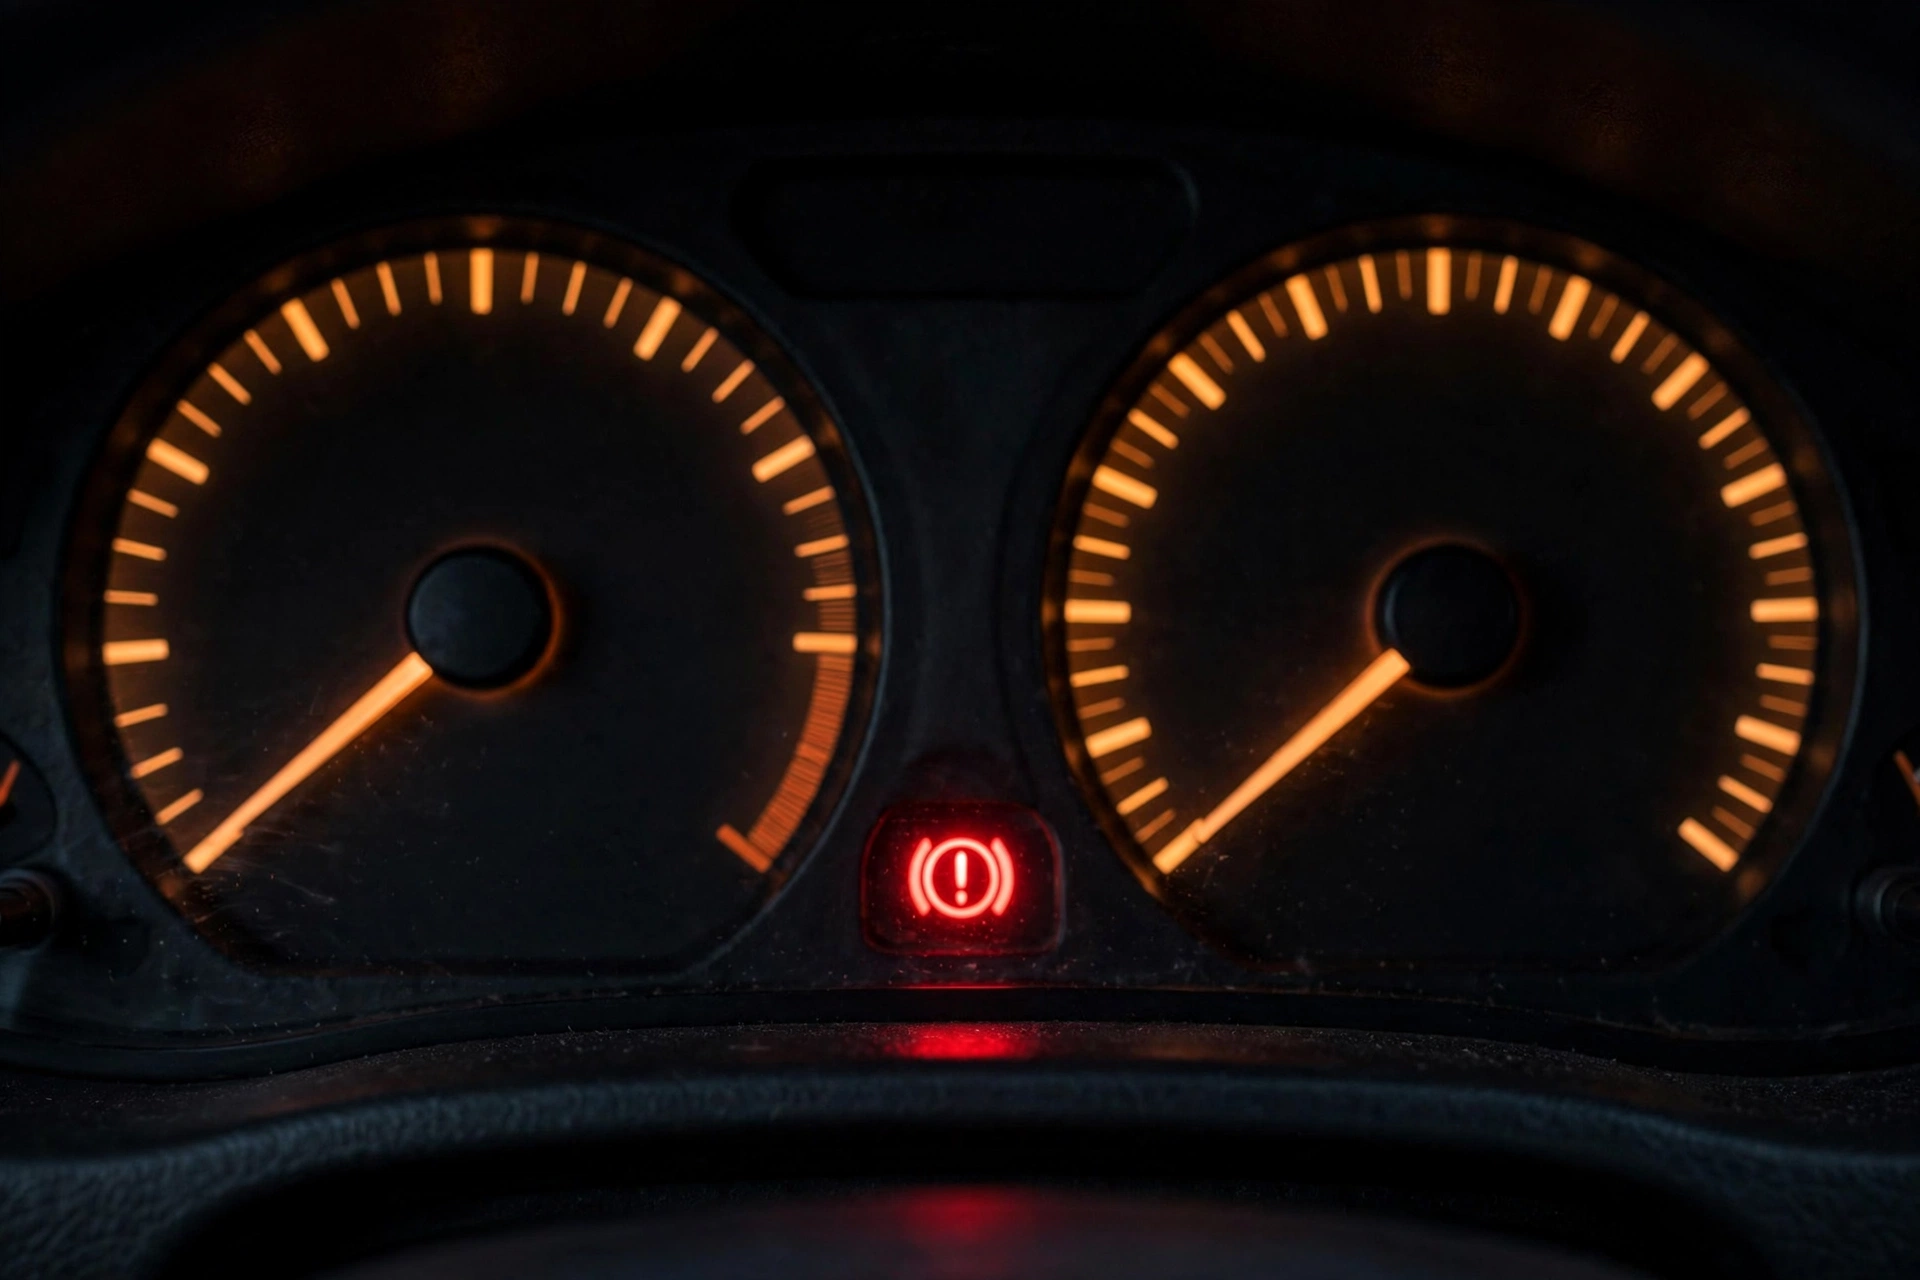
Some cars have a dedicated brake warning light or a general warning light that indicates brake problems.
If this light is on while driving (not just when you start the car):
- Low brake fluid
- Brake system malfunction
- ABS issue
- Parking brake engaged
Check the parking brake first (feel stupid if that's it). If it's not that, get it checked immediately.
7. Visible Wear
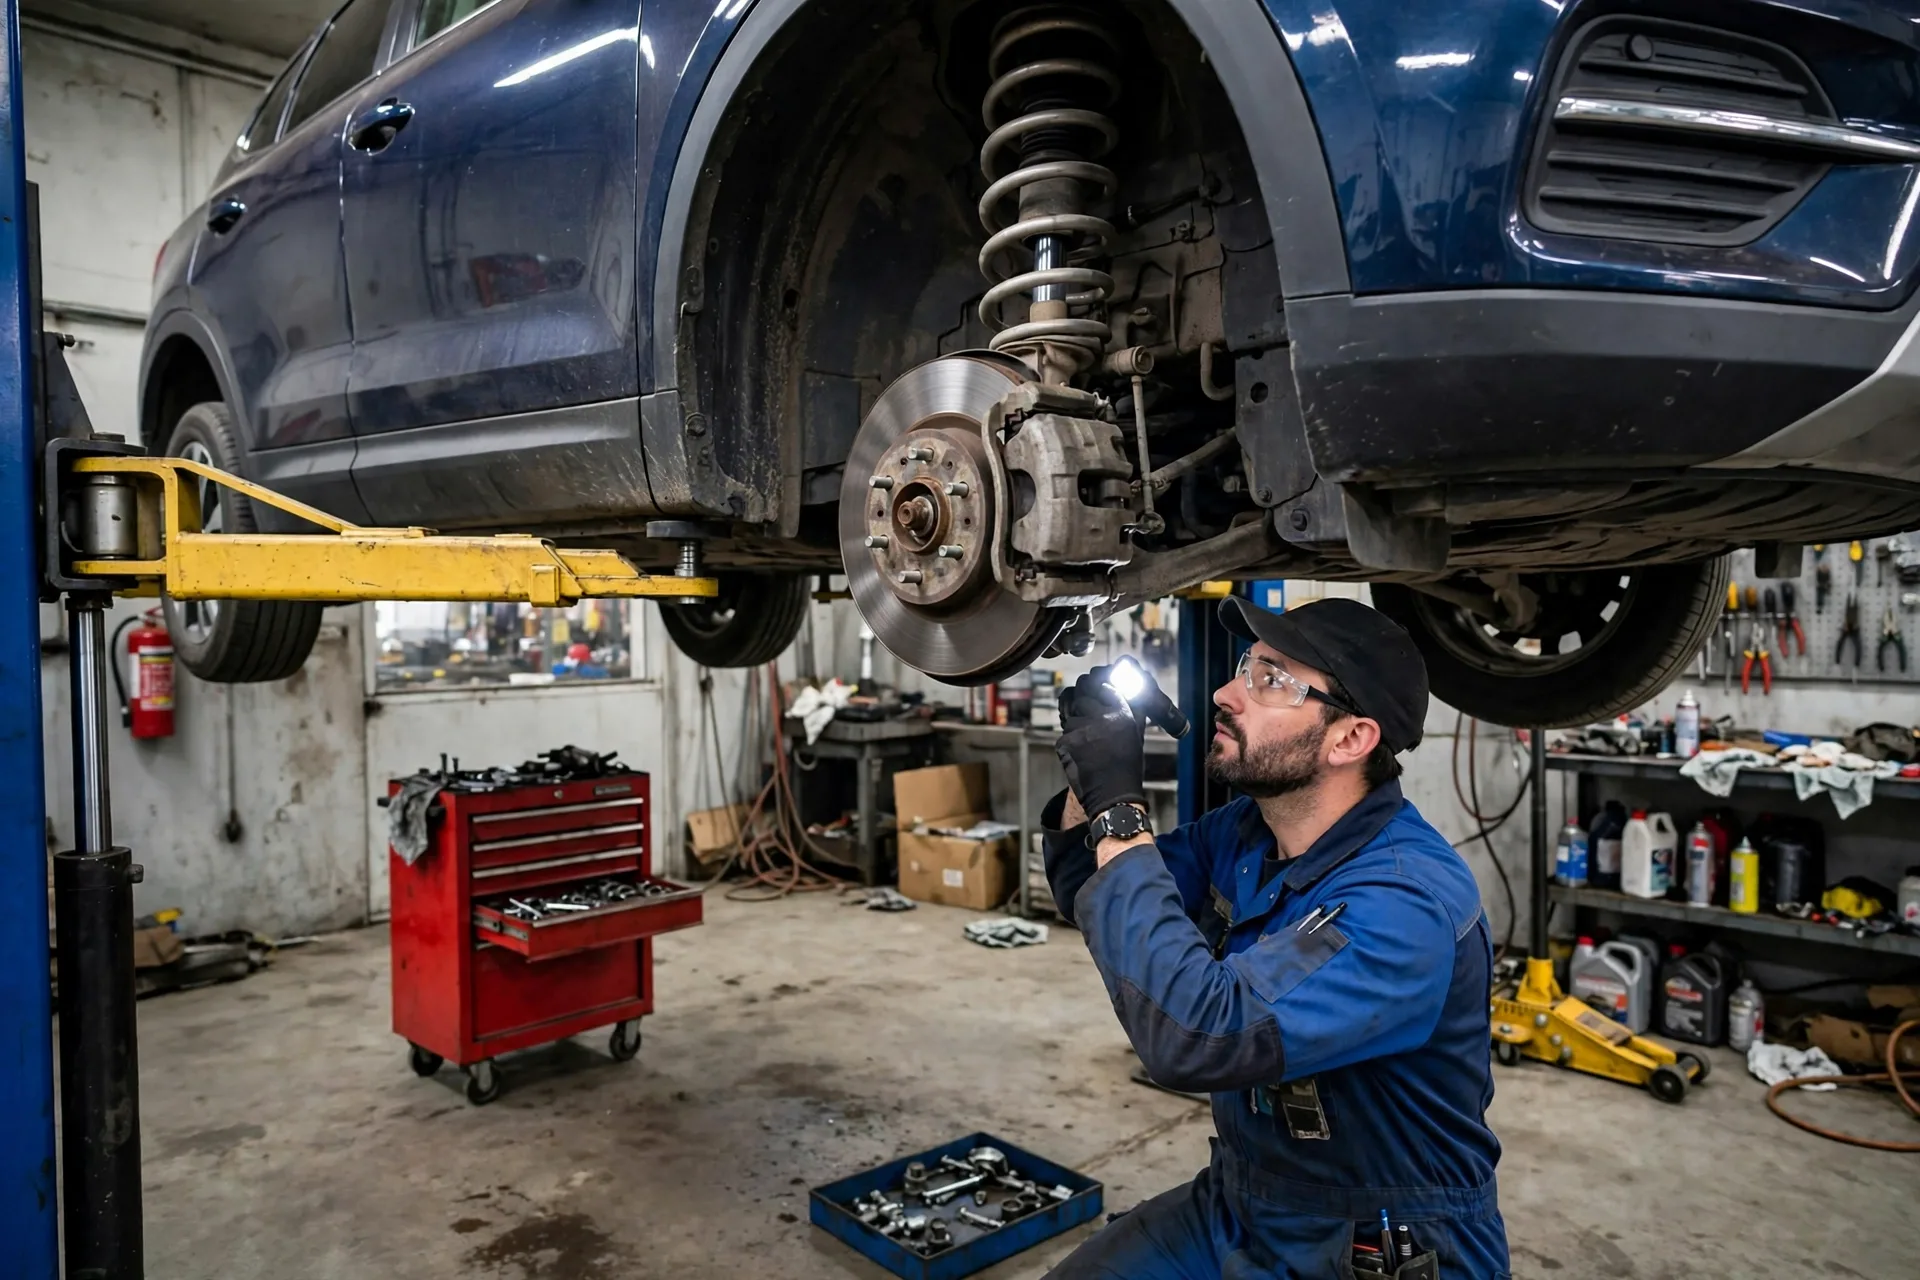
You can actually check your brake pads visually through the wheel spokes on most cars.
How to check:
- Turn your steering wheel all the way to one side
- Look through the wheel spokes
- Find the brake caliper (metal clamp over the rotor)
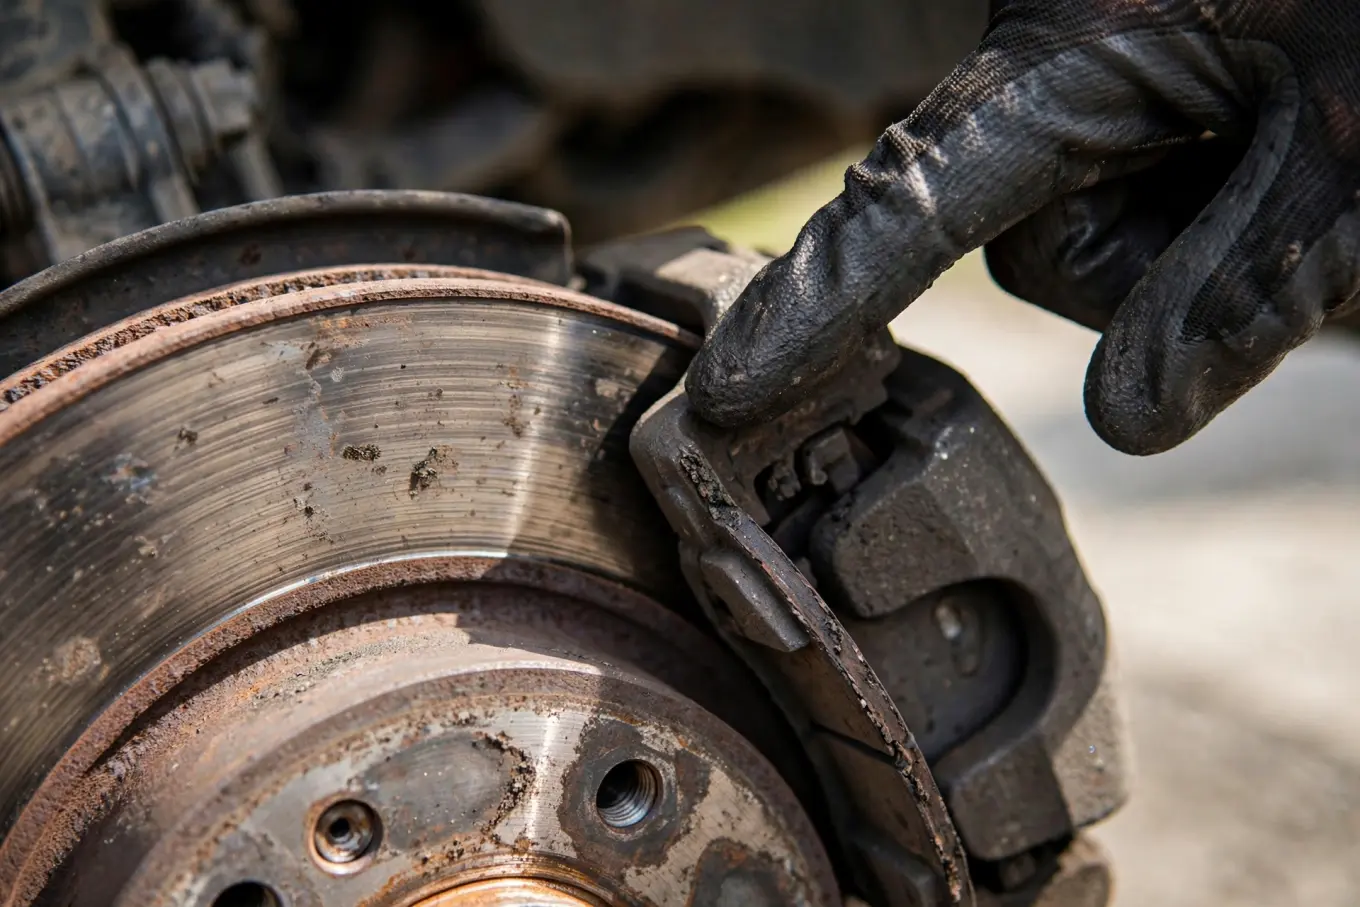
- Look at the brake pad thickness
What you're looking for:
- New pads: 10-12mm thick
- Half-worn: 5-6mm thick
- Need replacement: 3mm or less
- Emergency replacement: 2mm or less
If you can't see at least 3mm of friction material, schedule service.
How Long Do Brake Pads Actually Last?
The honest answer: it depends.
Typical lifespan:
- Front brakes: 25,000-70,000 miles
- Rear brakes: 50,000-100,000+ miles
Why such a huge range?
Driving style matters HUGE:
- Aggressive driver in city traffic: 20,000-30,000 miles
- Normal driver with mixed driving: 40,000-60,000 miles
- Highway driver with smooth braking: 60,000-80,000 miles
- Truck towing heavy loads: 15,000-30,000 miles
Other factors:
- Pad quality (cheap pads wear faster)
- Vehicle weight (heavier vehicle = faster wear)
- Terrain (mountains = more braking)
- Traffic patterns (stop-and-go destroys pads)
Front vs. rear wear: Your front brakes do 60-70% of the braking work. They wear out much faster than rears. It's normal to replace fronts 2-3 times before needing rears.
If someone tells you all four need replacement at the same mileage, they're probably upselling you. (There are exceptions, but it's rare.)
Types of Brake Pads: What's Best?
There are several types of brake pad materials. Each has pros and cons.
Organic/Non-Asbestos (NAO)
Composition: Fiber, glass, rubber, Kevlar
Pros:
- Quietest operation
- Gentlest on rotors
- Cheapest option
- Good for normal driving
Cons:
- Wear fastest
- More brake dust
- Poor performance when hot
- Not great for towing or performance
Best for: Daily drivers, city cars, budget-conscious folks
Semi-Metallic
Composition: 30-65% metal (steel, copper, iron)
Pros:
- Excellent heat dissipation
- Good for towing and performance
- Longer lasting than organic
- Better wet/dry performance
Cons:
- Noisier (can squeal)
- More rotor wear
- More brake dust
- Harsher feel
Best for: Trucks, SUVs, performance cars, towing
Ceramic
Composition: Ceramic fibers, copper
Pros:
- Very quiet
- Very low dust (lighter colored dust)
- Long lasting
- Smooth, consistent feel
- Excellent heat stability
Cons:
- Most expensive
- Less aggressive bite (not ideal for track)
- Poor performance in extreme cold initially
Best for: Daily drivers who want the best, luxury cars, people who hate brake dust
Low-Metallic NAO
Composition: Organic material with 10-30% metal
Pros:
- Good balance of performance and quietness
- Better heat transfer than pure organic
- Affordable
Cons:
- More noise than pure organic
- More dust than pure organic
Best for: Good middle-ground option
My Recommendations (From Real Experience)
For most people: Ceramic pads are worth the extra $20-40. Quieter, cleaner, last longer.
For trucks/towing: Semi-metallic. You need the heat dissipation.
On a tight budget: Quality organic pads. Skip the cheapest no-name brands.
Performance/track: Semi-metallic or high-performance pads designed for heat.
Brands I trust:
- Akebono (my favorite, excellent ceramic pads)
- Wagner ThermoQuiet
- Centric Posi-Quiet
- Raybestos
- AC Delco (for GM)
- Motorcraft (for Ford)
Brands to avoid:
- The absolute cheapest option
- Unknown Chinese brands on Amazon
- Anything advertised as "performance race pads" for $30
DIY Brake Pad Replacement: Can You Do It?
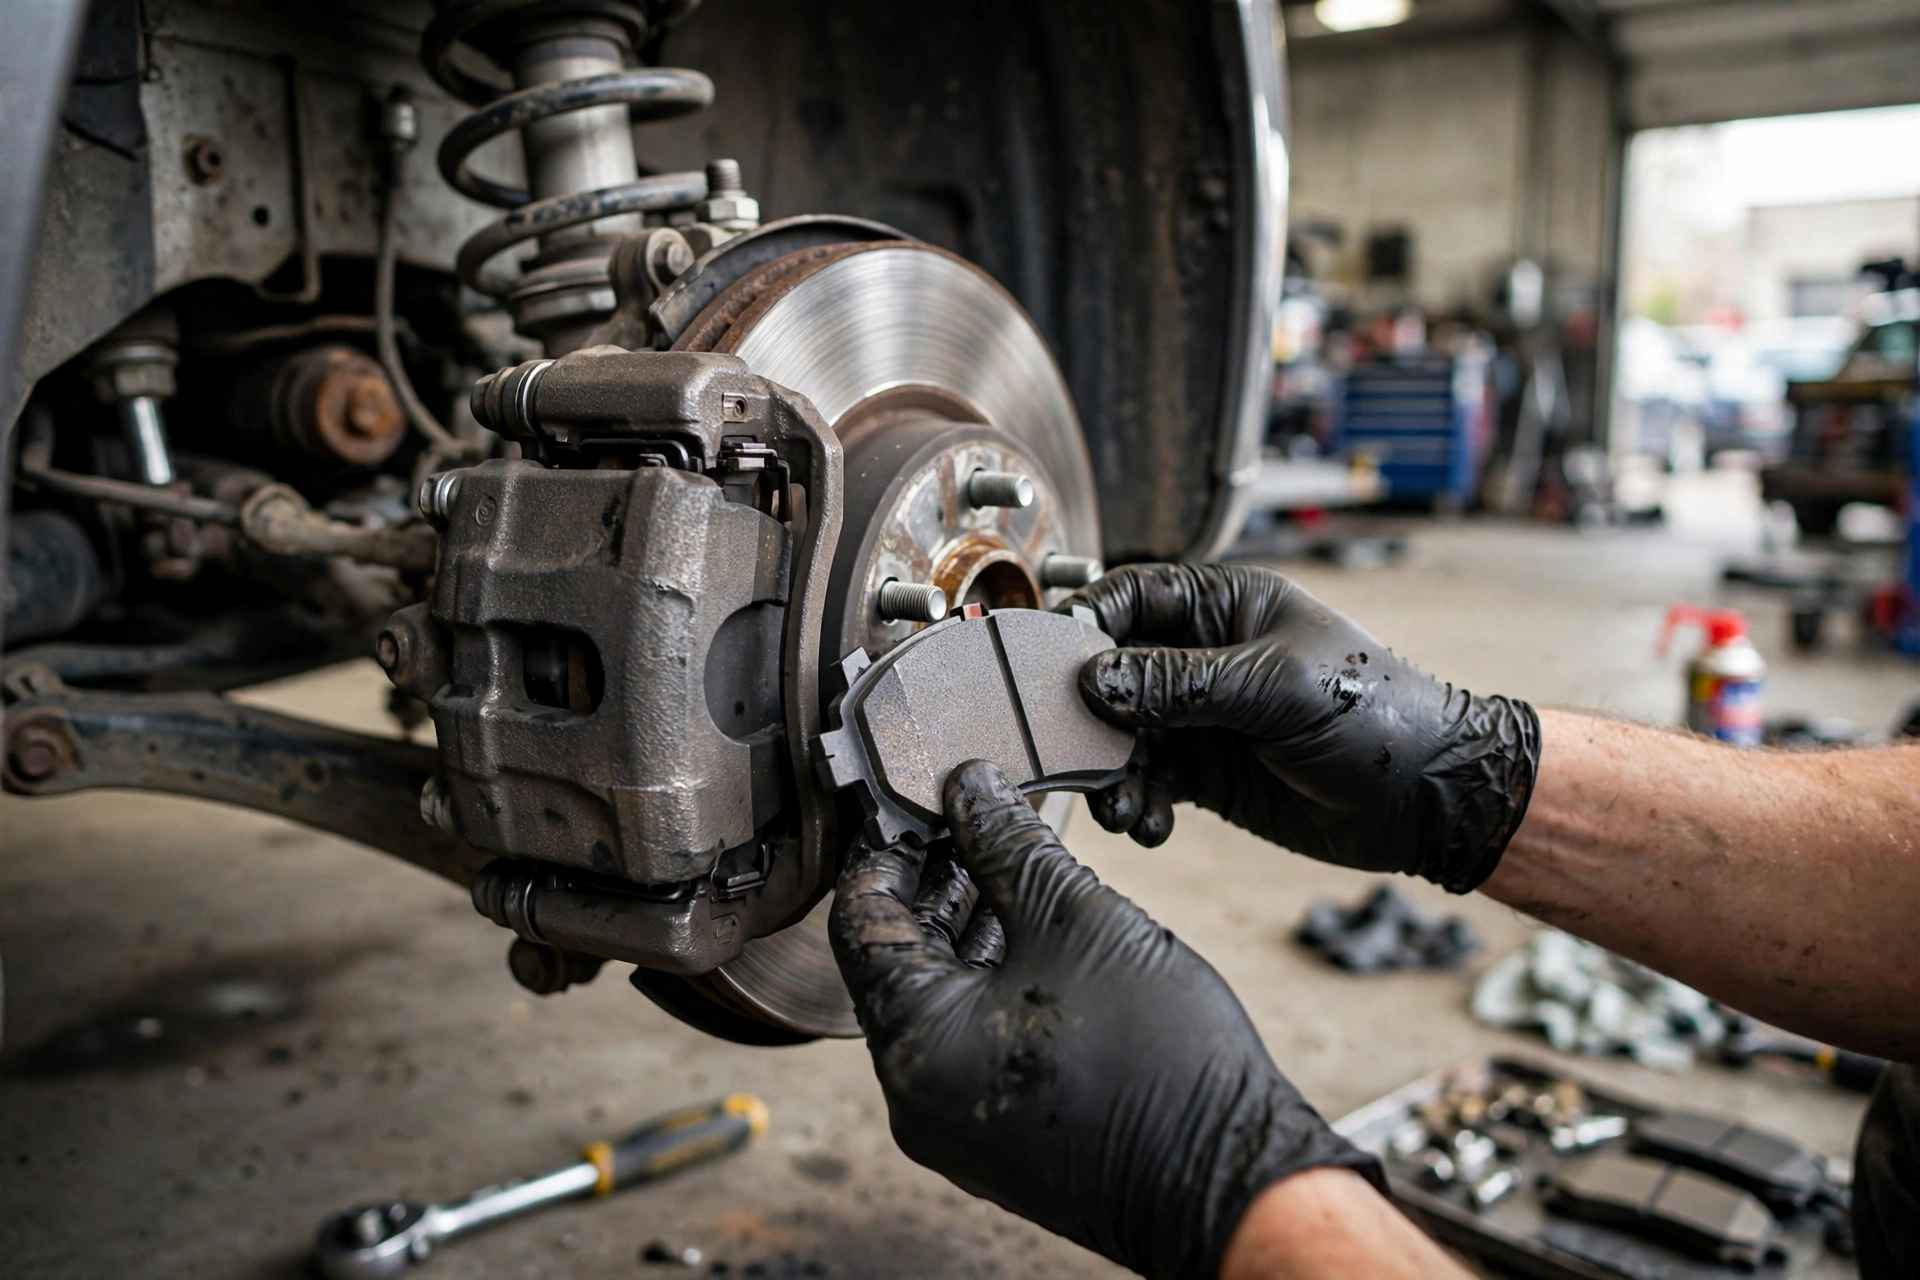
Honest answer: If you're mechanically inclined and have basic tools, yes. If you've never worked on cars, probably not your first project.
Brakes are safety-critical. Mistakes can kill you or someone else. I'm not trying to scare you, but I'm being real.
Difficulty rating:
- Easy: 6/10 (not beginner-level)
- Time: 1-2 hours per axle (first time)
- Tools needed: ~$100-200 if you don't own them
- Skill level: Intermediate
What You'll Need
Tools:
- Jack and jack stands (rated for your vehicle)
- Lug wrench
- C-clamp or brake caliper tool
- Socket set (metric usually)
- Brake cleaner
- Wire brush
- Torque wrench (important)
- Gloves
Parts:
- Brake pads (front or rear)
- Brake hardware kit (clips, springs)
- Brake grease (comes with hardware kit usually)
- Optional: new rotors if yours are worn
Cost:
- DIY: $50-150 for pads + hardware
- Shop: $150-400 per axle (parts and labor)
- Savings: $100-250
The Process (High Level)
I'm not going to give full step-by-step here (too much liability), but this is the overview:
- Safely raise and support vehicle
- Remove wheel
- Remove caliper bolts (don't damage brake line)
- Hang caliper with wire (don't let it hang on brake line)
- Remove old pads
- Inspect rotors (measure thickness, check for grooves)
- Clean caliper bracket and hardware
- Install new hardware/clips
- Apply brake grease to contact points (not friction surfaces!)
- Compress caliper piston (special tool or C-clamp)
- Install new pads
- Reinstall caliper
- Torque caliper bolts to spec
- Reinstall wheel
- Torque lug nuts properly
- Repeat for other side
- Pump brake pedal until firm
- Check brake fluid level
- Test brakes at low speed before driving
- Bed in new pads (follow break-in procedure)
CRITICAL WARNINGS:
- Never let the caliper hang by the brake line (it'll damage it)
- Never get grease on the friction surface of pads or rotors
- Always replace pads in pairs (both fronts or both rears)
- Always torque lug nuts properly (usually 80-100 ft-lbs)
- Always pump the pedal before driving
- Always bed in new pads properly
If any of this sounds confusing or scary, pay a professional. This is not the job to learn on.
Related guide: 2016-2023 Toyota Tacoma brake pad replacement — full step-by-step with photos. The process is nearly identical on most vehicles.
Breaking In New Brake Pads (Bedding)
New brake pads MUST be broken in properly. This transfers a thin layer of pad material onto the rotor surface. Skip this and you'll have poor braking and squealing.
Proper break-in procedure:
- Drive to an empty road or parking lot
- Accelerate to 50 mph
- Brake moderately (not hard) down to 20 mph
- Repeat 10 times
- Let brakes cool (drive normally for 5 minutes, avoid heavy braking)
- Accelerate to 60 mph
- Brake firmly (not emergency) down to 20 mph
- Repeat 5 times
- Drive normally, avoiding hard stops for next 200 miles
What NOT to do:
- Don't stop completely during break-in (heat needs to dissipate)
- Don't make multiple hard emergency stops right away
- Don't ride the brakes
Proper bedding makes a huge difference in brake performance and longevity.
When to Replace Rotors vs. Resurface
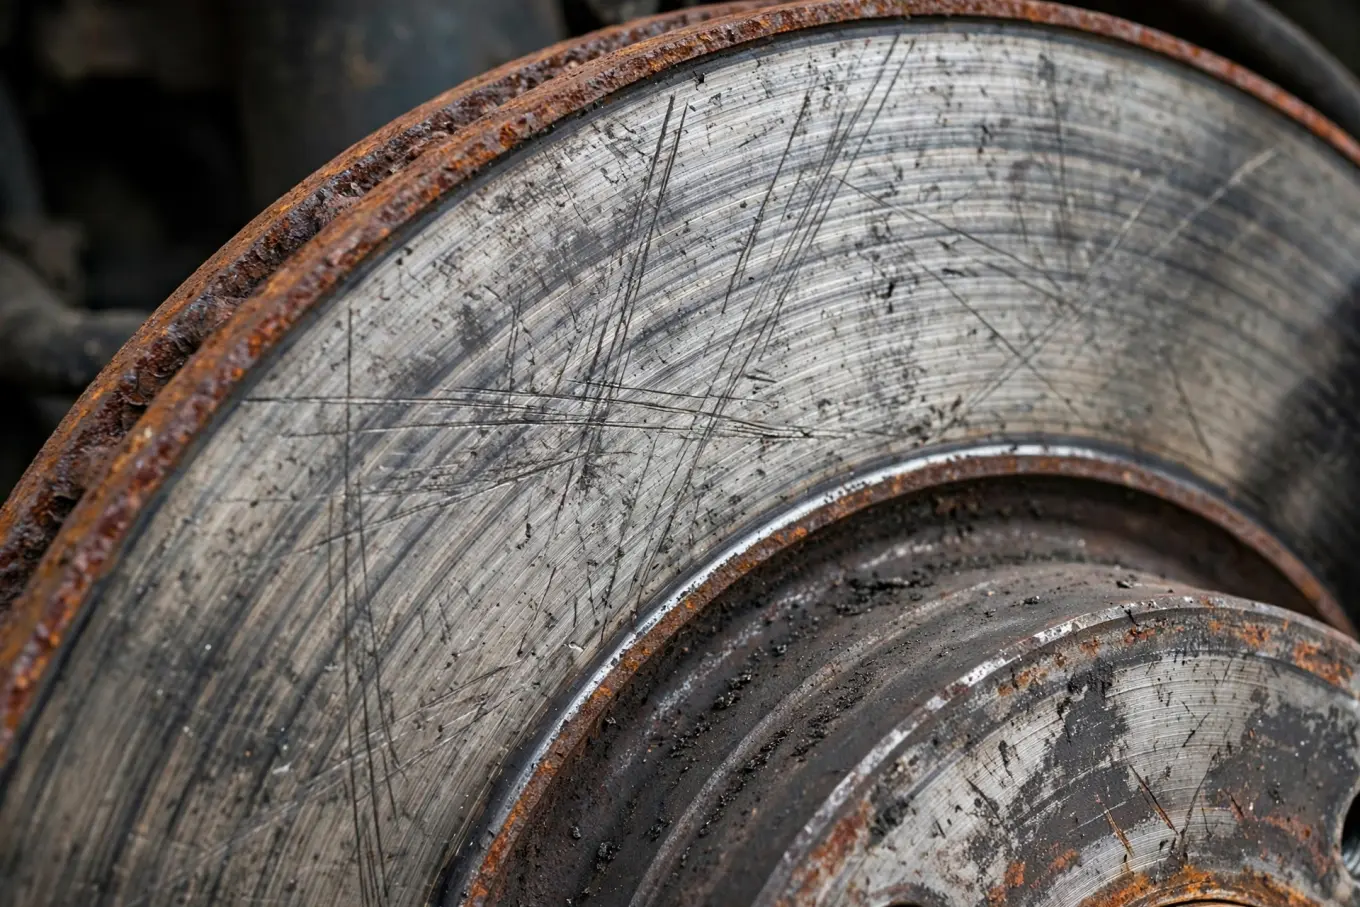
Rotors don't last forever either. Eventually they wear too thin or get too damaged.
Resurface (machine) rotors if:
- Minor grooves or scoring
- Light rust or corrosion
- Still above minimum thickness spec
- No warping
- No cracks or heat damage
Cost: $15-30 per rotor
Replace rotors if:
- Below minimum thickness (stamped on rotor)
- Deep grooves (can feel with fingernail)
- Warped (pulsating brake pedal)
- Cracked (look like spider webs)
- Severe rust/corrosion
- Metal is blue/purple (overheated)
Cost: $30-100+ per rotor depending on vehicle
My advice: Rotors are cheap now. If you're doing brake pads, just replace the rotors too. It's only $50-100 more and you get:
- Better braking
- Quieter operation
- Longer pad life
- Peace of mind
Machining rotors saves $30 but thins them closer to minimum thickness. For $30 more, get new rotors.
Related guide: 2011-2023 Dodge Charger brake rotor replacement — when resurfacing is not enough.
Common Brake Problems Beyond Pads
Seized Caliper
Symptoms: Pulling, uneven pad wear, dragging, smell Fix: Rebuild or replace caliper ($80-250)
Brake Fluid Leak
Symptoms: Soft pedal, low fluid, visible fluid Fix: Find and repair leak ($100-300+)
Master Cylinder Failure
Symptoms: Soft pedal, pedal goes to floor Fix: Replace master cylinder ($200-500)
Brake Lines Corroded
Symptoms: Leaks, soft pedal, visible rust Fix: Replace brake lines ($150-400)
ABS Module Failure
Symptoms: ABS light, unusual brake feel Fix: Very expensive ($800-2000)
Brake Fluid: The Forgotten Maintenance
Everyone focuses on pads, but brake fluid matters too.
Brake fluid absorbs water over time. Water:
- Lowers the boiling point (brake fade)
- Causes internal corrosion
- Reduces braking effectiveness
Recommended service: Flush and replace every 2-3 years or 30,000 miles
Reality: Most people never do it until something breaks
My advice: If your brake fluid looks dark brown or black, flush it. Fresh fluid is clear/light amber.
Cost: $80-120 at a shop, $20 DIY if you know how to bleed brakes
Related guide: 2014-2024 Mini Cooper brake fluid flush — the maintenance most people skip.
How Much Should Brake Pad Replacement Cost?
At a shop:
- Economy/quick-lube: $100-200 per axle
- Chain shop: $150-300 per axle
- Independent shop: $150-350 per axle
- Dealer: $200-500+ per axle
What affects price:
- Pad quality (economy vs. premium)
- Labor rates (varies by location)
- Rotor replacement (adds $100-200)
- Hardware kit (adds $20-50)
- Brake fluid flush (adds $80-120)
Warning signs of upselling:
- "You need all four corners" when you just did rears recently
- "Your calipers are seized" with no evidence
- "Premium pads" that are marked up 300%
- Recommending rotor replacement when yours measure fine
Pro tip: Ask to see your old pads. A reputable shop will show you. If they're half-worn and they said you needed new pads immediately, find a different shop.
My Final Word on Brakes
I've seen crashes from failed brakes. I've towed cars that went off the road because the driver ignored brake problems. I've had customers in tears because they crashed and hurt someone.
Don't gamble with brakes.
If you hear noise, feel vibration, notice pulling, or see a warning light:
- Have it checked within a week
- Use a reputable shop
- Don't cheap out on parts
- Fix all issues, not just pads
Your life, your family's lives, and other people's lives depend on your brakes working. That's not hyperbole.
Brake maintenance schedule I recommend:
- Inspect brake pads every oil change (visual check)
- Measure pad thickness annually
- Replace pads when down to 3mm
- Replace rotors if grooved or warped
- Flush brake fluid every 2-3 years
- Never ignore brake noises or warning lights
Do this and your brakes will work when you need them most - that split second when you need to stop RIGHT NOW to avoid hitting someone.
Questions about brakes? Drop them below. This is too important to get wrong.
Stay safe out there.
- Ray Delgado, ASE Master Technician
Last reviewed: October 2026.