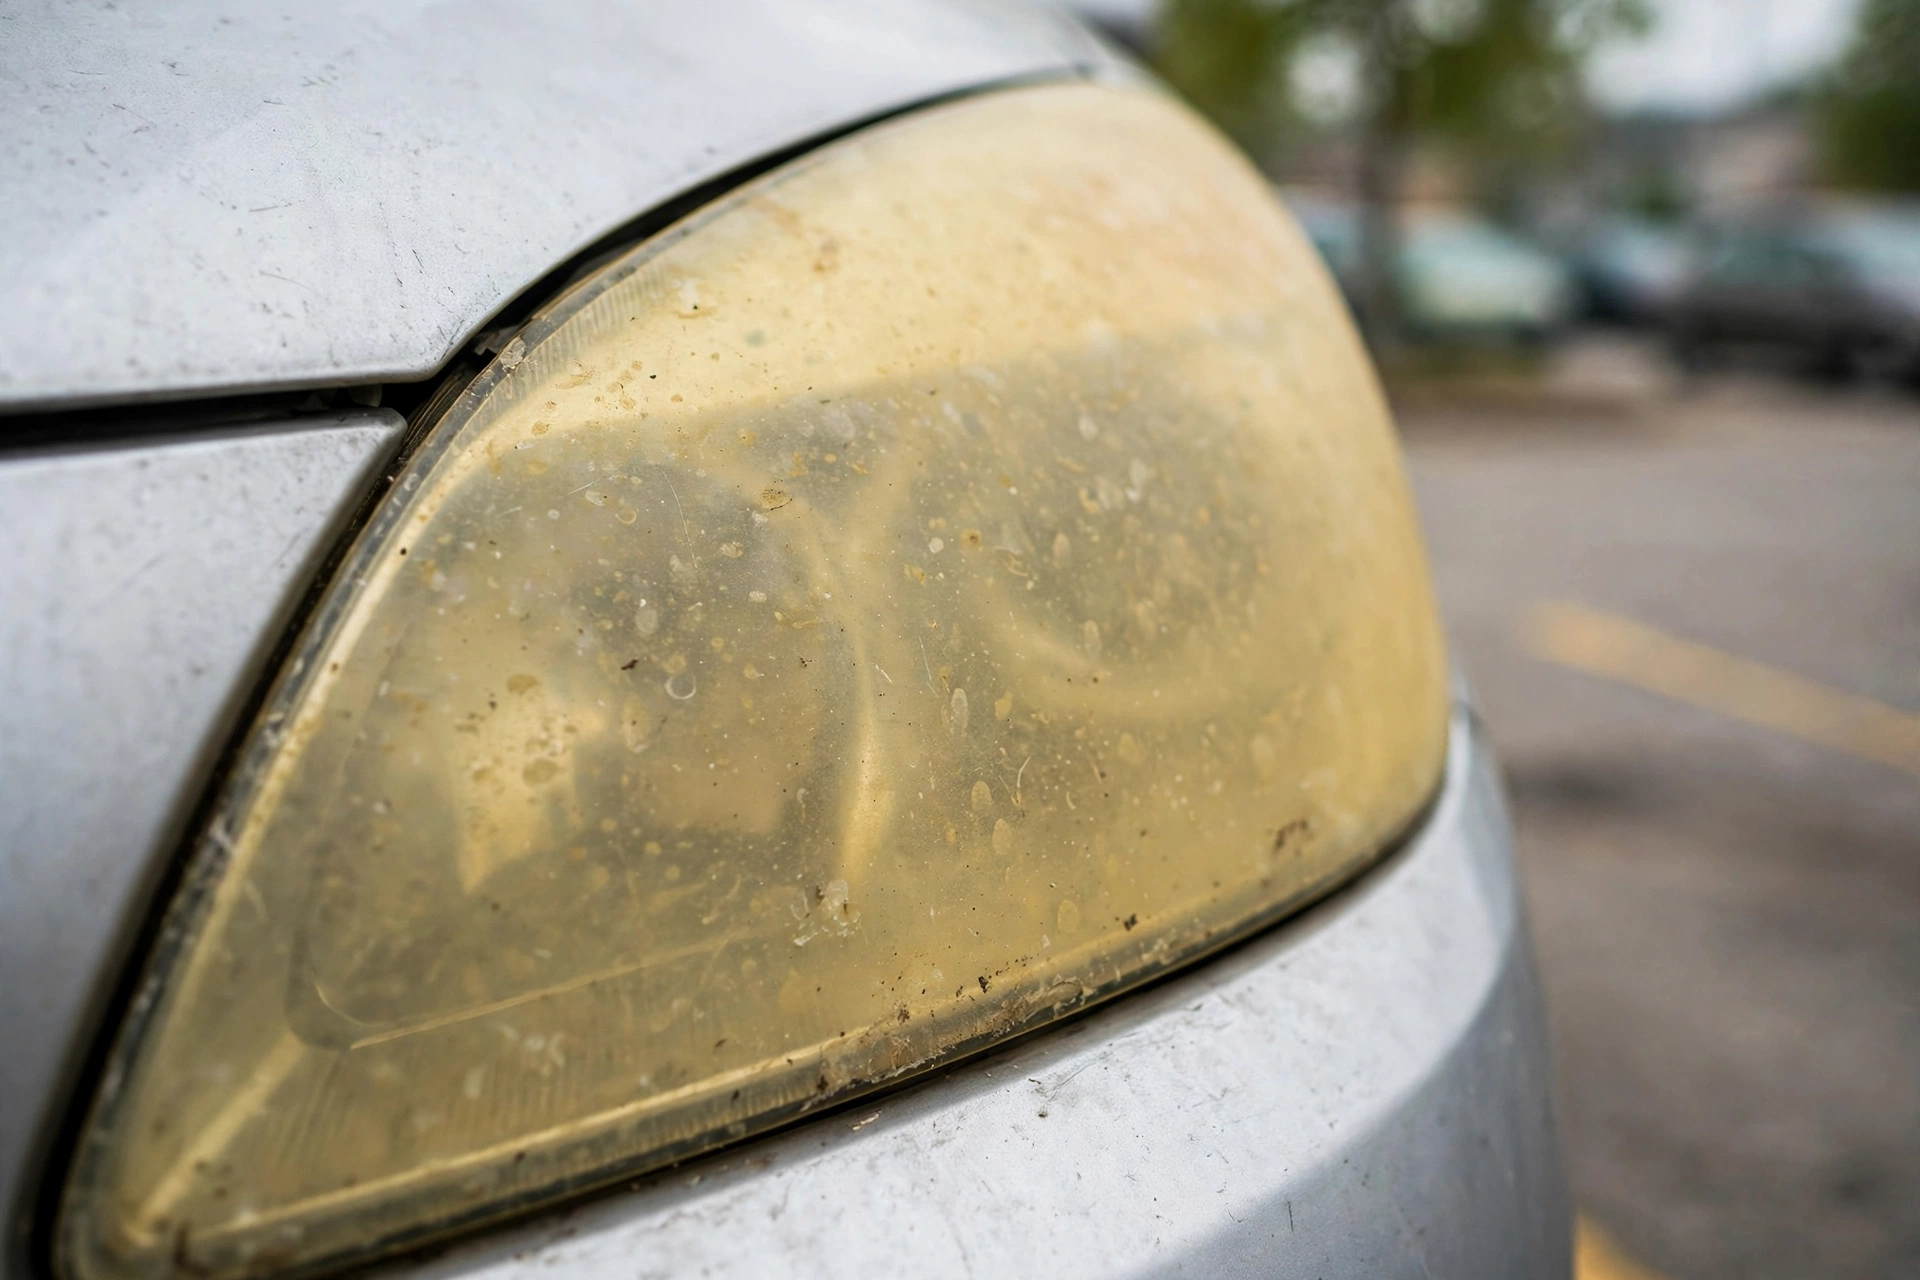
Cloudy Headlights? How to Restore Yellow Foggy Headlights
Your headlights are probably putting out far less light than you think. AAA tested deteriorated headlight lenses in an accredited lab and found they produced just 22 percent of the light of new headlights on low beam. The good news is you can fix this yourself in an afternoon: wet sand the lenses, polish them smooth, and seal them with a UV coating. Here is exactly how to do it, and how to tell when a headlight is too far gone to save.
Why Headlights Turn Yellow and Cloudy
Almost every car built in the last 20 years has plastic headlight lenses made of polycarbonate. The factory coats them with a hard UV-resistant clear layer. That coating is the whole defense, and sunlight destroys it. AAA found that headlights can start showing deterioration in as little as three to five years, which means a car from 2021 can already be on its way.
Once the coating fails, the plastic underneath oxidizes. UV breaks down the surface, road grit micro-abrades it, and the lens goes from clear to hazy to the deep yellow fog you see on older cars in every parking lot. It happens from the outside in, which is why restoration works: you are removing a damaged outer layer, not fixing the bulb or the reflector inside.
One quick test before you commit: if the haze is on the inside of the lens, with condensation or water drops visible inside the housing, sanding will not fix it. That is moisture getting past a bad seal, and it usually means replacing the whole headlight assembly.
How Much Light You Are Actually Losing
AAA's research is worth reading before you shrug this off as a cosmetic problem. Deteriorated headlights on low beam generated only 22 percent of the light output of new headlights. About half of all traffic fatalities happen at night, so driving around with 22 percent headlights is not a small thing.
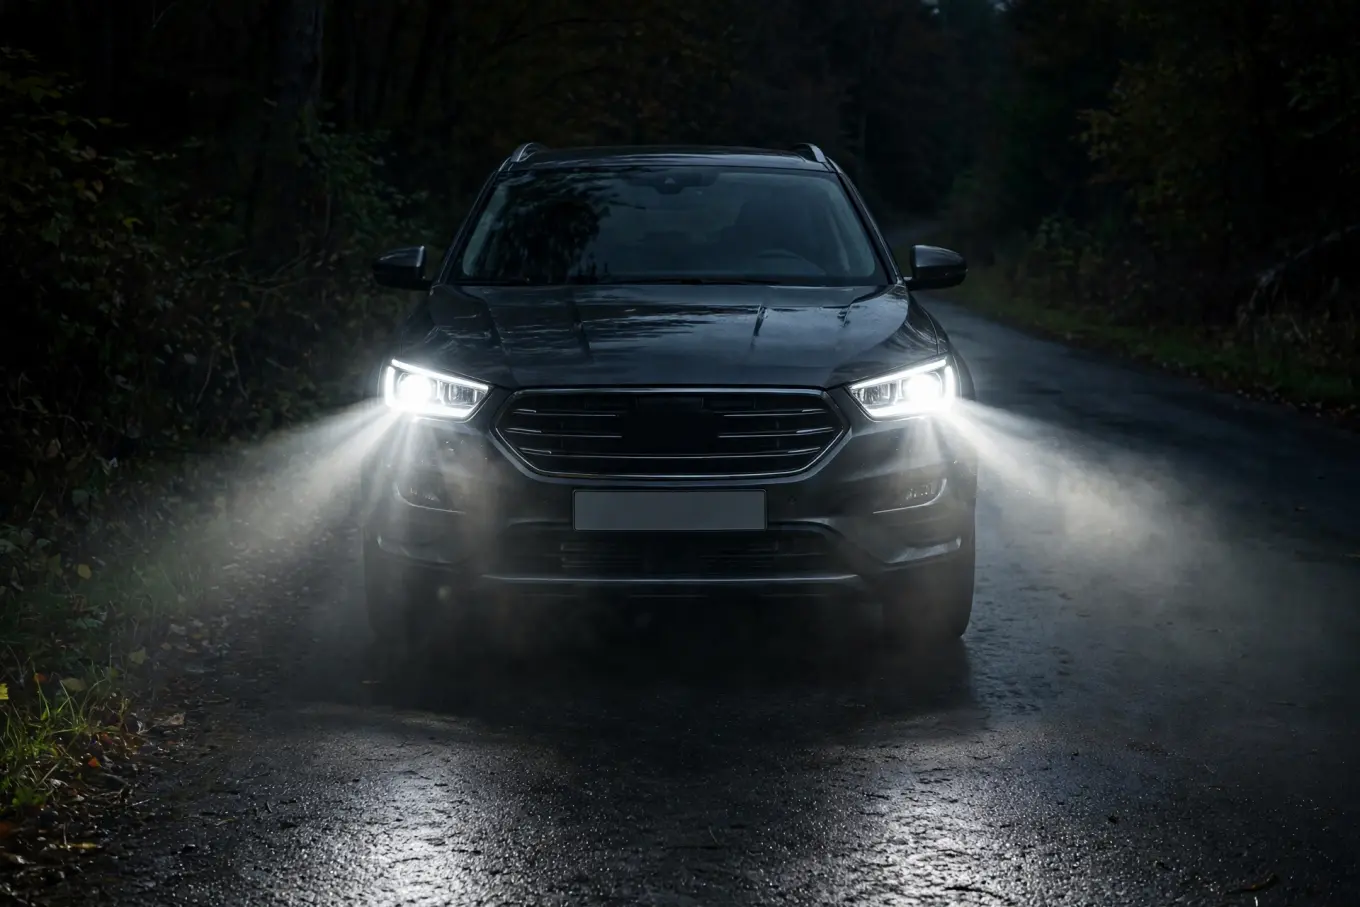
The same study compared the fix options. Replacing with original equipment headlights restored 100 percent of the output. Aftermarket replacements restored 83 to 90 percent. Restoration, both professional and DIY, brought output back to about 70 percent, which is a massive improvement over 22. The one catch: restored lenses produced more glare for oncoming drivers than new ones. Still, 70 beats 22 by a wide margin, and restoration is by far the cheapest option.
How to Restore Cloudy Headlights, Step by Step
There are two honest approaches: a restoration kit or the manual method with sandpaper and polish. Kits package everything together and are the easy button. The manual method is the same idea with materials you buy separately. Both follow the same four stages: prep, wet sand, polish, and seal. Skipping the last stage is the most common reason restorations fail early.
- Wash the headlights with soap and water and dry them completely. You want no grit on the surface before you start sanding.
- Mask off the paint and trim around each headlight with painter's tape. Sandpaper will chew through clear coat fast, so tape generously.
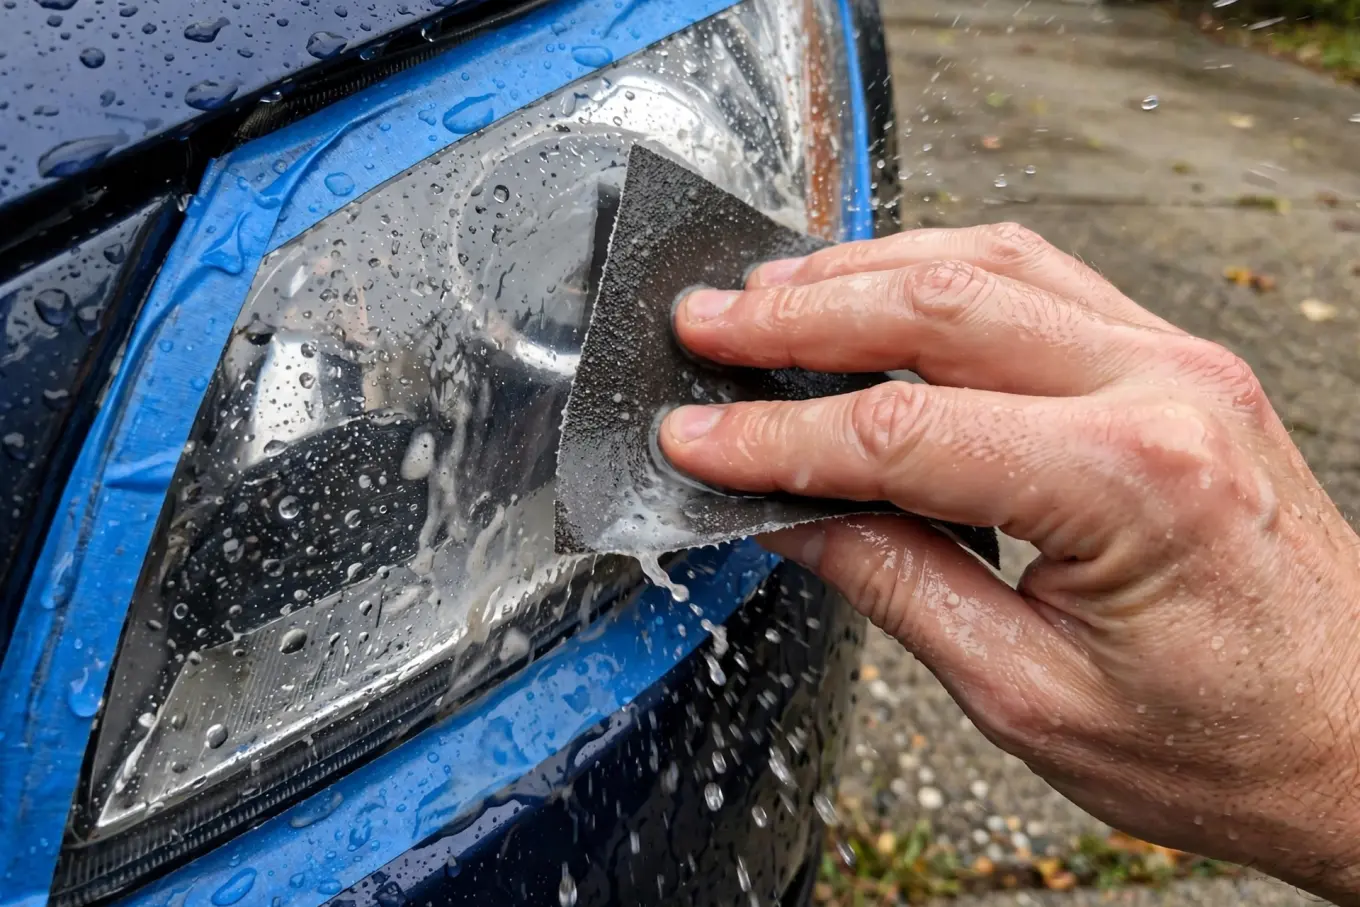
- Wet sand with 800-grit wet/dry sandpaper, keeping the lens soaked the whole time. Work in straight, even strokes across the whole lens. This removes the dead oxidized layer. The lens will look worse at this point, milky white and scratched. That is normal.
- Move up to 1000-grit, again keeping it wet. This removes the scratches the 800 left behind. Some kits and guides use an intermediate 1200 or 2000 step; more steps just mean finer refinement, so follow whatever progression your kit includes.
- Finish with 3000-grit, light pressure, plenty of water. The lens should look uniformly dull but smooth, with no visible scratches or shiny yellow islands left.
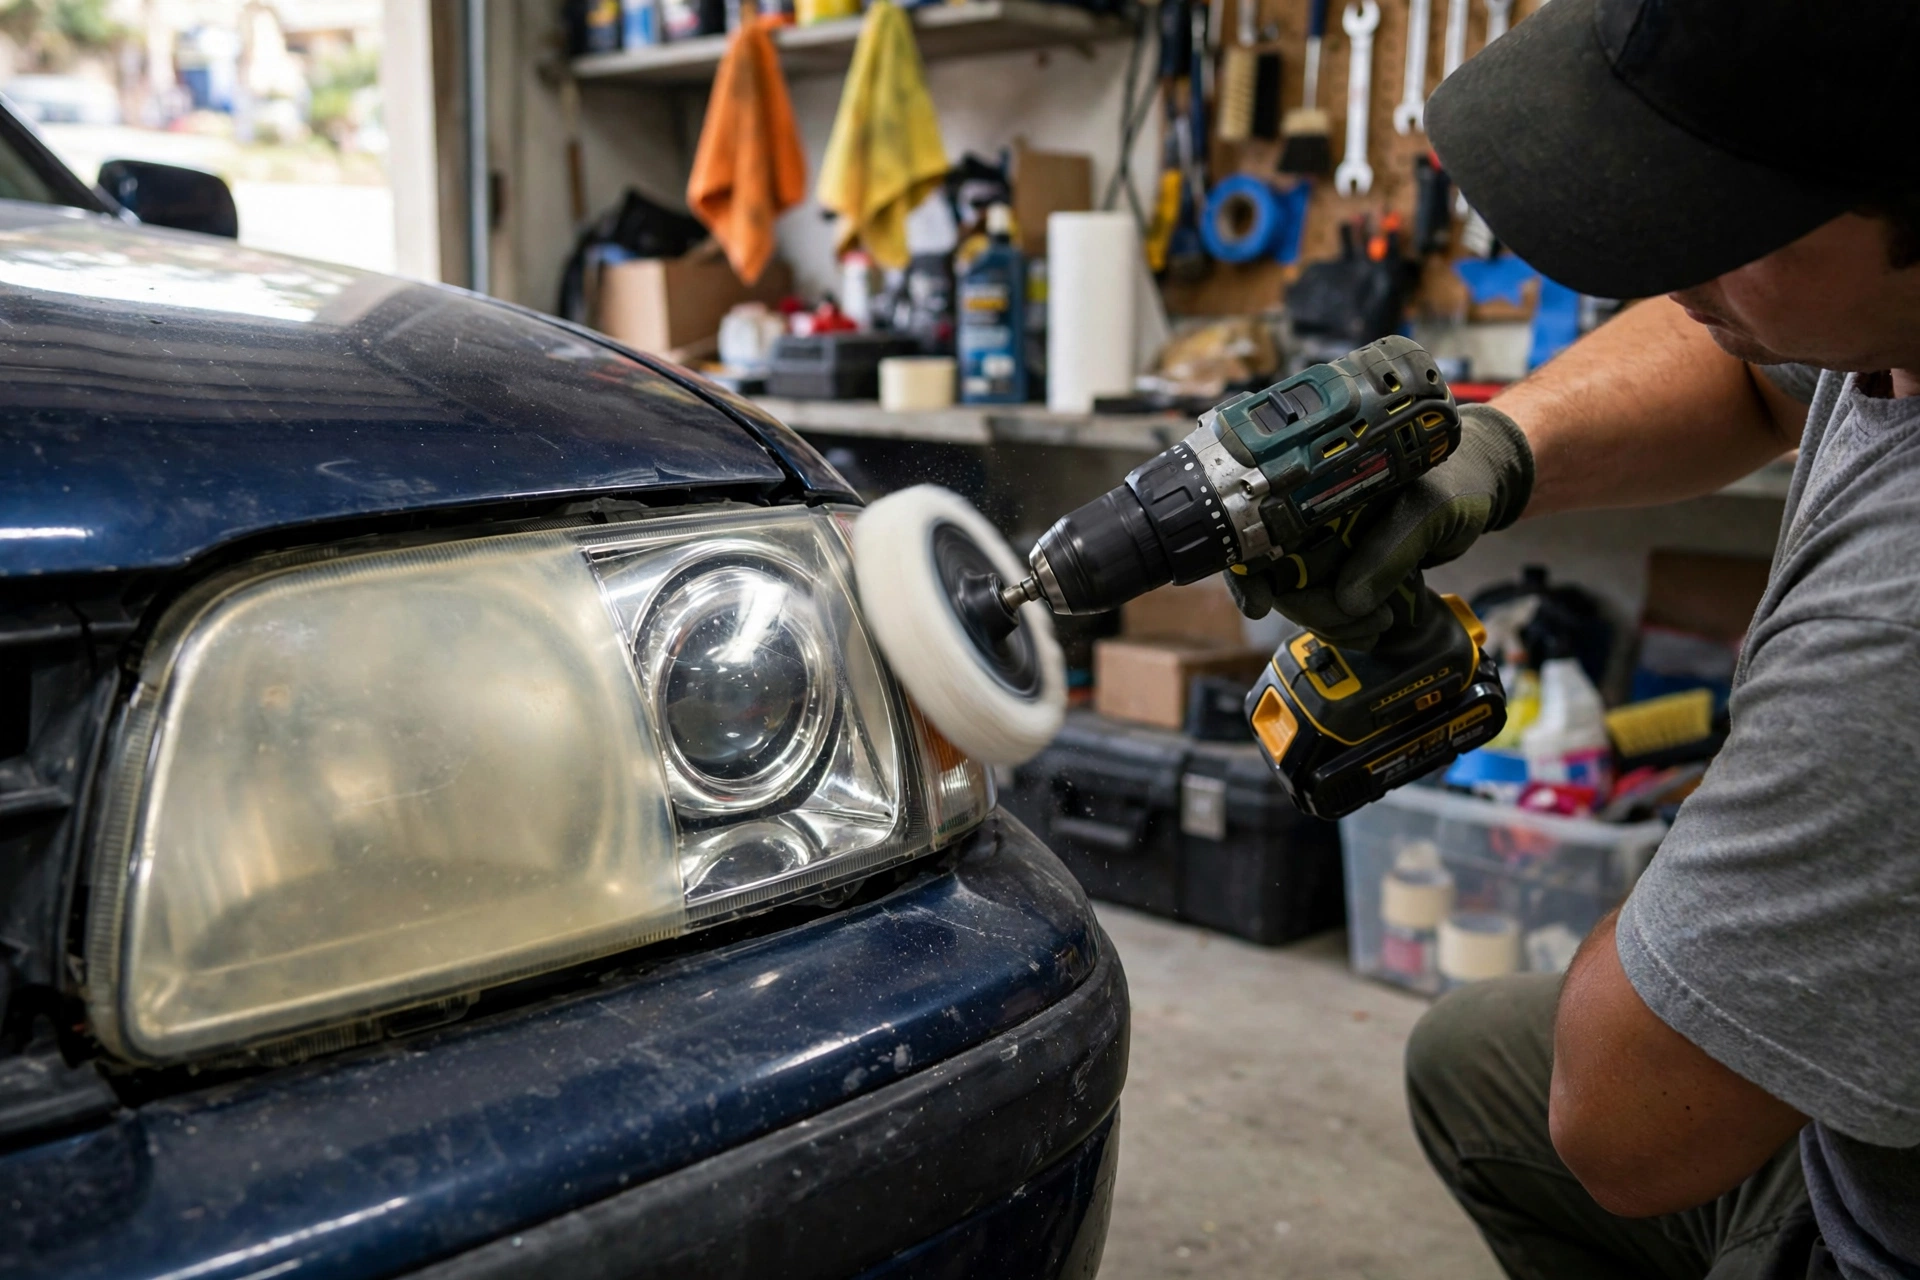
- Rinse, dry completely, then polish with a plastic polish or the compound from your kit. Use a clean microfiber cloth with moderate pressure in circular motions, or a polishing pad on a drill, until the lens turns clear and glossy.
- Seal the lens with a UV-protective clear coat or the sealant included in the kit. This is the step that determines whether your work lasts. Wipe or spray it on evenly and let it cure for the time the product specifies, usually 30 minutes to an hour, with no driving and no rain.
With a quality UV topcoat and gentle washing afterward, a restoration can stay clear for 12 to 24 months or more. Without the sealant, expect the yellowing to creep back in months, because you just removed the last of the original UV protection.
What It Costs
This is a cheap-part, mostly-labor job. A restoration kit costs less than a tank of gas and contains everything for both headlights. Buying sandpaper, polish, tape, and sealant separately is roughly the same territory.
A shop will do the same job for you, and it is mostly labor charges since the materials are cheap. If you have two cars in the driveway with foggy headlights, the DIY math is excellent: one kit does multiple headlights, and you keep the leftover materials for next time.
The toothpaste trick you have seen online does work a little. Toothpaste is a mild abrasive, so it polishes off the very top layer of haze. But it cannot touch deep oxidation, and without a UV sealant afterward the haze returns fast. Treat it as a temporary cleanup, not a restoration.
DIY or Shop? The Verdict
Do it yourself. This is one of the best beginner DIY jobs that exists. There is no disassembly, no parts to order, no risk of leaving your car undriveable. The worst realistic outcome of a bad attempt is that you tape poorly and dull a strip of paint, which is why the masking step matters. The procedure is slow and forgiving, and the before and after difference is immediately visible, which makes it satisfying.
Send it to a shop only if the lenses are cracked, the fog is inside the housing, or you would rather pay someone to spend the hour. And if the headlights are deeply pitted, cracked through, or cloudy inside, do not restore: replace the assembly. No amount of sanding fixes a cracked lens.
My take: do this every fall when the nights start getting longer. It takes one afternoon, it is the cheapest meaningful safety upgrade you can make, and AAA's 22 percent number should be enough to get anyone off the couch.
FAQ
How long does headlight restoration last? With a proper UV sealant on top and normal washing, expect 12 to 24 months before the haze starts creeping back. Without the sealant, it can yellow again in months.
Can I start with 2000-grit instead of 800? If the oxidation is light, yes. But if shiny yellow patches remain after a few minutes, drop down to 800 or 1000 to level the surface first, then work back up through the finer grits.
Will toothpaste really restore headlights? Slightly and temporarily. It is a mild abrasive that removes surface haze but cannot fix real oxidation, and it leaves no UV protection behind. Fine for a quick cosmetic cleanup, not a real restoration.
Are restored headlights as good as new? Not quite. AAA measured restored lenses at about 70 percent of new light output, versus 100 percent for new original equipment units. But 70 is a huge jump from the 22 percent of a neglected lens, and restoration is a fraction of the cost of replacement.
Want to go deeper? Once the lenses are clear, make sure the bulbs themselves are healthy: see the 2012-2018 BMW 3-Series - Headlight Bulb Replacement walkthrough, and if your lights are dim because the whole electrical system is struggling, the 2017-2021 Acura MDX - Alternator Replacement guide shows what a failing alternator looks like. For basic battery upkeep, How to Change a Car Battery Safely covers the whole job.
Safety: Informational DIY. EZ Car Fix is not a shop or dealer.
Last reviewed: October 2026.