How to Jack Up Your Car Safely: Jack Points
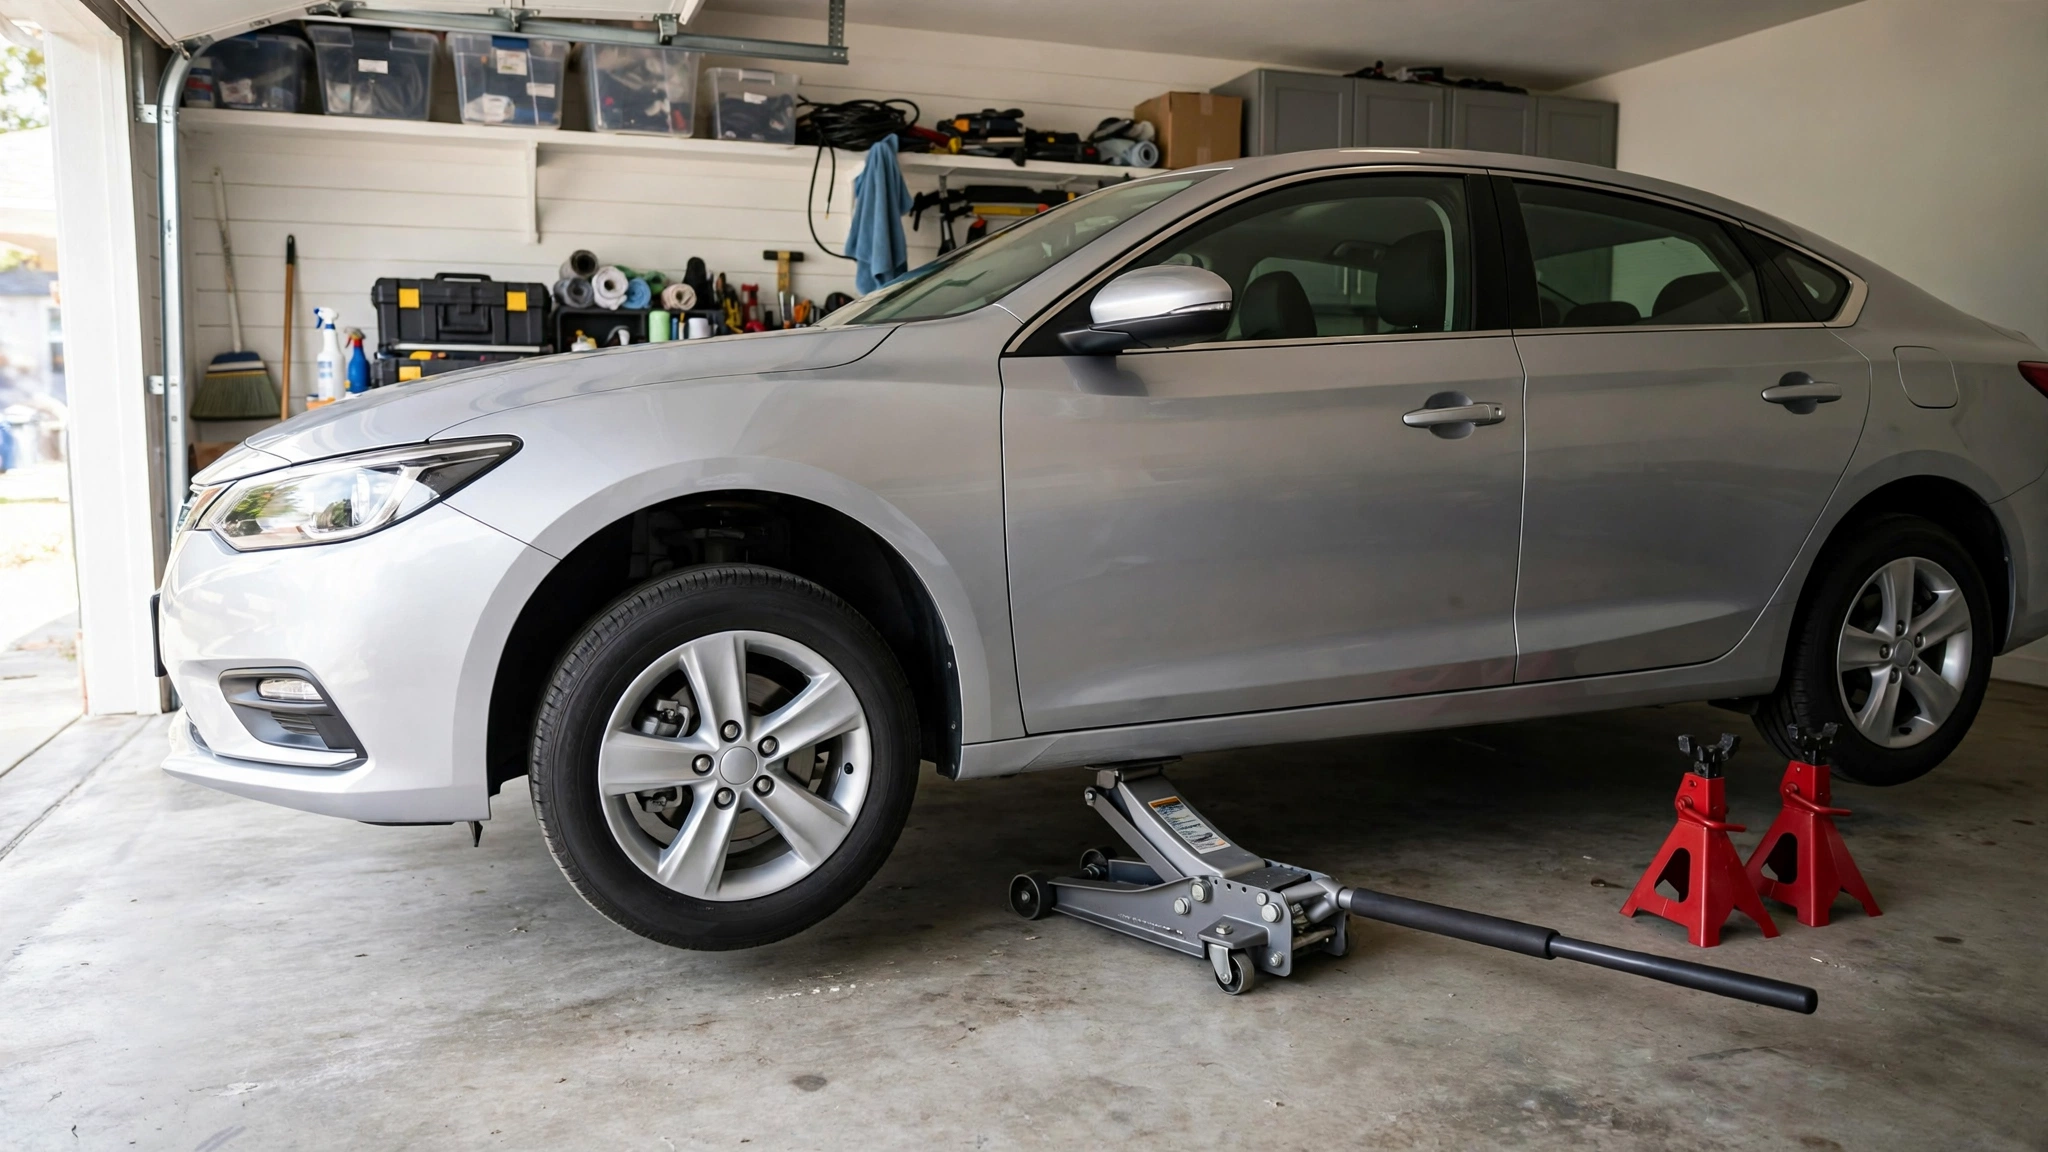
Most crushed-by-car stories do not start with a broken jack. They start with a good jack on the wrong spot, or a good jack on the right spot with no jack stands underneath. Here is the rule that makes everything else in this article matter: the jack lifts the car, the stands hold the car, and your hands never go under a car held only by a jack. Learn where your jack points are, lift once, set the stands, shake the car hard, and then work with confidence.
What You Need Before You Touch the Jack
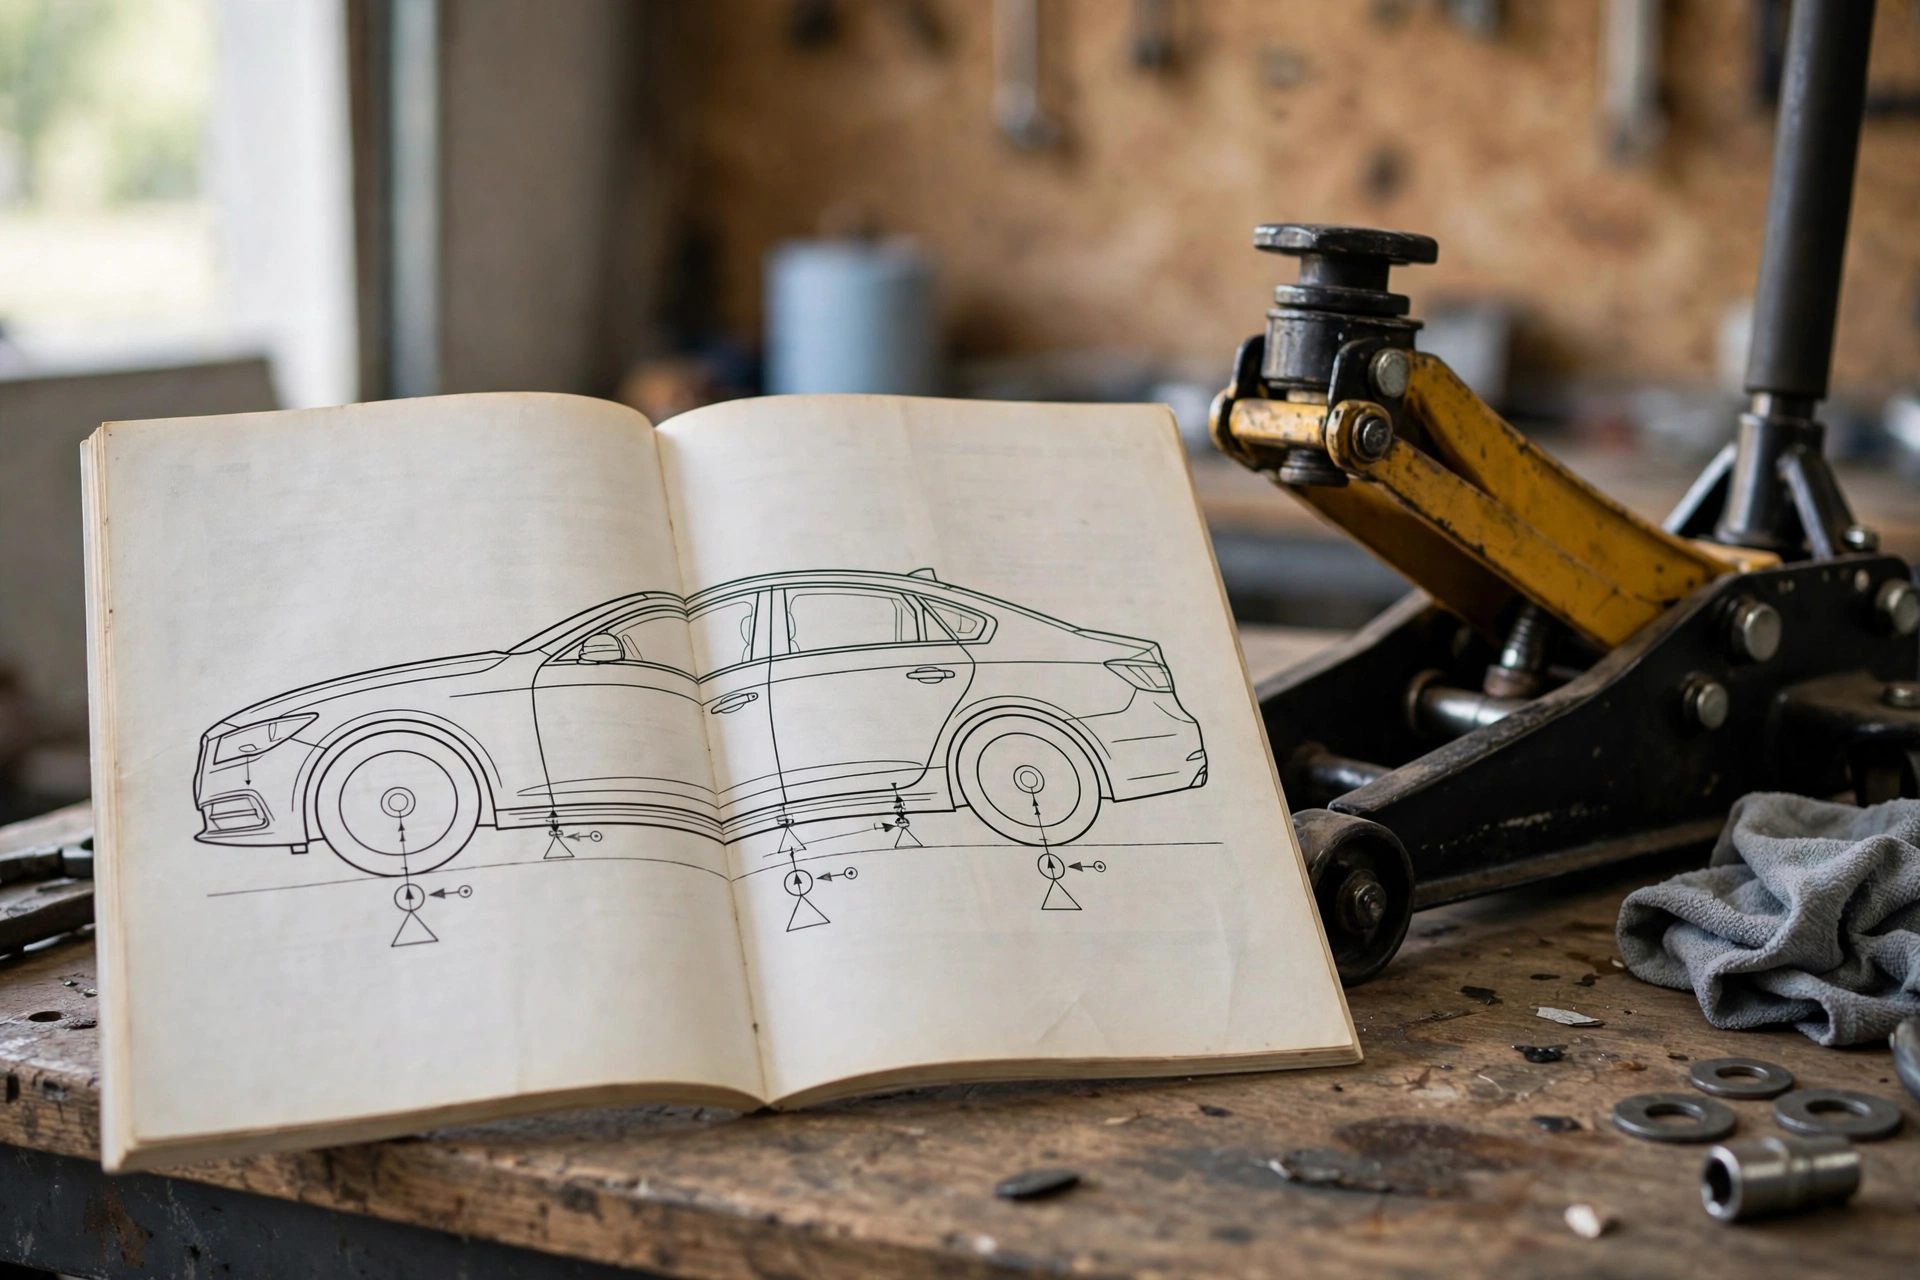
You need four things, and three of them are non negotiable. A hydraulic floor jack rated for at least half your car's weight, a pair of jack stands with a matching rating, and wheel chocks. The fourth is your owner's manual, which has the exact jack point diagram for your car. A pair of 2 ton jack stands is rated for 4,000 pounds combined, which covers two corners of any normal passenger car with room to spare. That is the one number you should trust here. Ratings are printed on the equipment, not guessed.
Concrete driveway or garage floor only. Gravel shifts, dirt shifts, and a sloped driveway lets a lifted car walk sideways off the stands. If the ground is not flat, hard, and dry, reschedule the job. A scissor jack from your trunk counts for one thing: getting the flat tire off on the side of the road. It is not a work jack, and it was never meant to be.
Where Your Car's Jack Points Actually Are
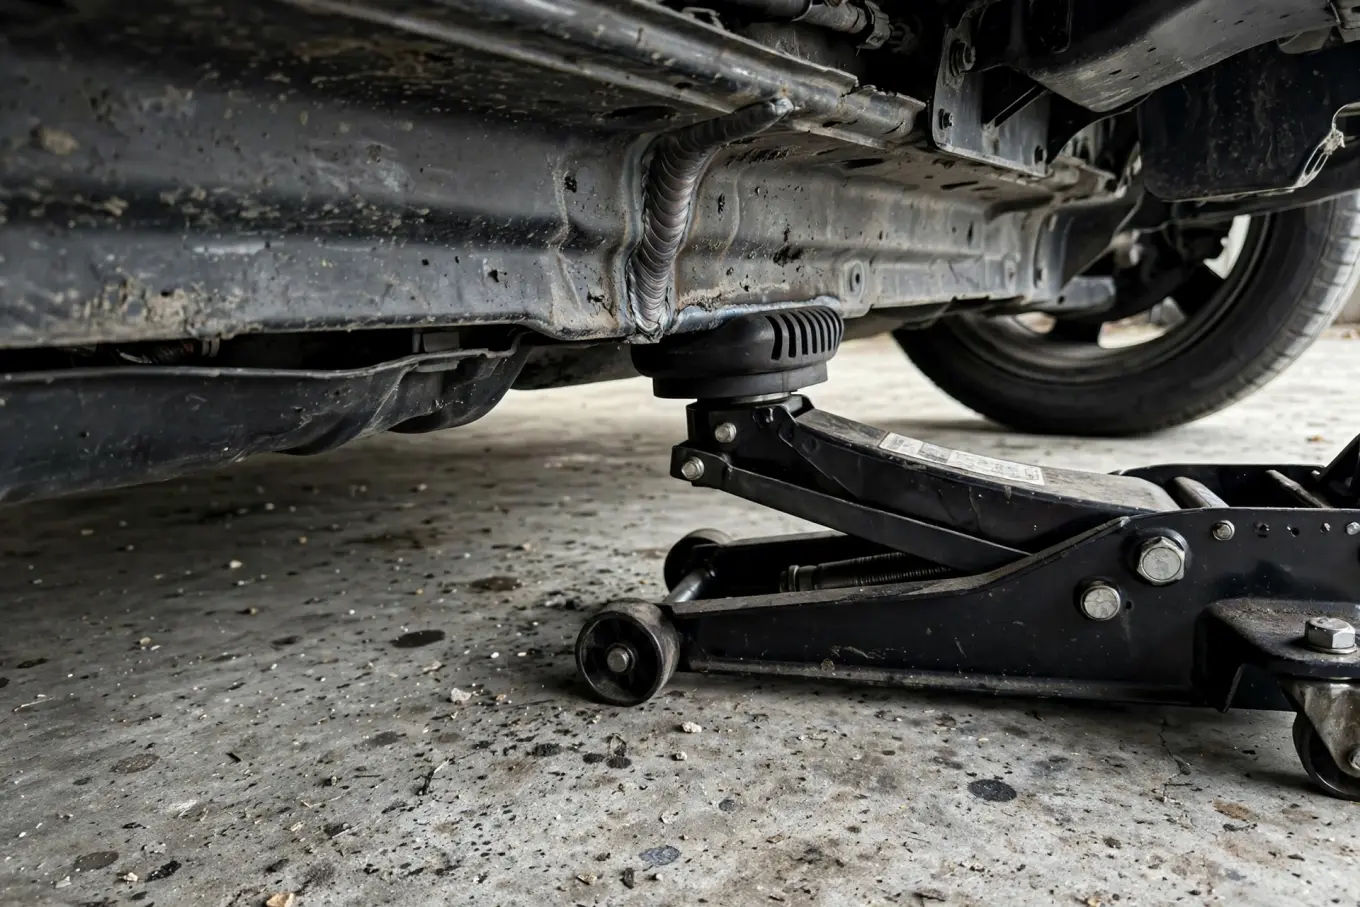
Almost every modern unibody car has four primary jack points: the reinforced pinch welds just behind the front wheels and just ahead of the rear wheels. Look along the rocker panel under the doors. You will see a flat vertical seam, and near each end of it the seam is reinforced. That reinforced section is your jacking point. The metal there is designed to take the load. The thin, unreinforced seam in the middle is not.
There are also lift points for getting the whole car up faster, and your manual names them: usually the front subframe or crossmember, and the rear subframe or the lower control arm mounts. Body on frame trucks have simpler options, the frame rails themselves. What is never a jack point: the oil pan, the transmission pan, the exhaust, plastic undertrays, and most control arms. The oil pan one is worth repeating because it is the most common DIY error. One lift on an aluminum oil pan cracks it, and then your $20 oil change becomes a $300 panic.
A slotted rubber or polyurethane pinch weld adapter on your jack saddle spreads the load and stops the saddle from folding the seam over. Cheap part, worth owning.
The Lift Sequence, Step by Step
This order never changes, no matter what job you are doing:
- Park, brake, chock. Engine off, transmission in park or first gear, parking brake hard on. Chock both sides of the wheel that stays on the ground diagonally opposite the corner you are lifting.
- Line up the jack. Center the saddle on the pinch weld point. On a reinforced seam, the saddle should straddle it, not bite into it.
- Lift slowly. Pump until the tire just clears the ground. No more height than the job needs. Every extra inch is extra leverage for the car to wobble.
- Place the stands. Slide the stands under the nearest solid load point: the subframe, a frame rail, or the reinforced pinch weld beside your jack point. Raise the stands to meet the car, then lower the jack until the car sits fully on the stands.
- Leave the jack as backup. Lower the car onto the stands and keep the jack lightly loaded under a solid point, not carrying weight, just touching. It is your second line of defense.
- Shake test. Push the car hard at the fender, side to side. A properly set car does not rock or creak. If anything moves, reset the stands and do it again.
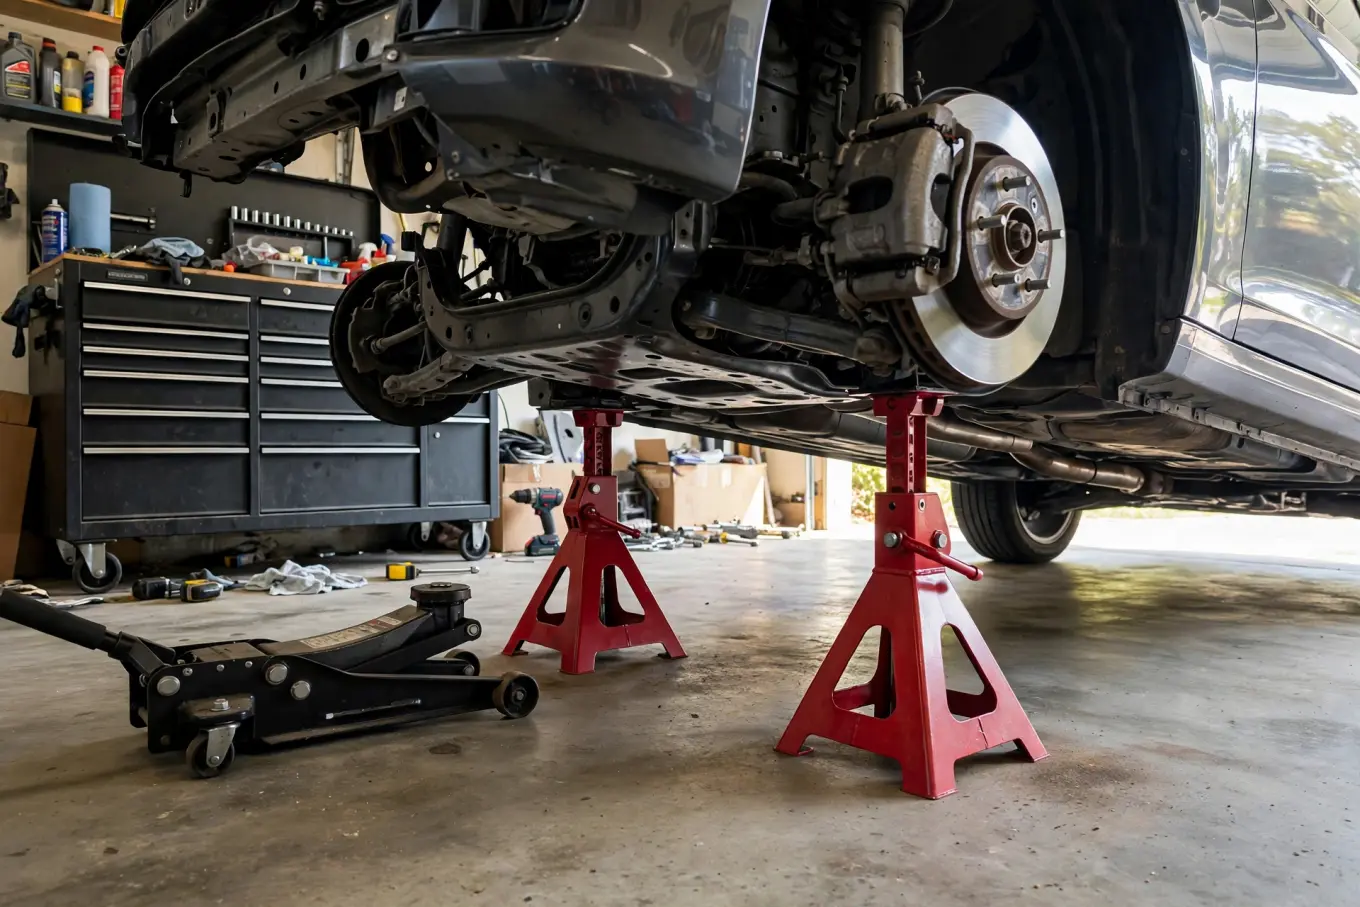
To lower, reverse the sequence: raise the car a hair with the jack, pull the stands, lower slowly, remove the chocks. Never yank a stand out from under a loaded car.
5 Mistakes That Send People to the ER
- Working under a car on the jack alone. Hydraulic seals fail silently. Stands do not.
- Jacking on the oil pan or a plastic tray. You will find out when the pan cracks and a quart of oil hits the floor.
- Stands on soft or sloped ground. The car walks, the stand tips, and physics finishes the job.
- One stand under a car lifted on a slope. Both stands always, in pairs, on flat ground.
- Trusting a borrowed, rusty jack. Check the release valve and the wheels before every use. A jack that will not roll cannot stay centered under the lift point.
If you are not willing to own jack stands, that is an honest answer, and it means you should pay a shop for anything that puts your body under the car. Stands are a cheap part, and they are the entire safety system.
FAQ
Can I change my oil using only the scissor jack in the trunk? No. The scissor jack is a roadside tire tool. Changing oil puts you under the car, and you never go under a car without stands. Buy a floor jack and stands, or pay a shop.
Can jack stands sit on the pinch welds? Yes, on the reinforced sections near the wheels, which are built for it. Do not set them on the thin unreinforced middle of the seam.
Do I really need to chock the wheels? Yes. Chocks are the cheapest part of this entire procedure and they stop the car from rolling off the stands when a bolt breaks loose. Skip them and everything else you did right gets wasted.
What if I cannot find jack points on my car? Check your owner's manual. Some cars hide them under plastic trim pieces that pop out, and some European cars use round puck receivers that need an adapter. When in doubt, the manual's diagram is the final word, not a forum guess.
The bottom line: jacking a car up is a five minute skill that makes every DIY job worth doing, from brake pads to tire rotations to oil changes, safe to attempt. The people who get hurt are not the ones who were scared. They are the ones who skipped a step because it was taking too long. Buy the stands, chock the wheels, shake the car, and work like your life depends on it, because it does. When you are ready to put this skill to work, walk through our 2013-2022 Acura ILX Brake Pad Replacement guide, the 2013-2022 Acura ILX Tire Pressure and Rotation guide, or the 2013-2022 Acura ILX Engine Oil and Filter Change guide. You will also see why a proper lift makes tire rotation a 20 minute job instead of an afternoon.
Safety: Informational DIY. EZ Car Fix is not a shop or dealer.