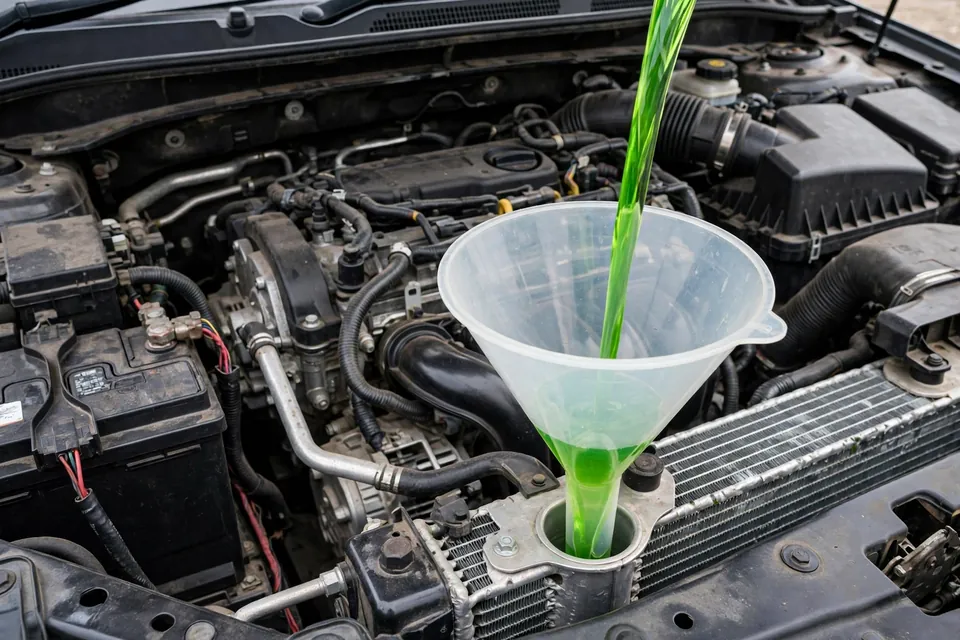
The Fluid Everyone Forgets About (Until They Overheat)
People obsess over oil changes. They remember to check tire pressure. But coolant? Most people forget it exists until their car overheats on the highway and they're calling a tow truck.
Here's what nobody tells you: coolant degrades over time. It doesn't just evaporate or get dirty - it actually breaks down chemically and becomes corrosive.
Old coolant eats your radiator, heater core, water pump, and engine from the inside. You won't see it happening until something fails expensively.
Let me show you how to prevent that.
What Coolant Actually Does
Most people think coolant just prevents overheating. That's only half the job.
Coolant's actual jobs:
- Prevents overheating - raises boiling point of water (265°F vs 212°F)
- Prevents freezing - lowers freezing point (-34°F with 50/50 mix)
- Prevents corrosion - additives protect metal components
- Lubricates - water pump seal, thermostat
- Transfers heat - from engine to radiator efficiently
Without those corrosion inhibitors, your cooling system can rust out in as little as a year or two.
When Coolant Goes Bad
Over time (years, not miles), coolant degrades:
The chemistry breakdown:
- Corrosion inhibitors deplete
- pH level drops (becomes acidic)
- Additives break down
- Contaminants accumulate
What happens with old coolant:
- Corrosion starts inside the system
- Scale and deposits form
- Passages get clogged
- Water pump fails prematurely
- Radiator corrodes from inside
- Heater core clogs or leaks
- Head gasket can fail from overheating
I've seen:
- Radiators with holes eaten through from inside
- Water pumps seized from corrosion
- Heater cores completely clogged
- Thermostats stuck from deposits
All preventable with proper coolant maintenance.
How Often to Flush Coolant
Old conventional wisdom: 30,000 miles or 2 years
Modern coolant (most cars 2010+):
- First change: 100,000-150,000 miles or 10 years
- After that: 50,000 miles or 5 years
Reality check from my experience:
Every 5 years or 60,000 miles is a good middle ground, regardless of what type you have.
Why? Because:
- 10 years is optimistic
- Coolant degrades from heat cycles, not just time
- Earlier is better than too late
Check more often if:
- You tow regularly (more heat stress)
- You have an older vehicle (more contamination risk)
- You live in extreme climates
- Coolant looks rusty or has debris
Types of Coolant (This Matters)
Coolant isn't just green or red - there are actual chemical differences.
Inorganic Additive Technology (IAT) - Green
Old technology, found in:
- Older cars (pre-2000s mostly)
- Some American domestics
Lifespan: 2-3 years or 30,000 miles
Pros: Cheap, widely available Cons: Short life, not compatible with modern metals/plastics
Organic Acid Technology (OAT) - Orange/Red
Found in:
- GM vehicles (Dex-Cool)
- Many modern cars
Lifespan: 5 years or 150,000 miles
Pros: Long life, better corrosion protection Cons: Can cause issues if mixed with wrong type
Hybrid Organic Acid Technology (HOAT) - Yellow/Orange
Found in:
- Chrysler, Ford, European cars
- Many imports
Lifespan: 5 years or 150,000 miles
Pros: Best of both worlds, good protection Cons: More expensive
Phosphate-Free HOAT (P-HOAT) - Pink/Blue
Found in:
- Asian imports (Toyota, Honda, Nissan)
- Some European cars
Lifespan: 5 years or 100,000 miles
Pros: Designed for specific metals in these engines Cons: Must use correct type
CRITICAL: Don't mix coolant types. Use what your manual specifies.
Mixing different types can:
- Neutralize corrosion inhibitors
- Form gel or sludge
- Clog the system
- Cause expensive damage
If you don't know what's in there: Flush completely and start fresh with correct type.
Signs Your Coolant Needs Changing
Visual signs:
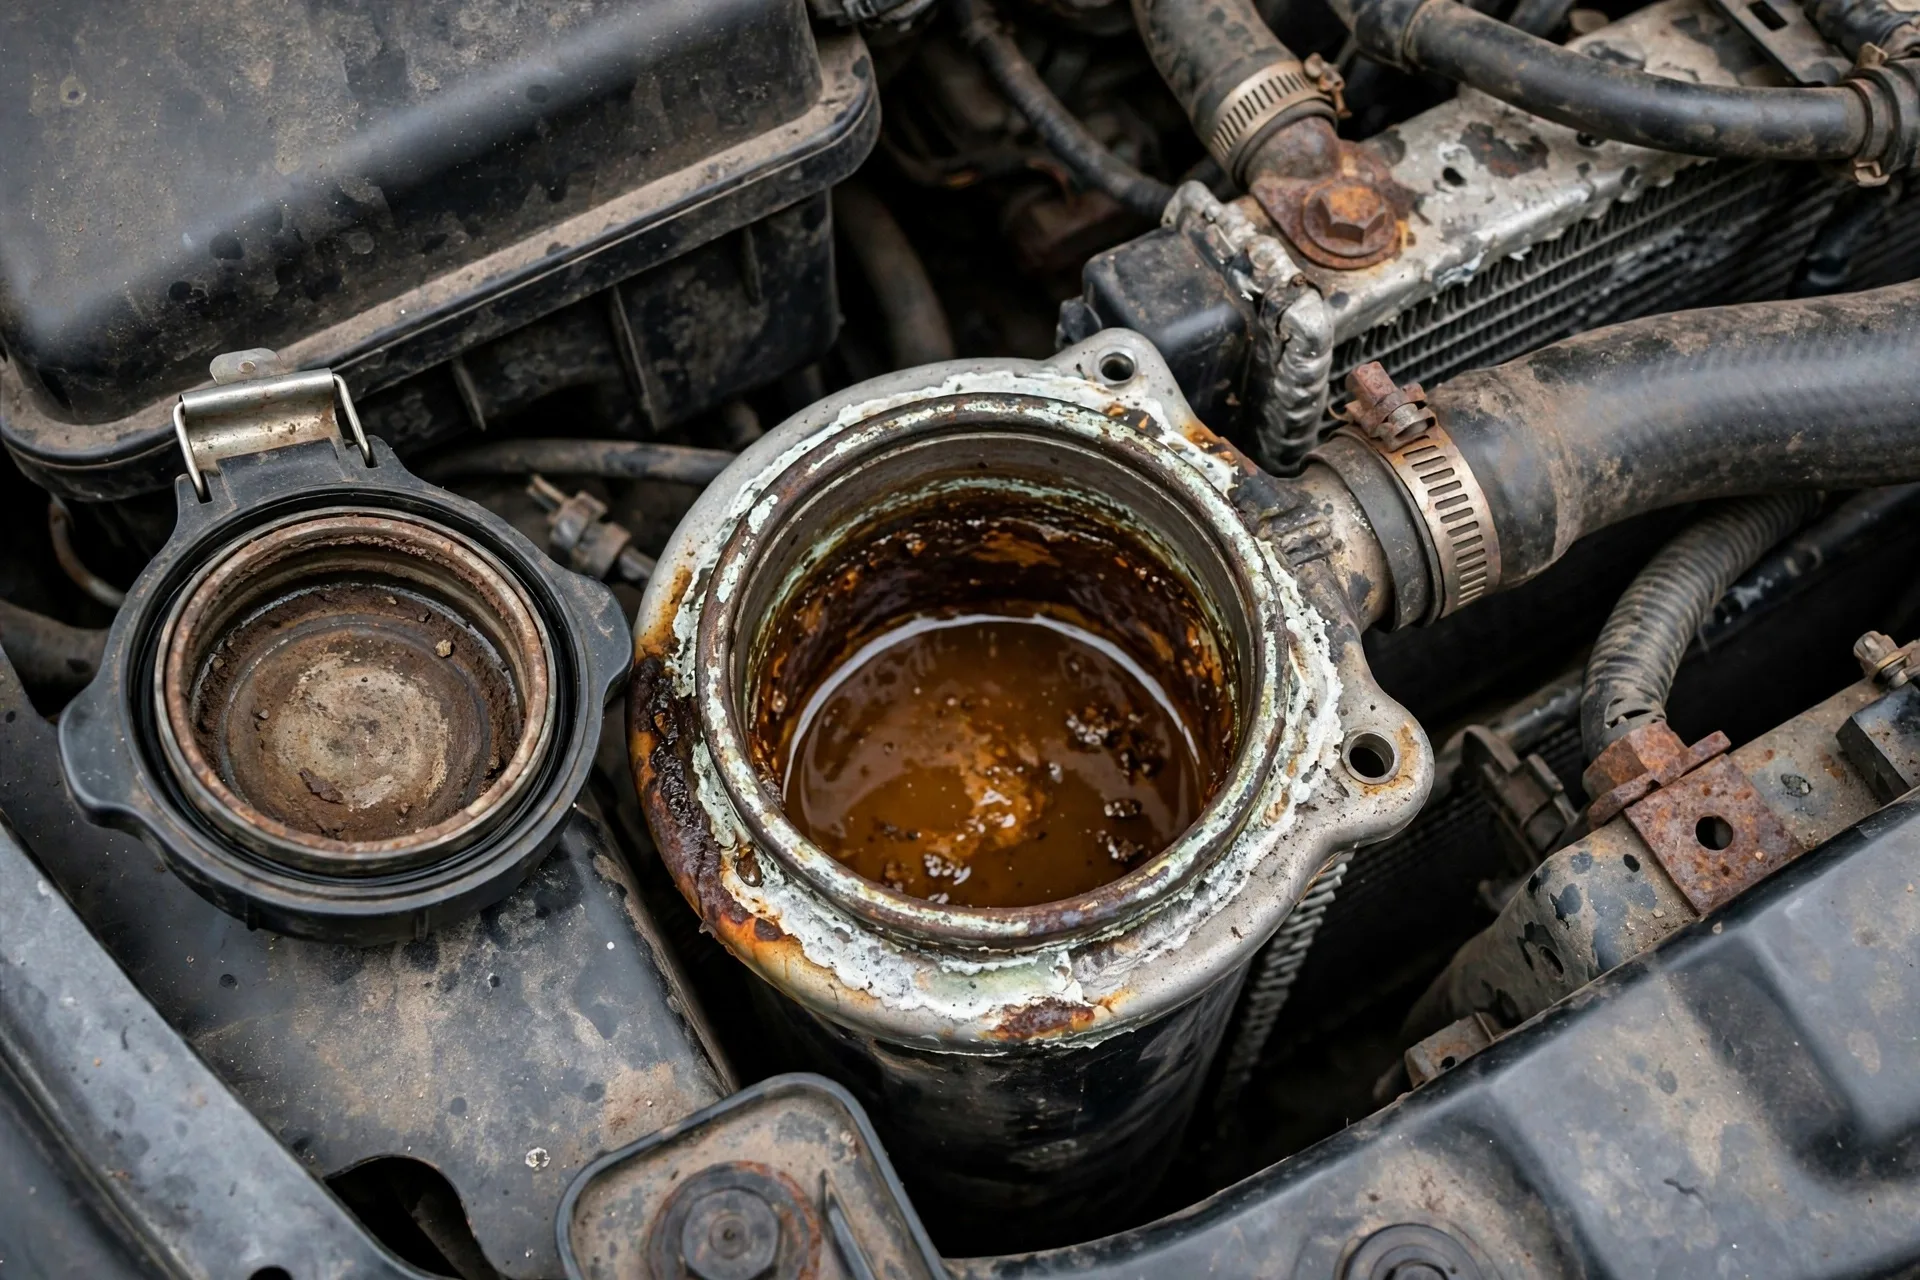
- Color is rusty or muddy (should be clear and bright)
- Floating particles or debris
- Oily film on surface (bad - head gasket issue)
- Crusty deposits on radiator cap
Performance signs:
- Engine running hotter than normal
- Heater not as warm
- Sweet smell (coolant leak)
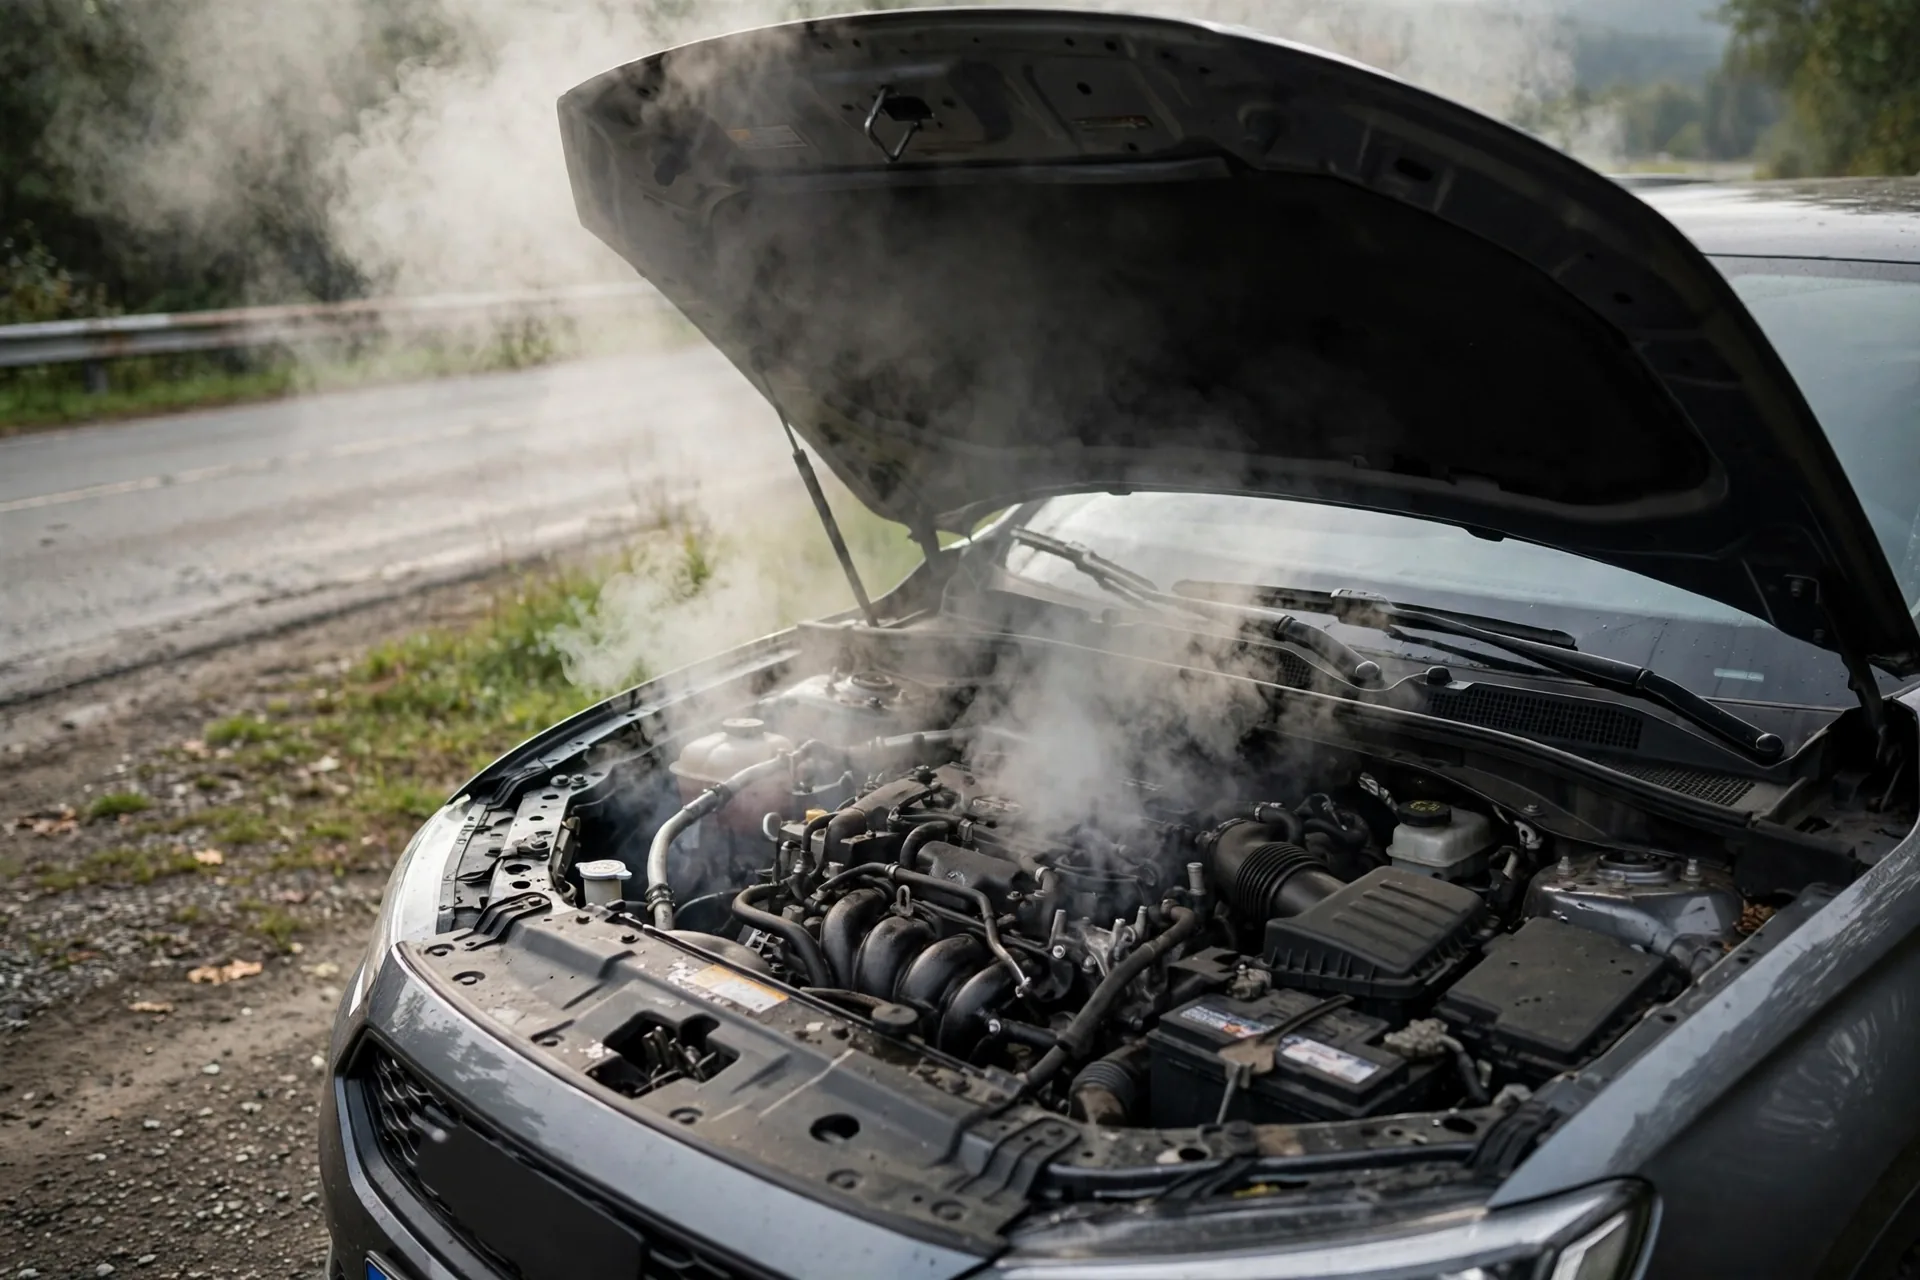
- Steam from hood
Physical evidence:
- Coolant is low frequently (leak somewhere)
- White exhaust smoke (coolant burning)
- Milky oil (coolant in oil - bad)
Test strips available:
You can buy coolant test strips ($10-15) that test:
- pH level
- Freeze point
- Additive concentration
If pH is below 7.5 or additives are depleted, time to flush.
Related guide: 2011-2015 Chevrolet Cruze - Thermostat Replacement — A stuck thermostat mimics failing coolant — here is how to replace it.
DIY Coolant Flush: The Right Way
Shops charge $100-200 for this. You can do it for $30-50 in parts.
Difficulty: 4/10 Time: 1-2 hours (includes waiting for engine to cool)
What You'll Need
Parts:
- Correct coolant (1-2 gallons depending on car)
- Distilled water (1-2 gallons)
- Radiator drain pan (holds 2-3 gallons)
- Optional: Cooling system flush chemicals
Tools:
- Wrench or pliers (for drain plug)
- Funnel
- Rags/towels
- Gloves (coolant is slippery and toxic)
Safety:
- Eye protection
- Coolant is poisonous - keep away from pets/kids
- Engine MUST be completely cold
The Process
Step 1: Let Engine Cool Completely
CRITICAL: Never open the cooling system when hot. Pressurized hot coolant will spray out and cause severe burns.
Wait at least 2-3 hours after driving. Overnight is better.
Test: Touch radiator - should be cool to touch
Step 2: Locate Drain Plug
Bottom of radiator - usually:
- Plastic petcock (twist to open)
- Drain plug (unscrew with wrench)
- Or need to remove lower radiator hose
Can't find it? Check manual or YouTube for your specific car.
Step 3: Position Drain Pan
Place large drain pan under radiator drain. Have extra capacity - systems hold 1-3 gallons usually.
Step 4: Remove Radiator Cap
This allows air in so coolant can drain freely.
Make sure engine is cold before doing this.
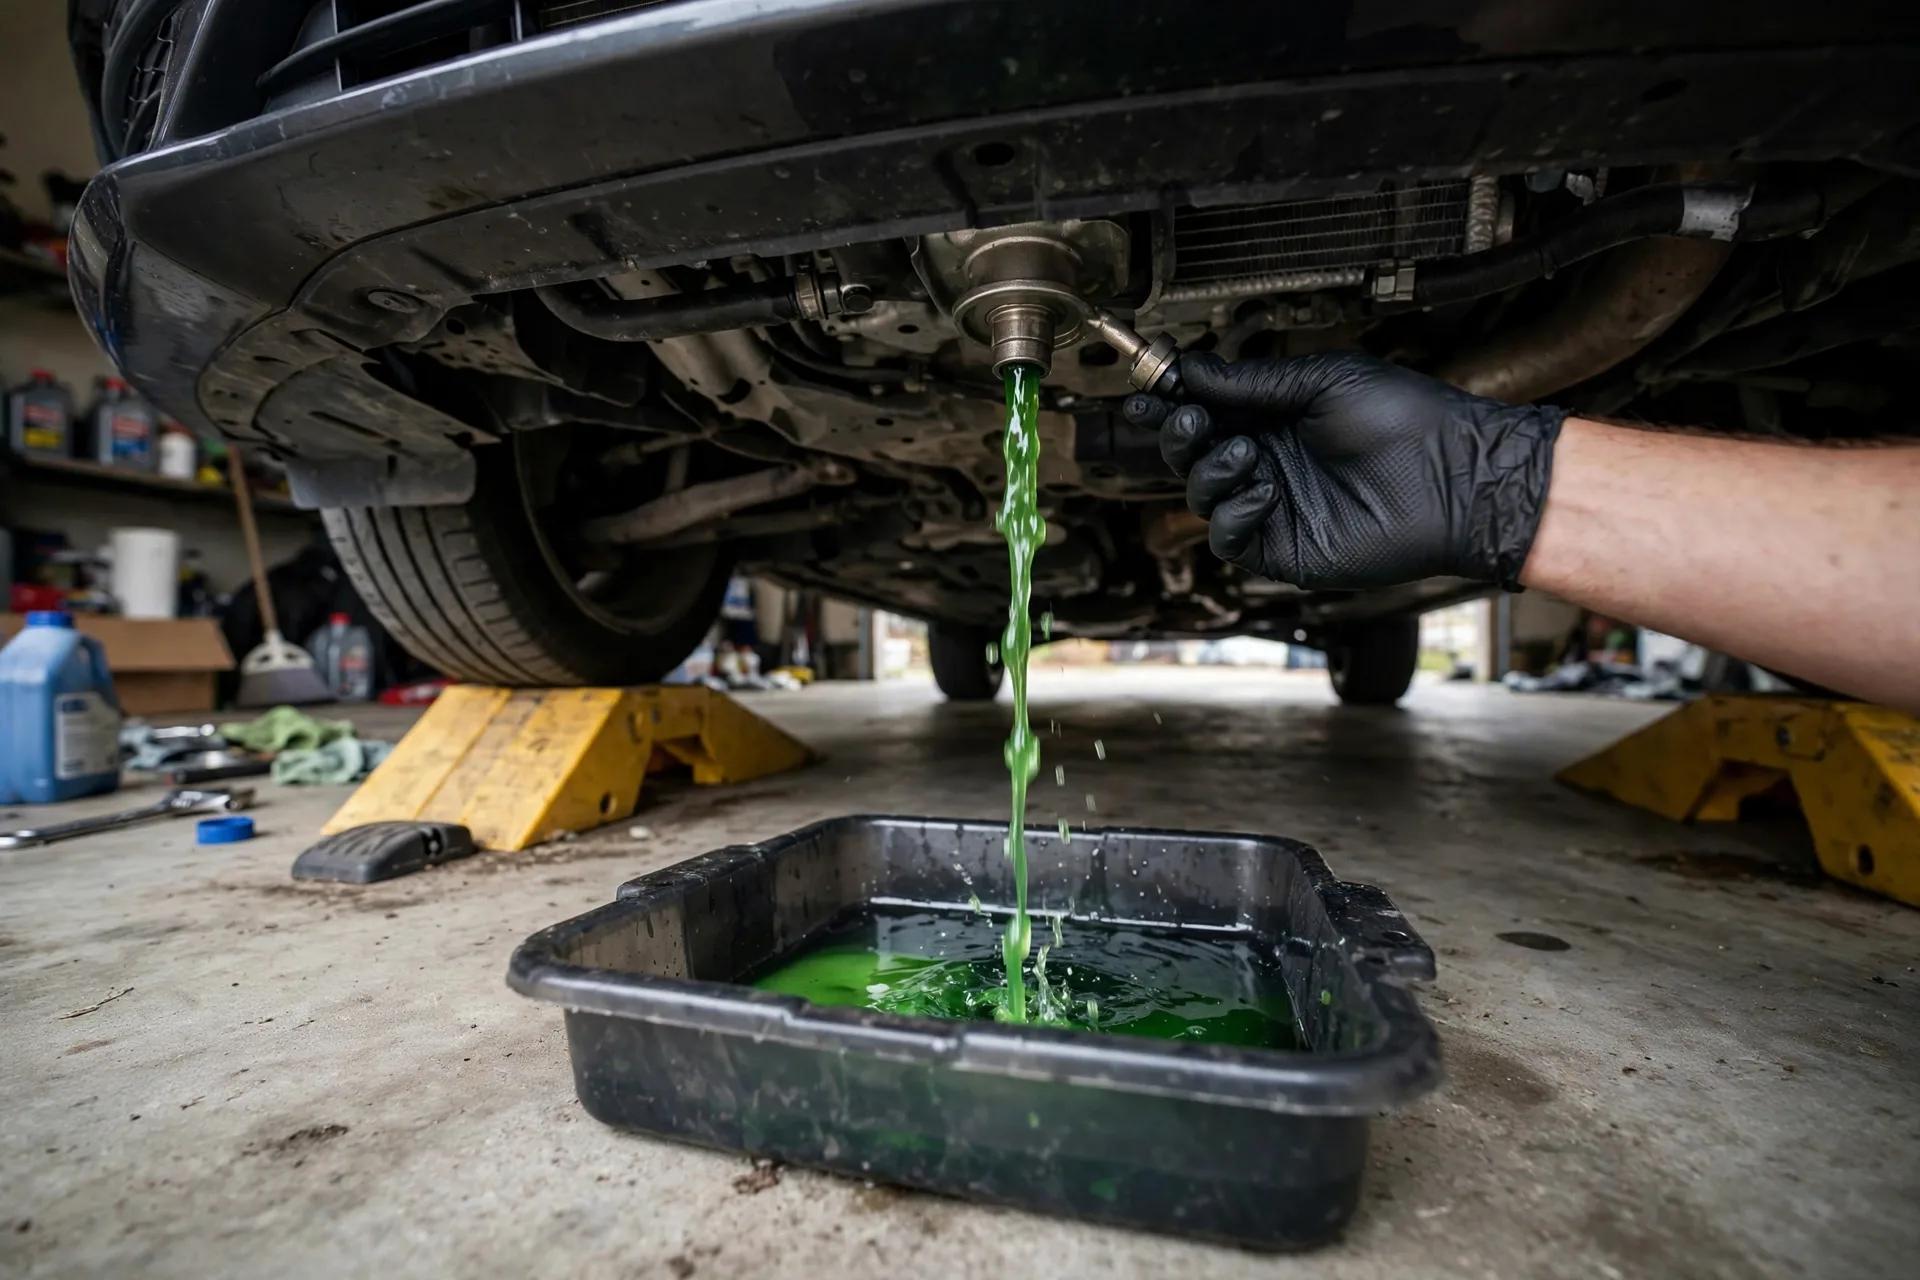
Step 5: Open Drain and Let Coolant Out
Open drain plug/petcock. Coolant will flow out.
Wait until it stops dripping (5-10 minutes).
Step 6: Close Drain
Tighten drain plug or close petcock. Don't overtighten plastic parts - they'll crack.
Step 7: Fill With Distilled Water
Pour distilled water into radiator (or overflow tank if that's the fill point) until full.
Why distilled? Tap water has minerals that can cause deposits.
Step 8: Run Engine With Water
- Start engine
- Let idle for 5-10 minutes with heat on full blast
- Watch temperature gauge - don't overheat
- This circulates water through system
Why this step? Flushes out old coolant residue.
Step 9: Drain Again
- Let engine cool (30 minutes minimum)
- Drain water out same way
- You're flushing out old coolant
Step 10: Optional - Use Flush Chemical
If system is really dirty or rusty:
- Add radiator flush chemical with water
- Run engine per instructions (usually 10-30 minutes)
- Drain
- Fill with water and drain again (rinse)
Step 11: Final Fill With Coolant
Now fill with proper coolant mixture:
Pre-mixed coolant (50/50): Pour straight in, easiest option
Concentrated coolant: Mix 50% coolant, 50% distilled water
Fill until:
- Radiator is full to neck
- Overflow tank is at "FULL COLD" line
Step 12: Burp the System (Remove Air)
Air pockets can cause overheating. You need to remove them.
Method 1 (most cars):
- Leave radiator cap off
- Start engine
- Let idle with heat on full
- Watch coolant level - add as needed
- Rev engine to 2,000 RPM a few times
- Watch for air bubbles coming out
- When no more bubbles and level stable, install cap
Method 2 (if there's a bleed screw):
Some cars have a bleed valve at highest point of system:
- Open bleed valve
- Fill radiator
- Close valve when coolant (not air) comes out
Step 13: Check for Leaks
- Let engine warm up to operating temperature
- Check all hoses, connections, drain plug
- Look for drips or wet spots
Step 14: Test Drive
- Drive normally for 10-15 minutes
- Watch temperature gauge
- Should stay in normal range
- Heat should work properly
Step 15: Recheck Level Next Day
After the engine cools overnight:
- Check coolant level again
- Top off if needed
- Any remaining air will have worked out
Disposing of Old Coolant
Never pour coolant down drain or on ground - it's toxic.
Options:
- Take to auto parts store (some accept it)
- Hazardous waste facility
- Some shops will take it for small fee
Warning: Coolant tastes sweet and will kill pets if they drink it. Keep it secured.
Related guide: Ford F-150 - Coolant Flush — Watch the full flush done right on a Ford F-150.
Common Mistakes
1. Opening Hot System
This is dangerous. Hot pressurized coolant sprays out. Severe burns result.
Always wait until completely cold.
2. Using Tap Water
Tap water minerals cause deposits and corrosion. Always use distilled water.
3. Wrong Coolant Type
Using wrong type can cause:
- Gel formation
- Corrosion
- Seal damage
- System clogging
Always use specified type.
4. Not Burping Air Out
Air pockets cause:
- Overheating
- No heat from vents
- Water pump damage
Take time to properly burp system.
5. Mixing Coolant Types
Different coolant chemistries don't always mix well. If you don't know what's in there, flush it completely.
6. Incorrect Mix Ratio
50/50 coolant to water is standard. Don't do:
- 100% coolant (worse heat transfer, higher freeze point)
- Too much water (freezes, no corrosion protection)
7. Forgetting Radiator Cap
Driving without cap = coolant boils over immediately.
Double-check you installed it after burping.
When to Call a Professional
Do it yourself if:
- You have time and space
- Drain plug is accessible
- System is straightforward
- No major leaks or problems
Call a pro if:
- You have leaks (fix first)
- System has been contaminated (oil in coolant)
- You don't have tools/space
- You're not confident
- Your time is worth more than $100-150
Professional equipment: Shops have vacuum fill machines that:
- Remove all air automatically
- Ensure complete fill
- Save time
- Guarantee no air pockets
Worth it if you have a problematic system.
Maintaining Your Cooling System
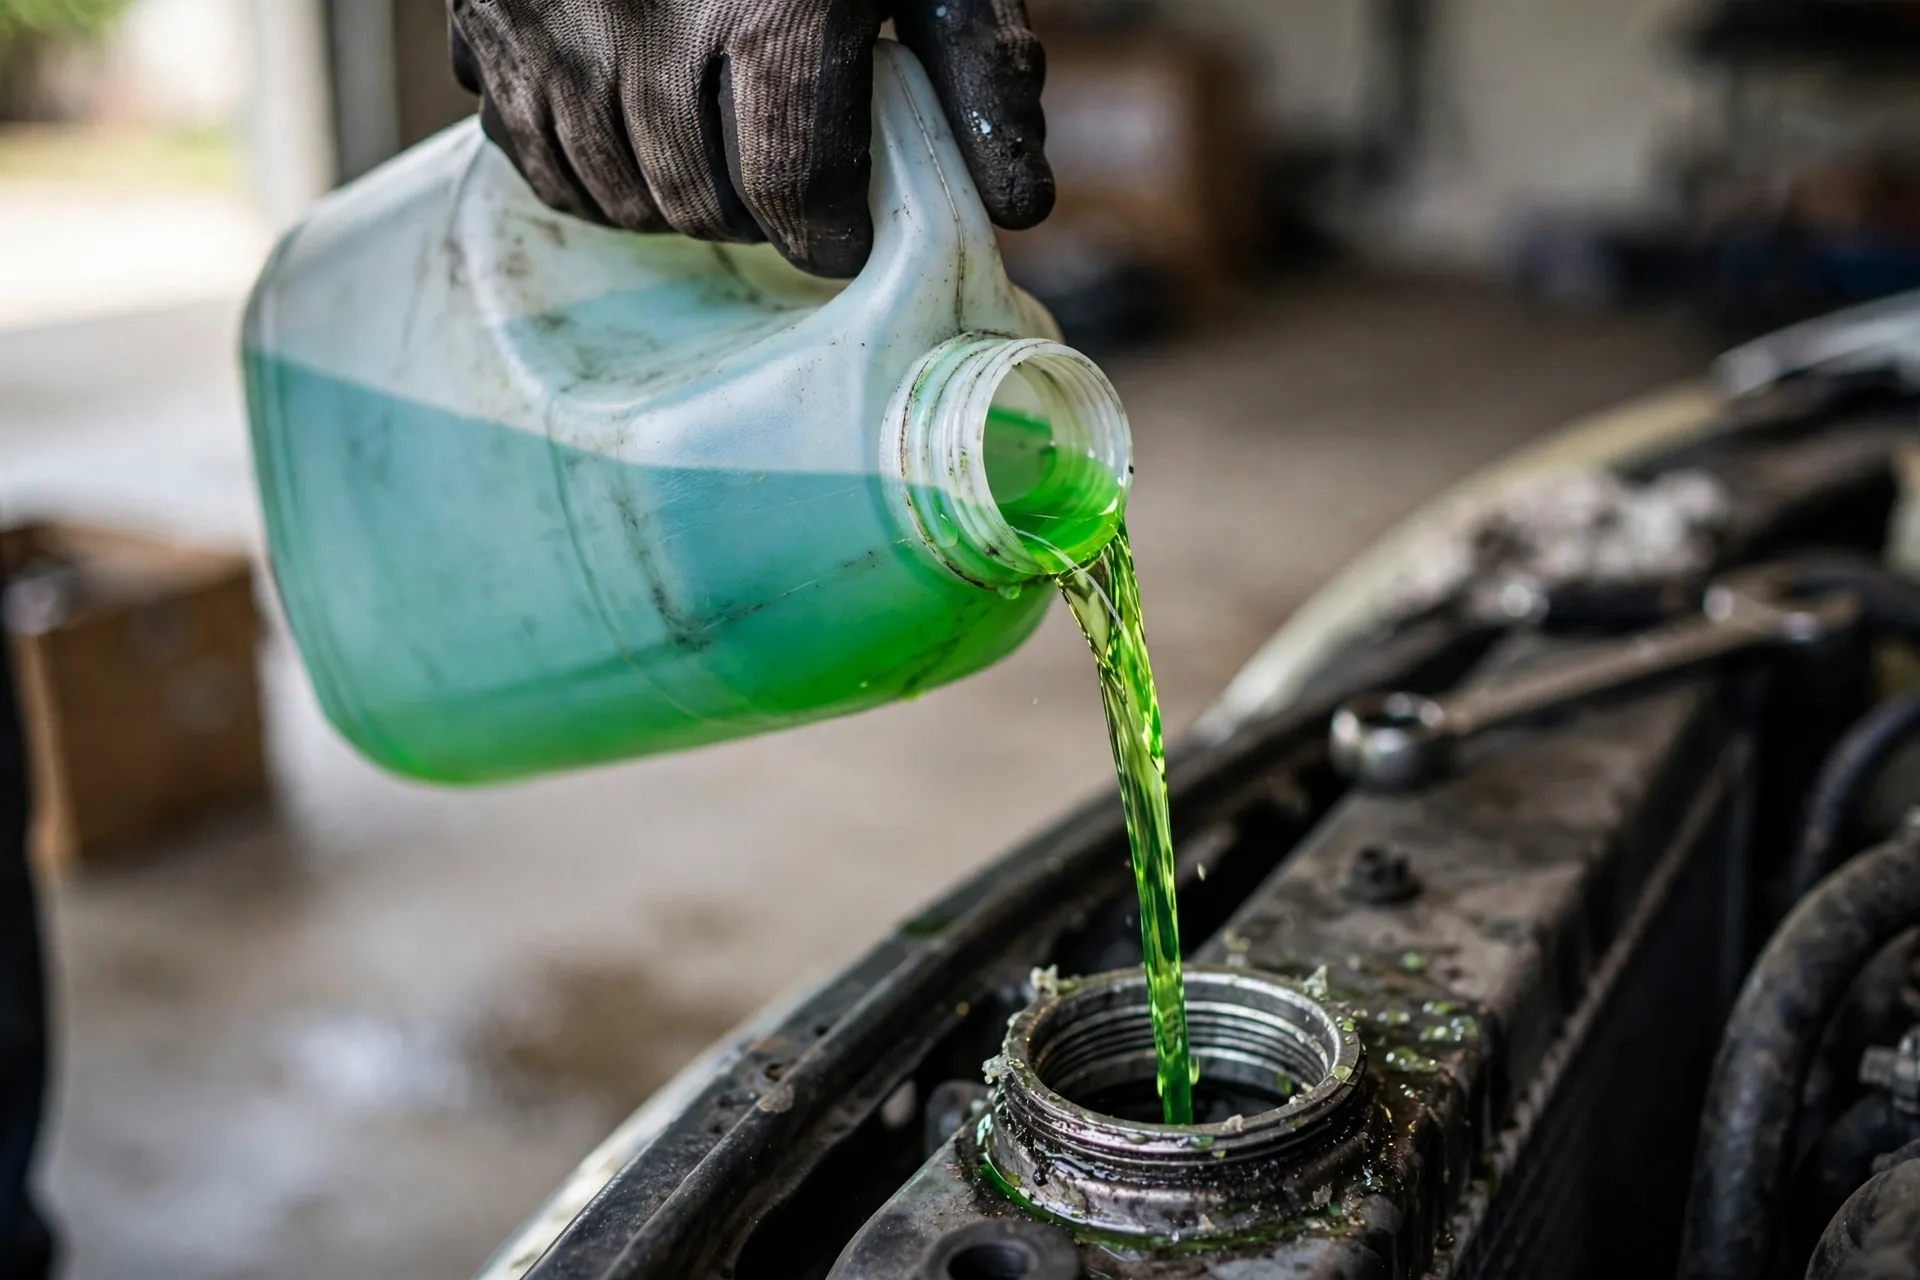
Regular maintenance:
Monthly:
- Check coolant level (cold engine)
- Look for leaks under car
Annually:
- Inspect hoses for cracks/soft spots
- Check radiator cap condition
- Pressure test system
- Test coolant pH/freeze point
Every 5 years:
- Flush and replace coolant
- Replace radiator cap
- Consider replacing old hoses
Signs of cooling system problems:
- Engine overheats
- Heater doesn't work
- Sweet smell
- White exhaust smoke
- Coolant leaks
- Fluctuating temperature gauge
Address immediately - cooling system failure can destroy an engine fast.
Related guide: 2016-2025 Chevrolet Malibu - Radiator Hose Replacement — Hoses are the other cooling-system wear item — here is the replacement guide.
Cost Breakdown
DIY:
- Coolant (2 gallons premix): $25-40
- Drain pan: $10 (one-time)
- Funnel: $3 (one-time)
- Total: $30-50
Shop:
- Coolant flush service: $100-200
- Includes proper disposal
Savings: $50-150
The Bottom Line
Coolant maintenance is often neglected until something fails. Don't wait.
Why it matters:
- Prevents overheating
- Prevents expensive corrosion damage
- Extends life of water pump, radiator, heater core
- Cheap insurance compared to repair costs
My recommendation:
- Flush every 5 years or 60,000 miles
- Check level monthly
- Use correct coolant type
- Address leaks immediately
A $100-200 coolant flush beats:
- $600 radiator replacement
- $800 water pump job
- $1,000 heater core (labor intensive)
- $3,000+ head gasket from overheating
Take care of your cooling system. It's protecting a $5,000+ engine.
Questions? Drop them below. I've done thousands of cooling system services.
Stay cool out there.
- Tom Becker, Senior Technician
Last reviewed: October 2026.