The Maintenance Nobody Does (And Then Complains About Tire Costs)
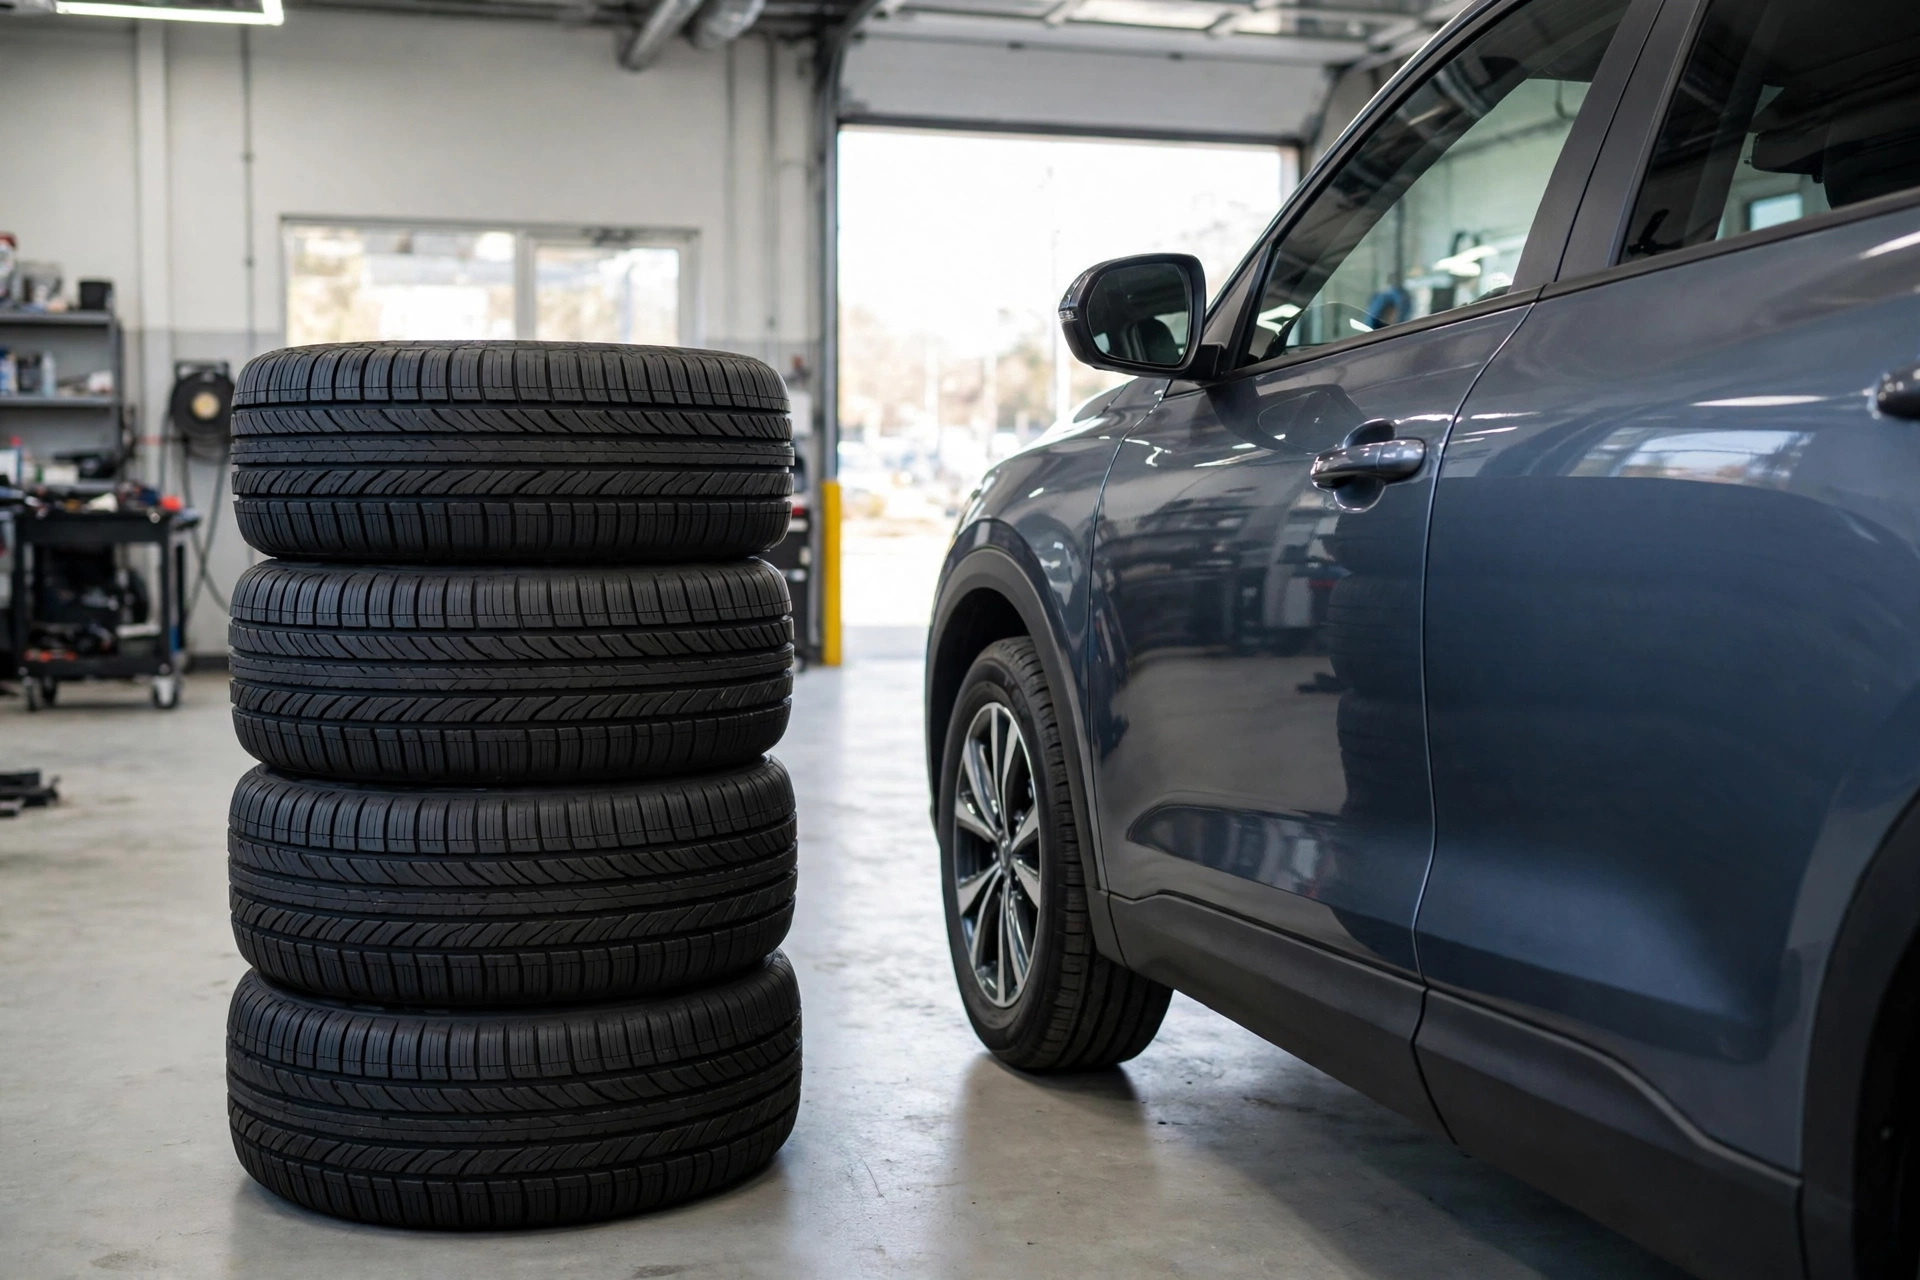
Tires are expensive. A set of four decent tires costs $400-800 these days. Maybe more for trucks or performance cars.
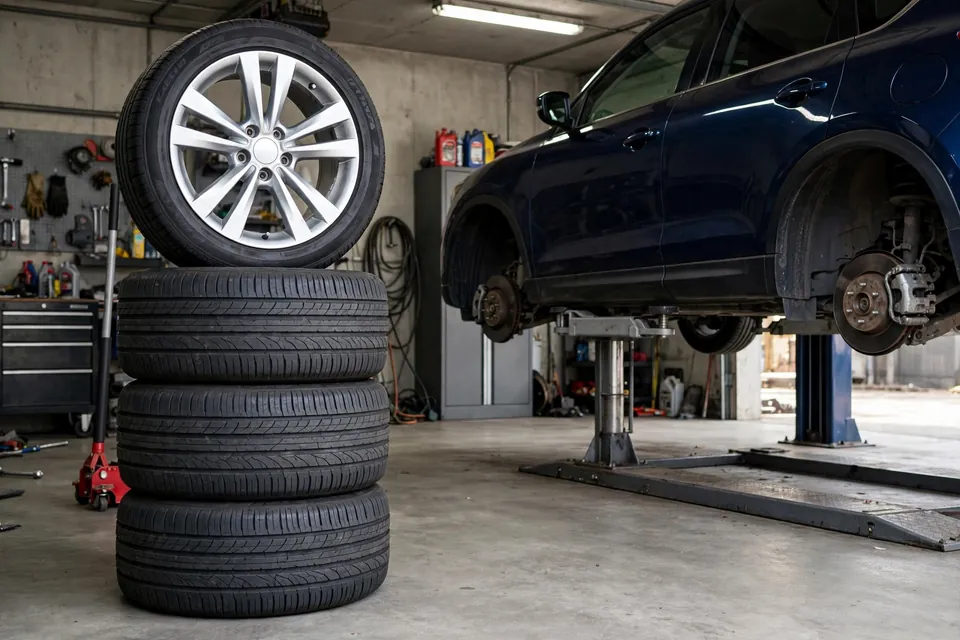
Yet most people skip the one simple maintenance task that can make them last twice as long: tire rotation.
I've seen people replace tires at 25,000 miles because they wore unevenly. Those same tires, with proper rotation, would've lasted 50,000-60,000 miles.
That's literally throwing away $400+ because they skipped a 30-minute job.
Let me show you how to stop wasting money on tires.
Why Tires Wear Unevenly
Your tires don't all wear at the same rate. Here's why:
Front tires (especially on FWD cars):
- Do all the steering work
- Handle most of the braking force
- On FWD cars, also handle all the power
- Result: Wear 2-3x faster than rears
Rear tires:
- Just follow along
- Less stress
- Wear much slower
Driver's side vs. passenger side:
- Roads are crowned (higher in middle)
- You drive on the right = left tires work harder
- Slight but measurable difference
Inside vs. outside edge:
- Alignment issues cause one edge to wear faster
- Camber, toe, caster all affect wear patterns
Without rotation, your front tires would be bald while rears still look new. Then you often end up buying all four, because mixing very worn and new tires — especially on AWD — is unsafe.
How Often to Rotate Tires
Standard recommendation: Every 5,000-8,000 miles
My real-world advice:
- Every oil change if you're using synthetic (7,500-10,000 miles)
- Every other oil change if you change oil frequently
- At minimum every 10,000 miles
Why timing matters:
Wait too long and uneven wear becomes permanent. You can't undo cupping, scalloping, or extreme edge wear.
Rotate regularly and all four tires wear evenly. When they're done, they're all done together.
Signs you've waited too long:
- Front tires significantly more worn than rears
- Cupping or scalloping (bumpy wear pattern)
- One edge worn more than the other
- Noise from tires increases
Tire Rotation Patterns
There are different rotation patterns depending on your drivetrain:
Front-Wheel Drive (FWD)
Pattern: Forward Cross
- Front left → Rear right
- Front right → Rear left
- Rear left → Front left
- Rear right → Front right
Why: Fronts do all the work, need to move to rear position to rest
Rear-Wheel Drive (RWD)
Pattern: Rearward Cross
- Rear left → Front right
- Rear right → Front left
- Front left → Rear left
- Front right → Rear right
Why: Rears handle power, fronts handle steering
All-Wheel Drive (AWD) / 4WD
Pattern: X-Pattern
- Front left → Rear right
- Front right → Rear left
- Rear left → Front right
- Rear right → Front left
Why: All tires work equally hard, need maximum mixing
Directional Tires
Pattern: Front to Rear (same side)
- Front left → Rear left
- Front right → Rear right
- That's it
Why: Directional tires have tread designed to rotate one way. Can't cross them without remounting.
Staggered Sizes (Sports Cars)
Can't rotate - different size fronts and rears
You'll just have to replace fronts more often. Part of owning a performance car.
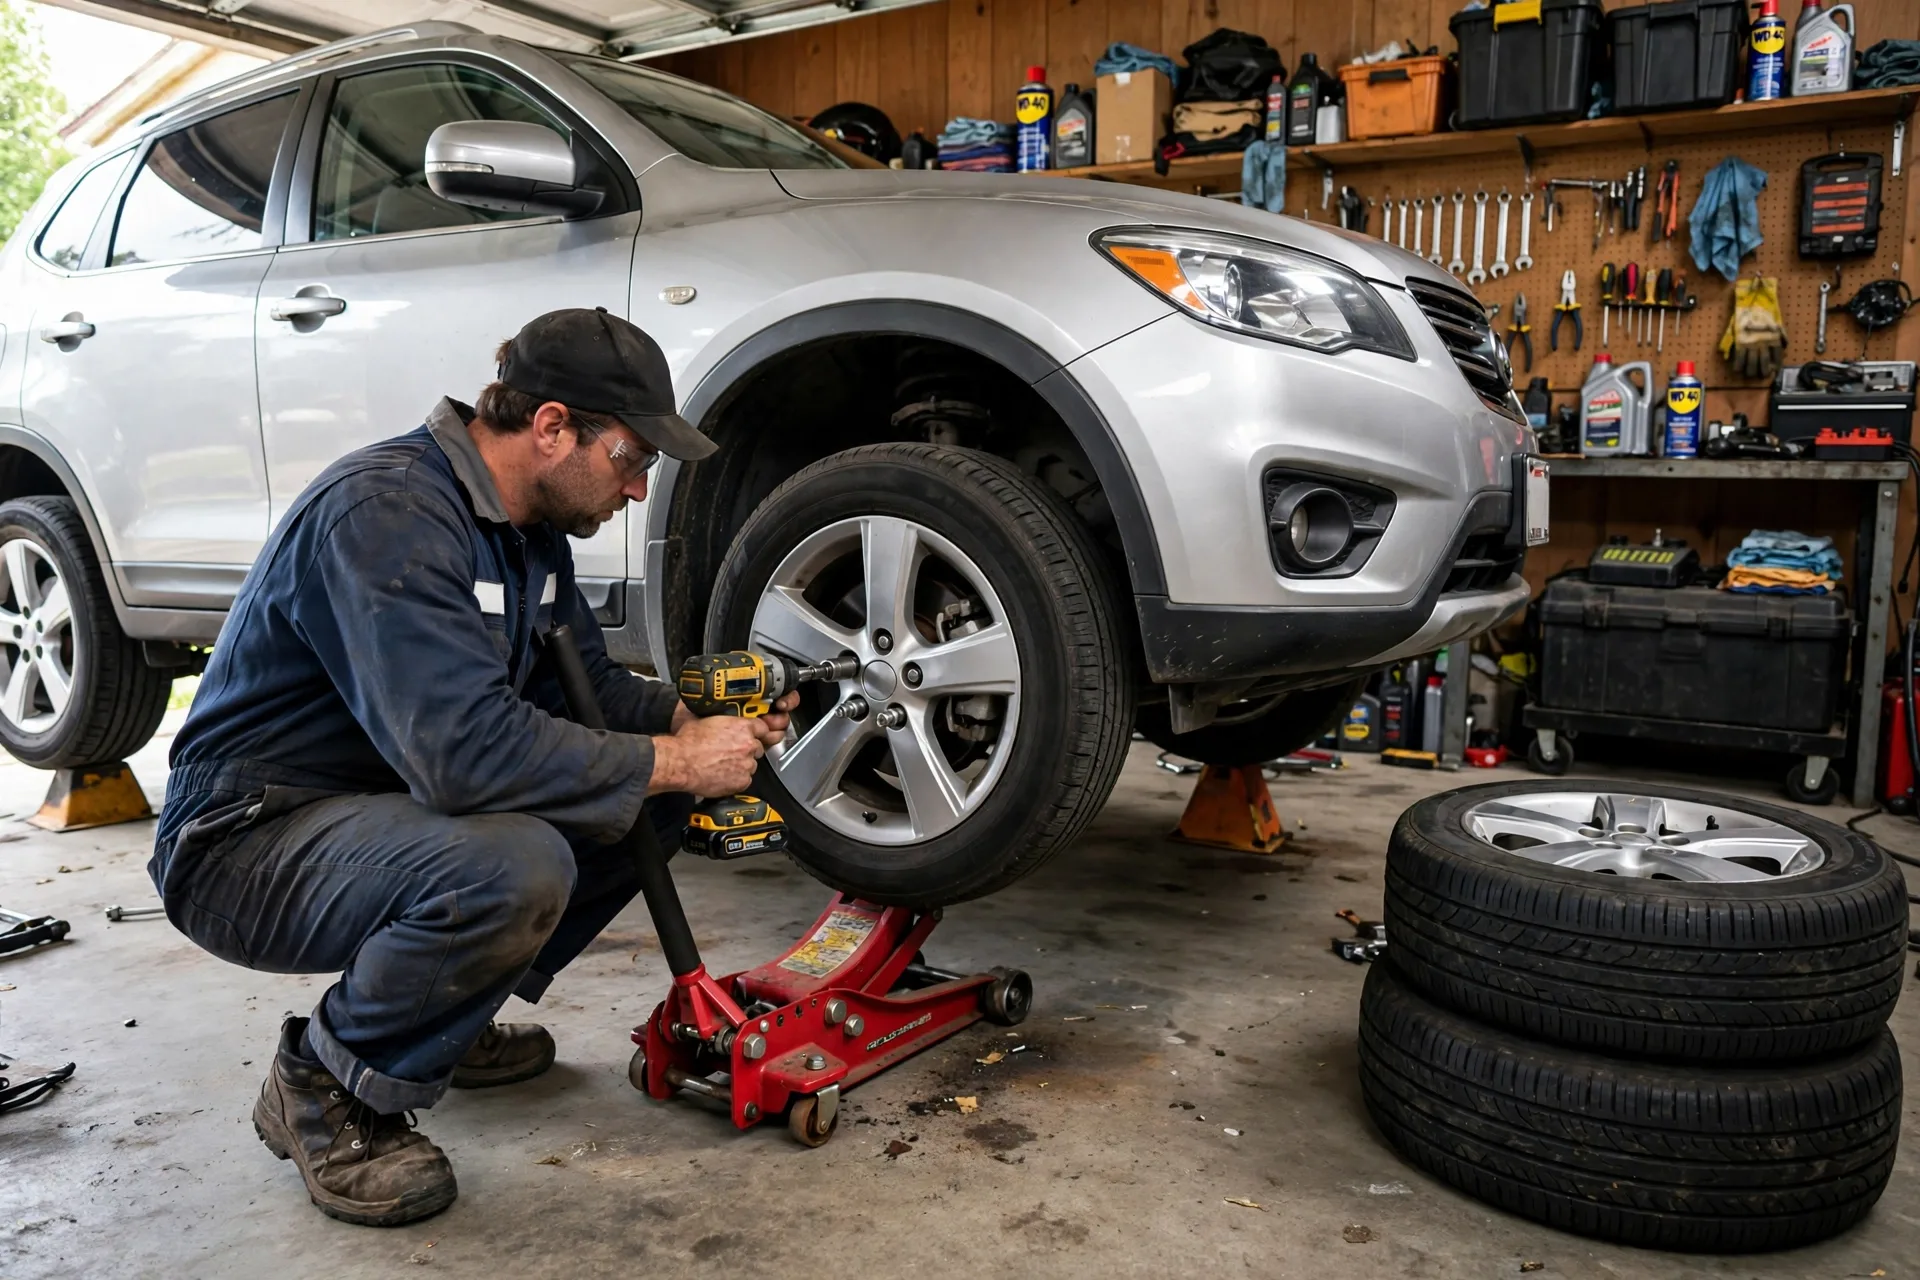
DIY Tire Rotation (Step by Step)
Difficulty: 3/10
Time: 30-45 minutes
Savings: $20-40 per rotation
What You Need
Essential:
- Jack (floor jack is best)
- Jack stands (NEVER trust just a jack)
- Lug wrench or impact wrench
- Wheel chocks
- Gloves
Nice to have:
- Torque wrench
- Breaker bar (for tight lug nuts)
- Tire pressure gauge
- Air compressor or way to add air
Safety gear:
- Safety glasses (lug nuts under tension)
- Gloves (keep hands clean)
The Process
Step 1: Park on Level Ground
Flat, solid surface. Not on a slope. Not on grass or dirt.
Put car in Park (automatic) or 1st gear (manual). Engage parking brake.
Step 2: Loosen All Lug Nuts
While car is still on the ground:
- Remove hubcaps if you have them
- Loosen each lug nut about 1 full turn
- Don't remove them yet
- Do all four wheels
Why before lifting: Wheels won't spin while you're trying to loosen nuts.
Pro tip: If nuts are really tight, stand on the wrench. Let your body weight do the work, not your arms.
Step 3: Lift the Car Safely
CRITICAL SAFETY: Never get under a car supported only by a jack. Jacks fail. People die.
Method 1: One corner at a time (safest for beginners)
- Jack up front left
- Place jack stand under frame rail
- Lower jack onto stand
- Repeat for other three corners
Method 2: One side at a time (faster)
- Jack up entire front
- Place two jack stands under front
- Lower onto stands
- Jack up entire rear
- Place two jack stands under rear
- Lower onto stands
Where to place jack stands:
- Frame rails (strongest points)
- Pinch welds (check manual)
- Subframe mounting points
- Never on body panels, rocker panels, or control arms
Check your manual for safe jacking points. Lifting from wrong spot can damage your car.
Step 4: Remove Wheels
- Remove lug nuts completely (keep them organized)
- Pull wheel straight off
- Set aside in order so you remember rotation pattern
Step 5: Inspect While You're There
This is FREE inspection time. Check:
Tires:
- Tread depth (penny test: if you see Lincoln's head, replace)
- Uneven wear patterns
- Cracks, bulges, punctures
- Objects stuck in tread
Brakes:
- Pad thickness (look through wheel)
- Rotor condition (grooves, rust)
- Brake lines for leaks
Suspension:
- Torn CV boots
- Leaking shocks/struts
- Loose or damaged components
Take pictures of anything concerning to show your mechanic.
Step 6: Rotate According to Pattern
Move wheels to their new positions based on your drivetrain type (see patterns above).
Keep lug nuts organized - don't mix them up.
Step 7: Install Wheels
- Slide wheel onto hub
- Thread lug nuts on BY HAND (prevents cross-threading)
- Tighten in star pattern (not circle)
- Snug but not final torque yet
Star pattern for 5 lugs:
- Tighten one lug
- Tighten opposite lug
- Tighten next (skip one)
- Tighten opposite
- Tighten last one
Why: Ensures wheel seats evenly on hub
Step 8: Lower Car
- Jack up slightly to remove weight from stands
- Remove jack stands
- Lower car to ground
- Do this for all four corners
Step 9: Final Torque
With car on ground and full weight on wheels:
- Torque lug nuts to spec (usually 80-100 ft-lbs)
- Use star pattern again
- Do all four wheels
Don't have a torque wrench? Snug them firmly with the wrench. Not gorilla-tight, but firm.
Pro tip: After driving 50 miles, recheck lug nut tightness. Wheels can settle and nuts can loosen slightly.
Step 10: Reset TPMS (If Applicable)
Some cars learn which tire is in which position. After rotation:
- Check manual for TPMS reset procedure
- Usually involves button or menu in dash
- Some reset automatically after driving
Step 11: Check Tire Pressure
Now that tires are in new positions, check and adjust pressure:
- Check door jamb sticker for correct pressure
- Check all four tires (plus spare while you're at it)
- Add or release air as needed
- Front and rear may have different pressures
Step 12: Test Drive
Drive slowly around the block:
- Listen for unusual noises
- Feel for vibrations
- Make sure lug nuts are tight
- Brake gently to test brakes
Everything good? You're done!
Related guide: 2015-2022 Ram ProMaster City — Tire Pressure & Rotation DIY Guide — A full rotation and pressure-check walkthrough on a real vehicle.
Common Mistakes People Make
1. Not Using Jack Stands
This is how people die. Jacks fail. Hydraulic seals blow. Cars fall.
Always use jack stands. No exceptions.
I've seen jacks fail. I've never seen a quality jack stand fail.
2. Wrong Rotation Pattern
Using FWD pattern on RWD car, or crossing directional tires.
Result: Premature wear, possible noise
Solution: Know your drivetrain, check tire type
3. Overtightening Lug Nuts
Using impact wrench at full power and cranking them down.
Result:
- Stripped studs
- Warped rotors (from uneven stress)
- Broken studs when you try to remove them
Solution: Use torque wrench, follow spec
4. Jacking on Wrong Points
Lifting from rocker panels, body panels, or weak points.
Result: Crushed, bent, or damaged body/frame
Solution: Check manual for safe jack points
5. Not Checking Tire Pressure
Rotating tires but not checking pressure.
Result: Could be driving on underinflated tires, hurting fuel economy and tire life
Solution: Always check pressure after rotation
6. Ignoring Uneven Wear
Rotating tires that are wearing unevenly without addressing the cause.
Why tires wear unevenly:
- Bad alignment (most common)
- Worn suspension components
- Overinflated/underinflated
- Aggressive driving
If tires show uneven wear, get alignment checked.
Reading Tire Wear Patterns
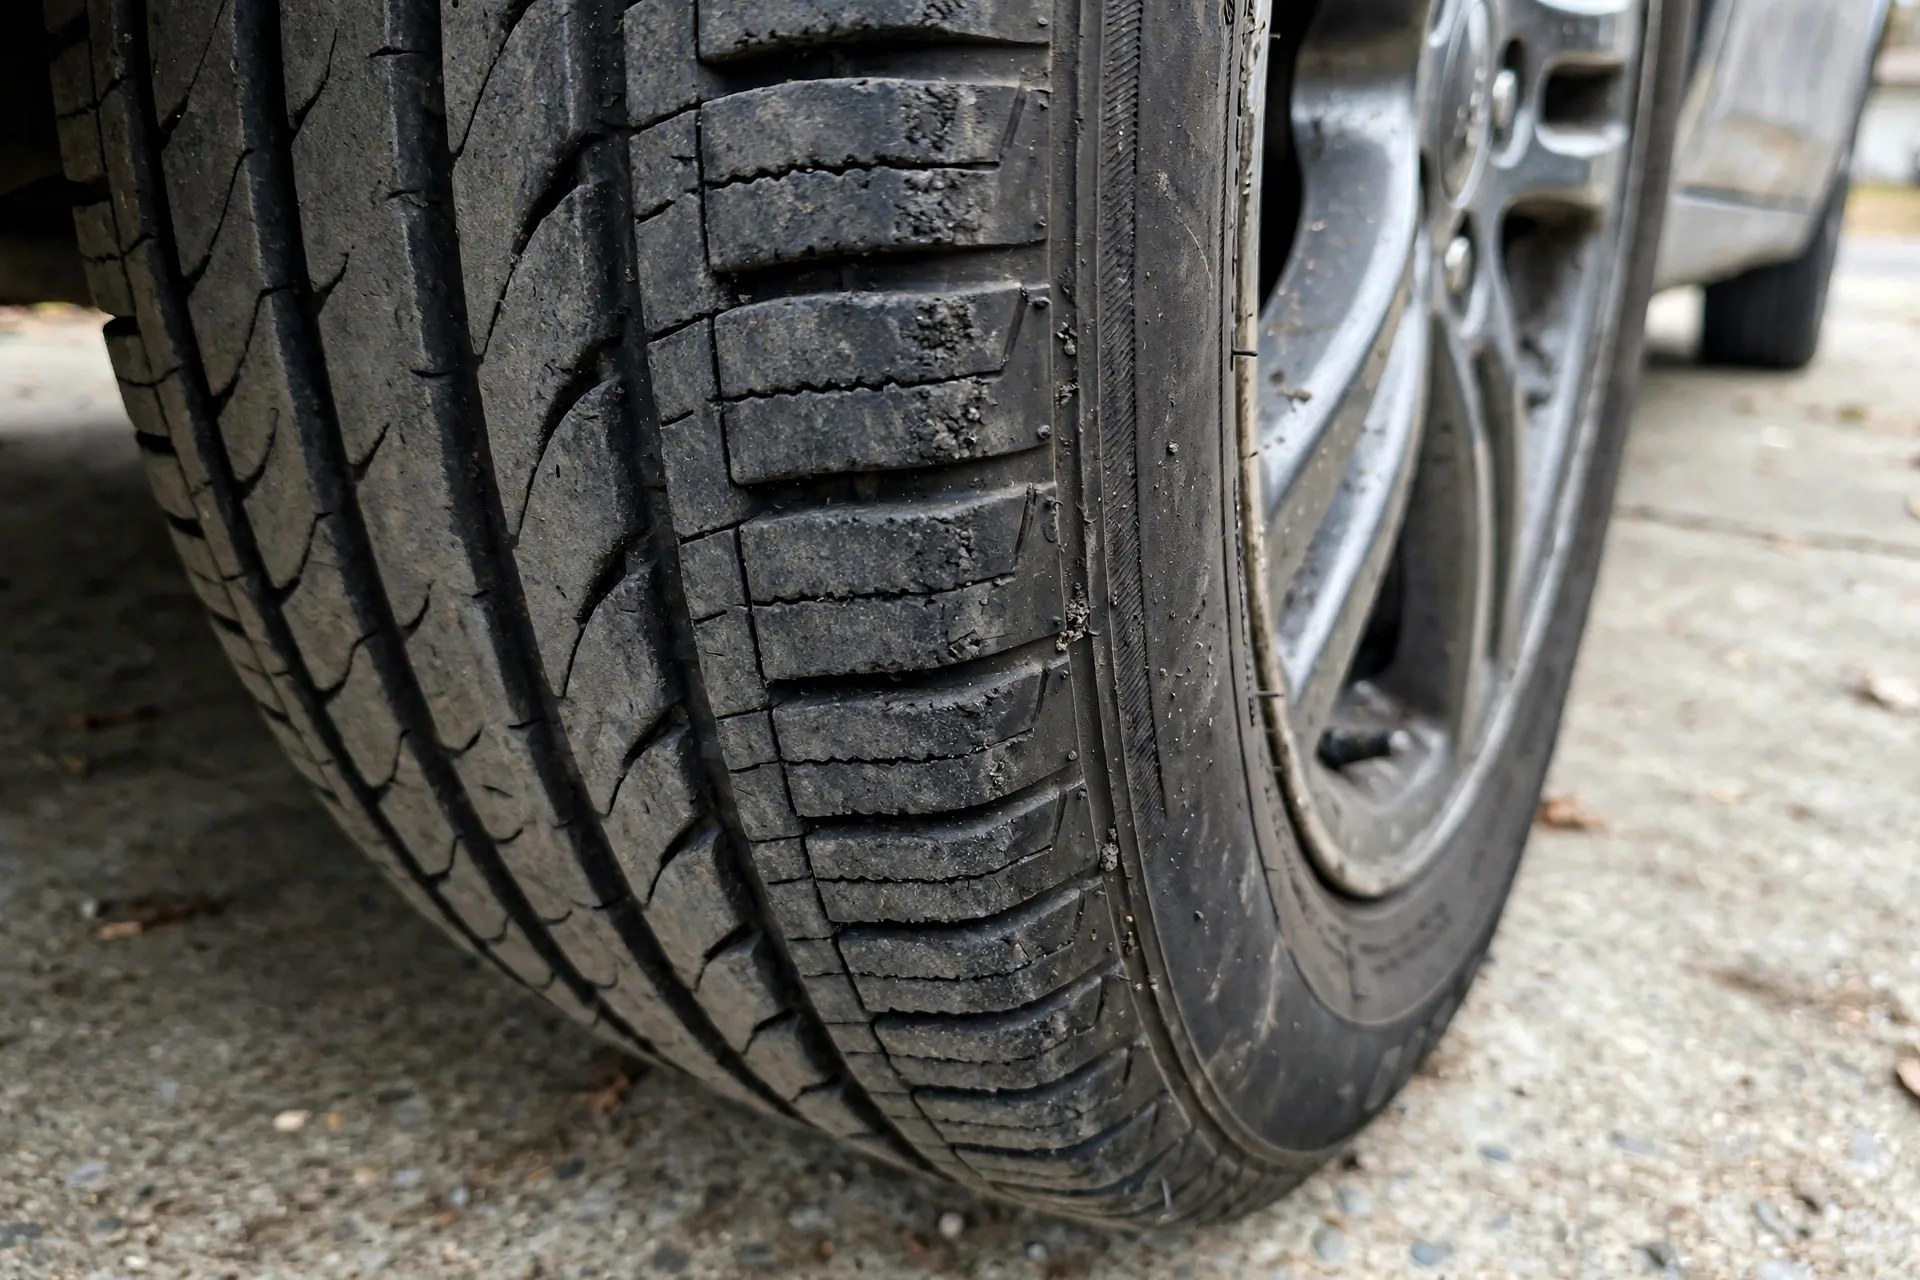
The way tires wear tells you what's wrong:
Center wear (both edges fine):
- Cause: Overinflation
- Fix: Reduce pressure to spec
Edge wear (center fine):
- Cause: Underinflation
- Fix: Increase pressure to spec
One edge worn (other fine):
- Cause: Alignment issue (camber)
- Fix: Get alignment
Feathering (smooth one side, sharp other):
- Cause: Toe alignment off
- Fix: Get alignment
Cupping/scalloping (up and down bumps):
- Cause: Worn suspension (shocks/struts)
- Fix: Replace suspension components
Flat spots:
- Cause: Hard braking, locked wheels
- Fix: Can't fix, might need new tires
When to Get an Alignment
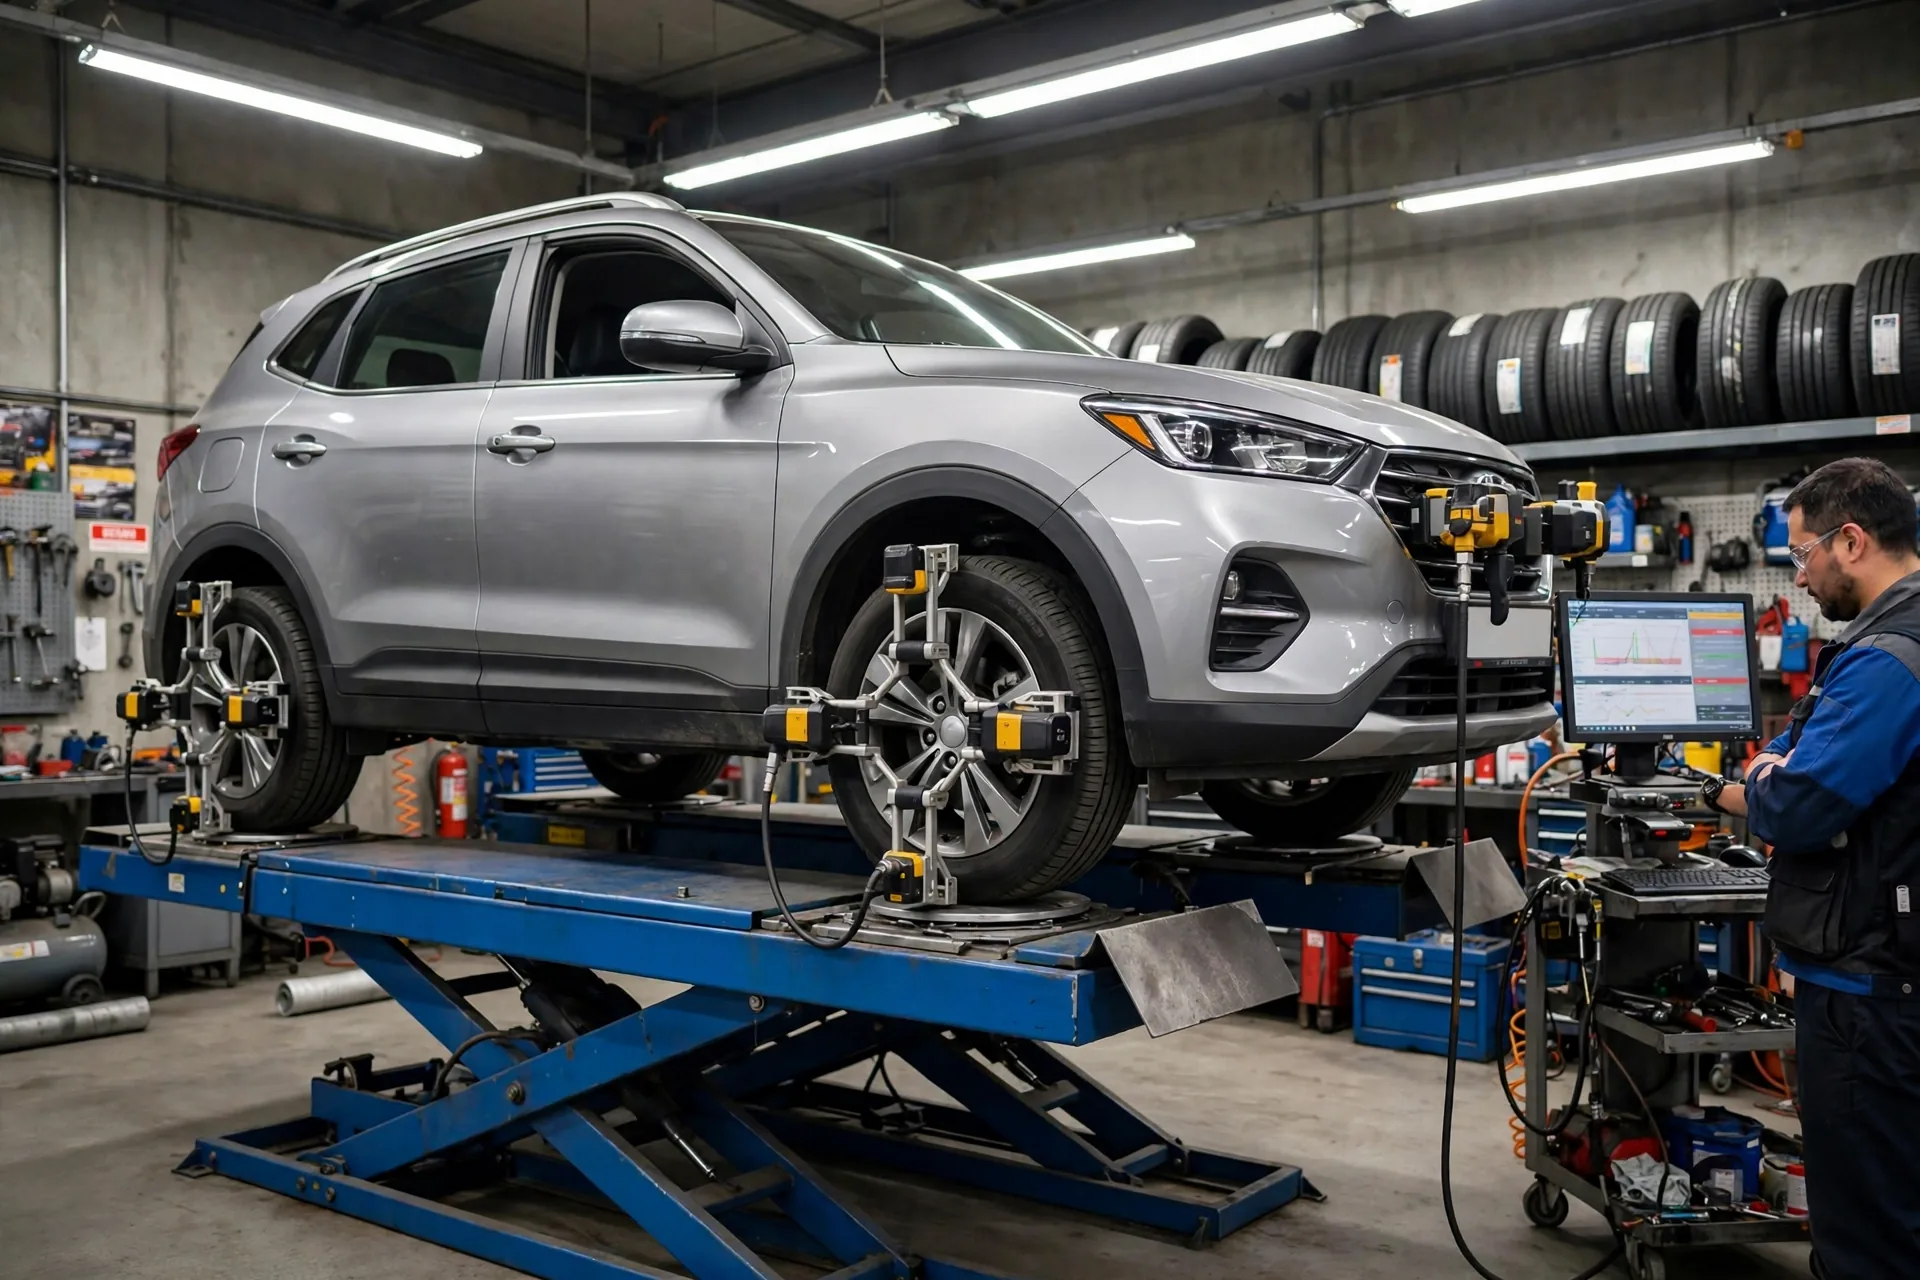
Get aligned if:
- Tires showing uneven wear
- Car pulls to one side
- Steering wheel off-center when driving straight
- After hitting a major pothole or curb
- After new tires or suspension work
Cost: $75-150 usually
Worth it? Absolutely. Bad alignment can destroy $600 of tires in 10,000 miles.
How often: Every 2 years or if you notice symptoms
Tire Pressure: The Most Neglected Thing
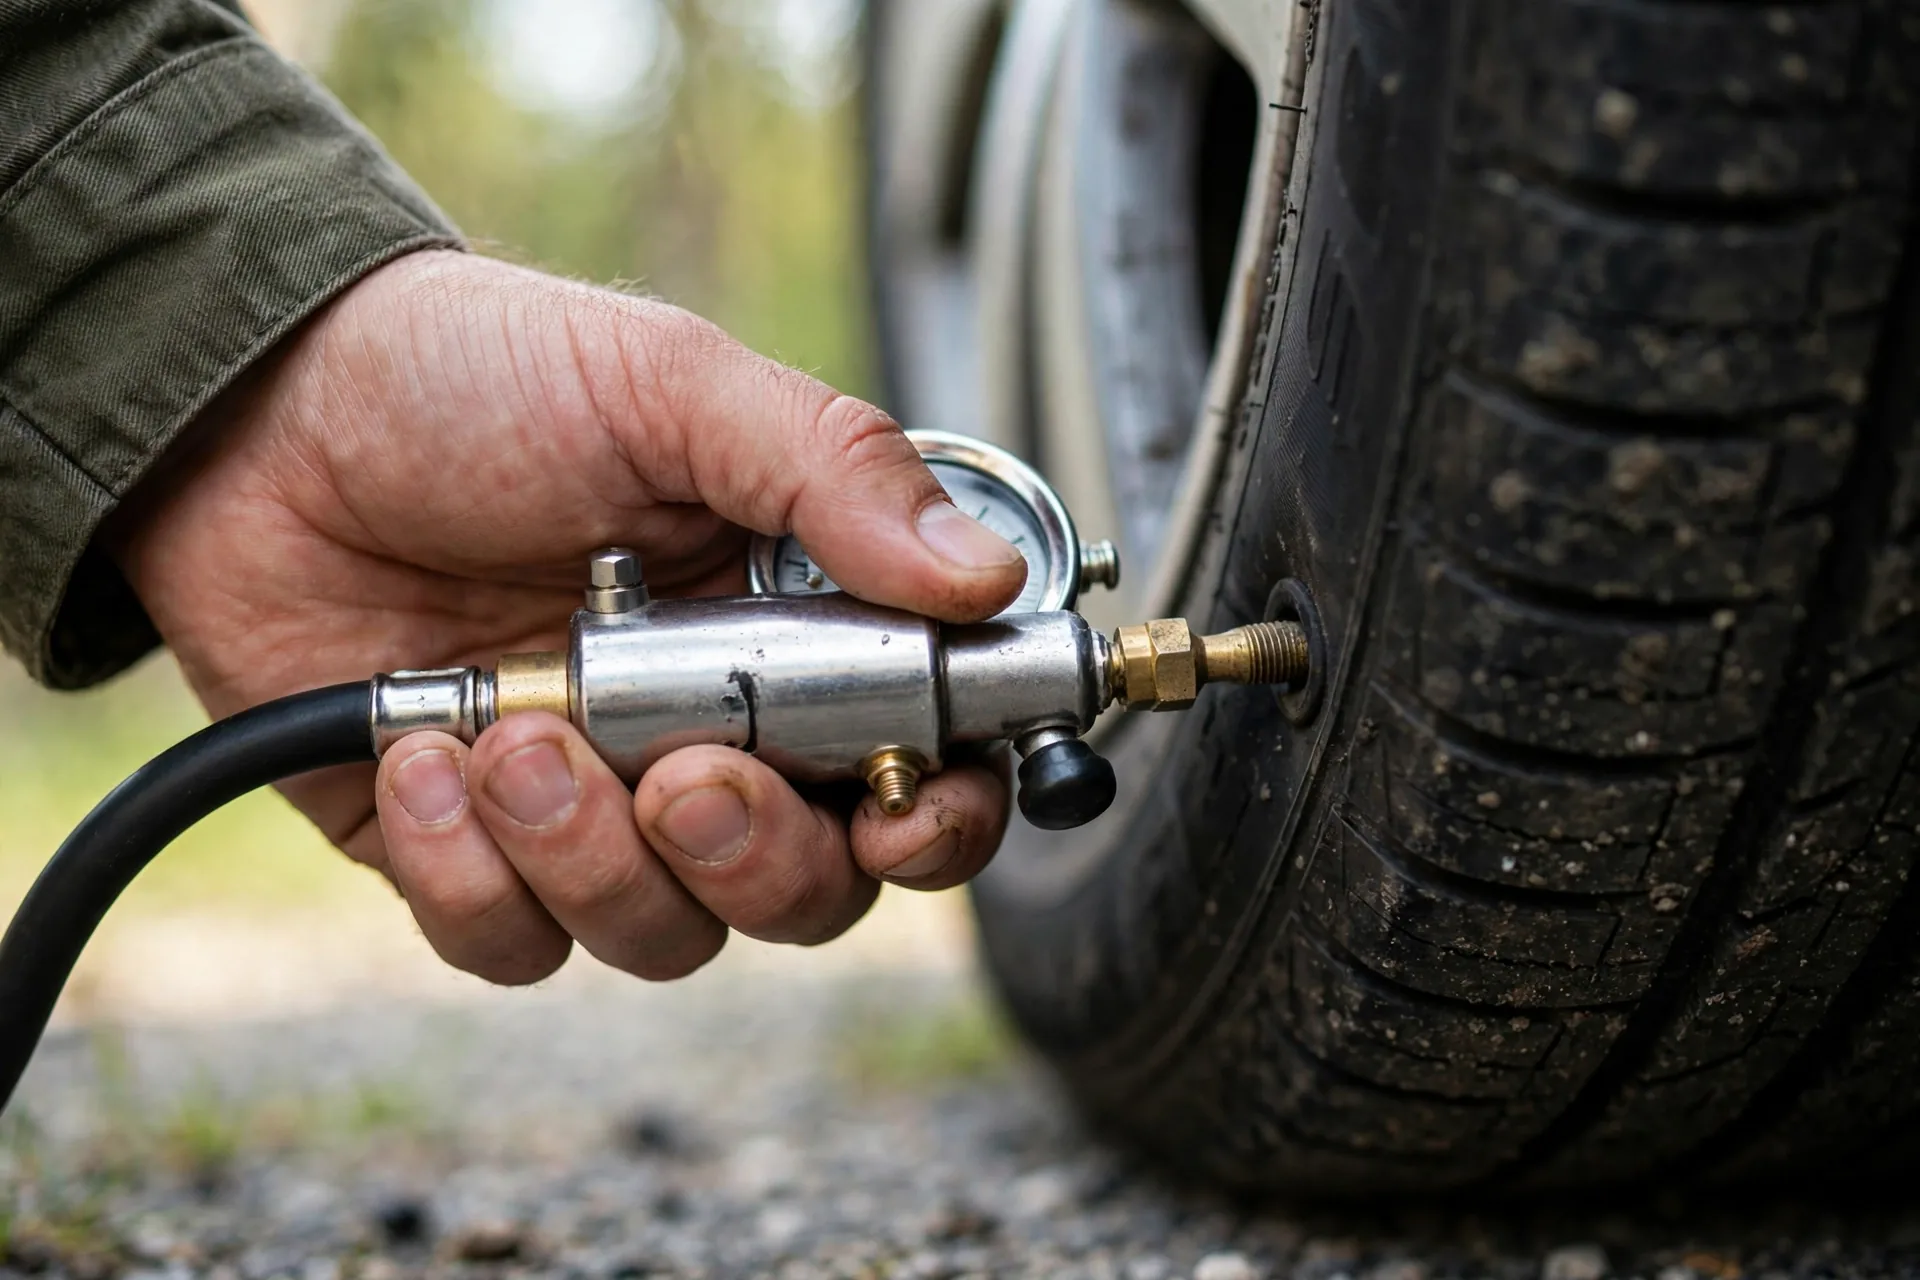
Check tire pressure monthly. Takes 5 minutes, costs nothing, saves money.
Why it matters:
Underinflated (5-10 PSI low):
- Up to 3% worse fuel economy
- Tires overheat
- Shorter tire life (edges wear)
- Poor handling
- Blowout risk
Overinflated:
- Harsher ride
- Less traction
- Center wear
- More likely to damage from potholes
Correct pressure:
- Listed on driver's door jamb sticker
- NOT on the tire sidewall (that's maximum)
- Check when tires are cold
- Front and rear may differ
Pro tip: Check spare tire too. You don't want to discover it's flat when you need it.
Tire Tread Depth: When to Replace
Legal minimum: 2/32" in most states
My recommendation: Replace at 4/32"
Why replace before legal minimum:
- Wet traction drops off significantly below 4/32"
- Snow/ice traction is terrible below 6/32"
- Hydroplaning risk increases
How to measure:
Penny test:
- Insert penny with Lincoln's head down
- If you see all of Lincoln's head, replace tires
- That's about 2/32" tread
Quarter test:
- Insert quarter with Washington's head down
- If you see top of Washington's head, tires are at 4/32"
- Time to start shopping for new tires
Tread depth gauge ($5): Most accurate, worth buying.
Balancing vs. Rotation (What's the Difference?)
People confuse these:
Rotation:
- Moving tires to different positions
- Promotes even wear
- Do every 5,000-10,000 miles
- Can DIY easily
Balancing:
- Adding weights to wheel to eliminate wobble
- Prevents vibration
- Do when mounting new tires or if vibration develops
- Requires special machine (not DIY)
When to balance:
- When mounting new tires
- If you feel vibration at highway speeds
- After hitting a major pothole (can knock weight off)
- Every 12,000 miles or so
Cost: $10-15 per tire usually
Tire Rotation at a Shop
When to pay a shop:
- You don't have equipment
- You don't have time
- You have physical limitations
- You're not comfortable doing it
Cost: $20-40 usually
Some places do it free with oil change or tire purchase
What they should do:
- Rotate tires correctly for your drivetrain
- Torque lug nuts to spec
- Check tire pressure
- Visual inspection
- Reset TPMS if needed
Red flags:
- Rush job (under 15 minutes)
- Impact wrench at full power (overtightening)
- No torque wrench used
- Didn't check pressure
Related guide: 2016-2023 Toyota Tacoma - Brake Pad Replacement — With the wheels already off, many people do their pads in the same visit — here is what that job involves.
Tire Warranty and Rotation
Important: Many tire warranties REQUIRE regular rotation.
If you don't rotate:
- Warranty may be voided
- Can't claim early wear
- You're on your own
Keep records:
- Receipts from shop
- Photos of odometer
- Logbook if DIY
Some tire shops offer free lifetime rotation when you buy tires from them. Take advantage of this.
The Bottom Line
Tire rotation is one of the easiest, cheapest ways to extend tire life.
Benefits:
- Doubles tire lifespan (50k vs. 25k miles)
- Saves $400-800 over life of tires
- Better handling and safety
- Fewer replacements
- Even wear means all four replaced together
How to maximize tire life:
- Rotate every 5,000-8,000 miles
- Check pressure monthly
- Get alignment every 2 years
- Drive smoothly (no harsh acceleration/braking)
- Avoid potholes and curbs
My recommendation:
- Rotate with every oil change
- Check pressure monthly
- Inspect for damage regularly
- Get alignment if wear is uneven
30 minutes every 8,000 miles can save you hundreds of dollars.
Don't skip this. Your wallet will thank you.
Questions about tire maintenance? Drop them below.
- Ray Delgado, ASE Master Technician
Last reviewed: October 2026.