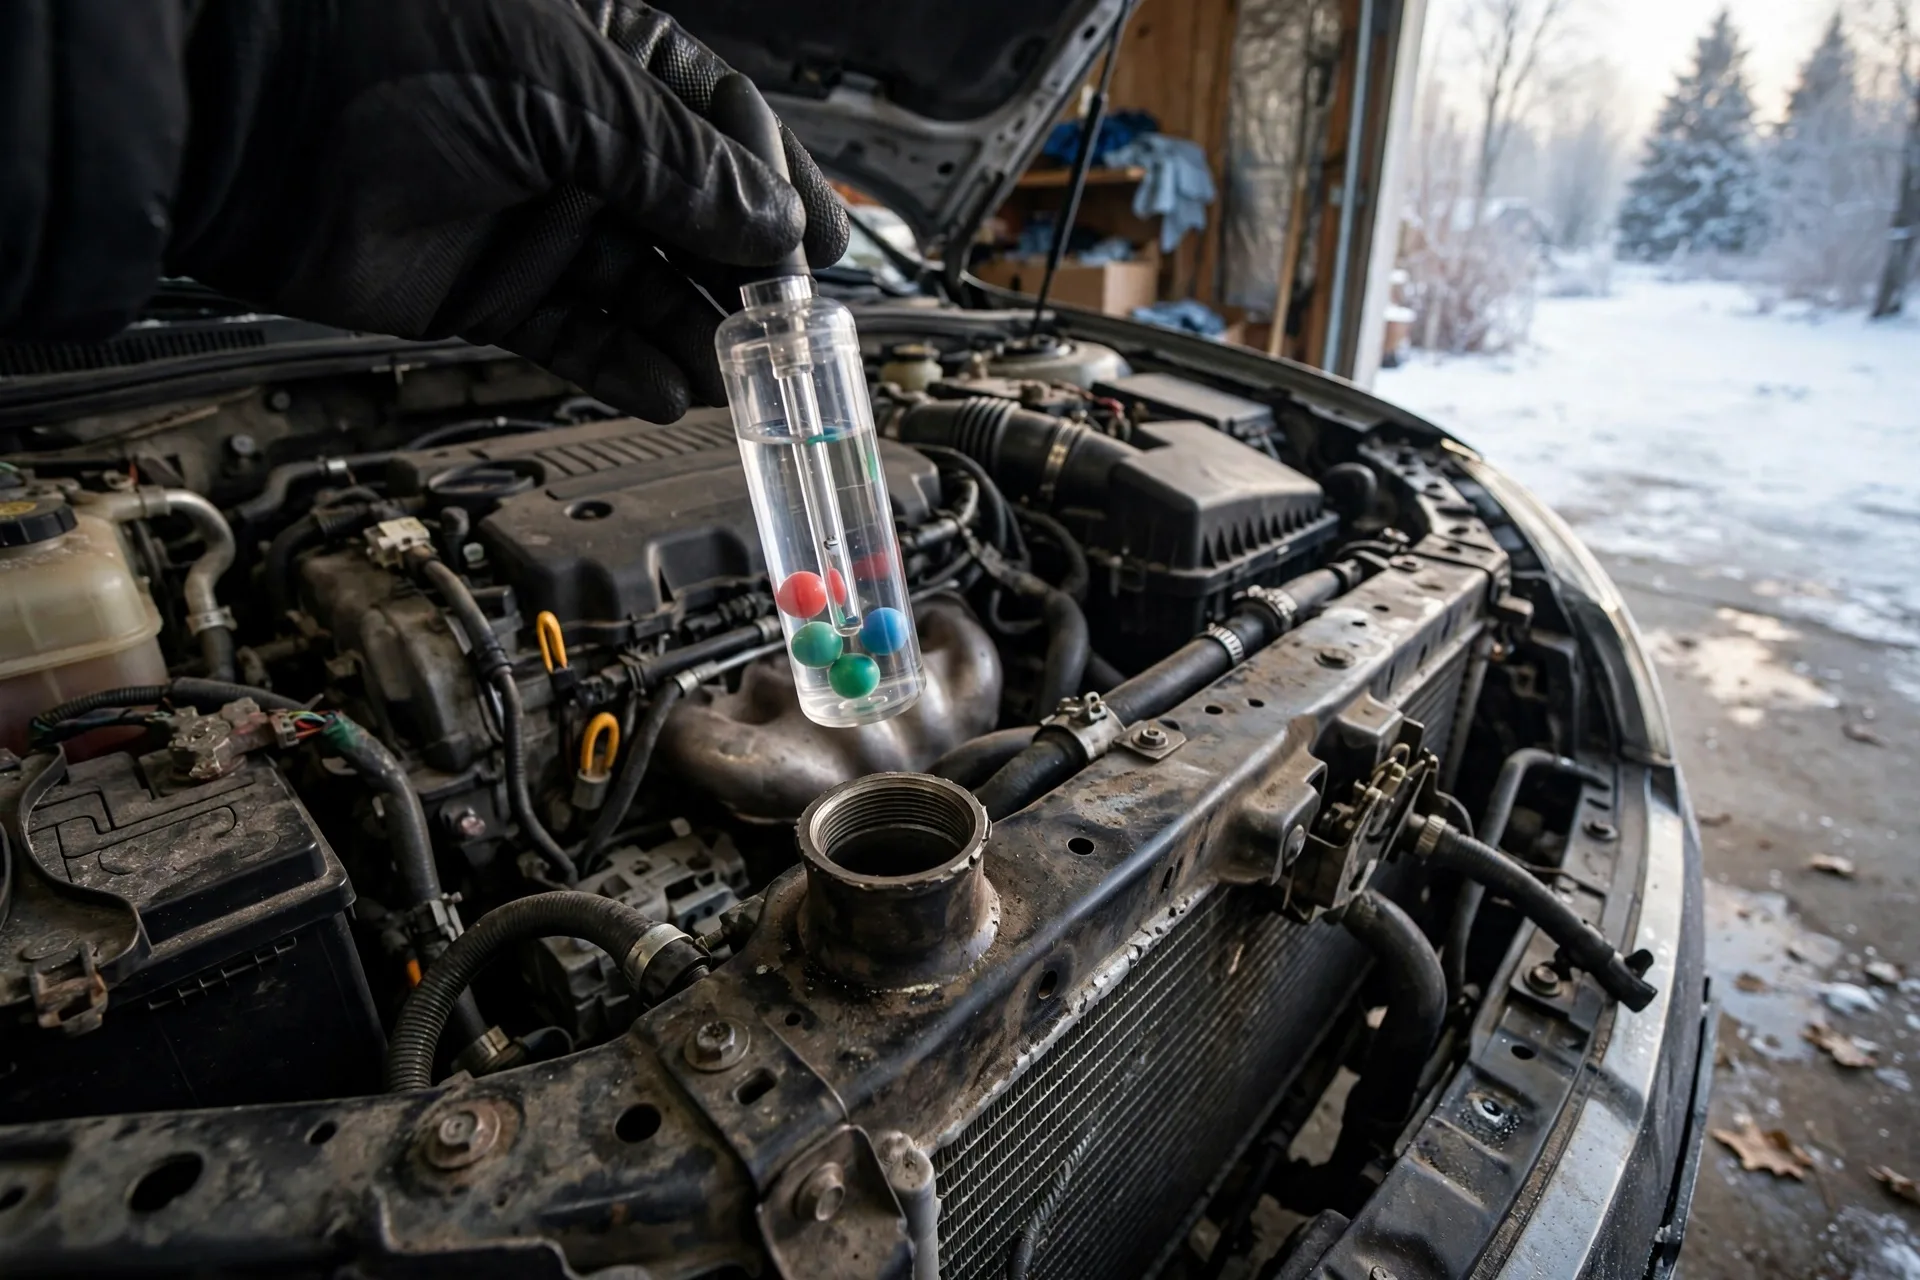
How to Test Your Antifreeze Before Winter
Your antifreeze test takes five minutes and one cheap tool. Draw coolant from the radiator neck, read the freeze protection on a hydrometer or refractometer, and confirm your mix holds to at least the coldest night your town sees. A healthy 50/50 mix protects down to about -34°F. If yours reads weaker, fix the ratio before the first hard freeze, because weak coolant does not just slush up: it expands as it freezes and can crack your engine block, radiator, or heater core.
Why a Weak Mix Can Crack Your Engine
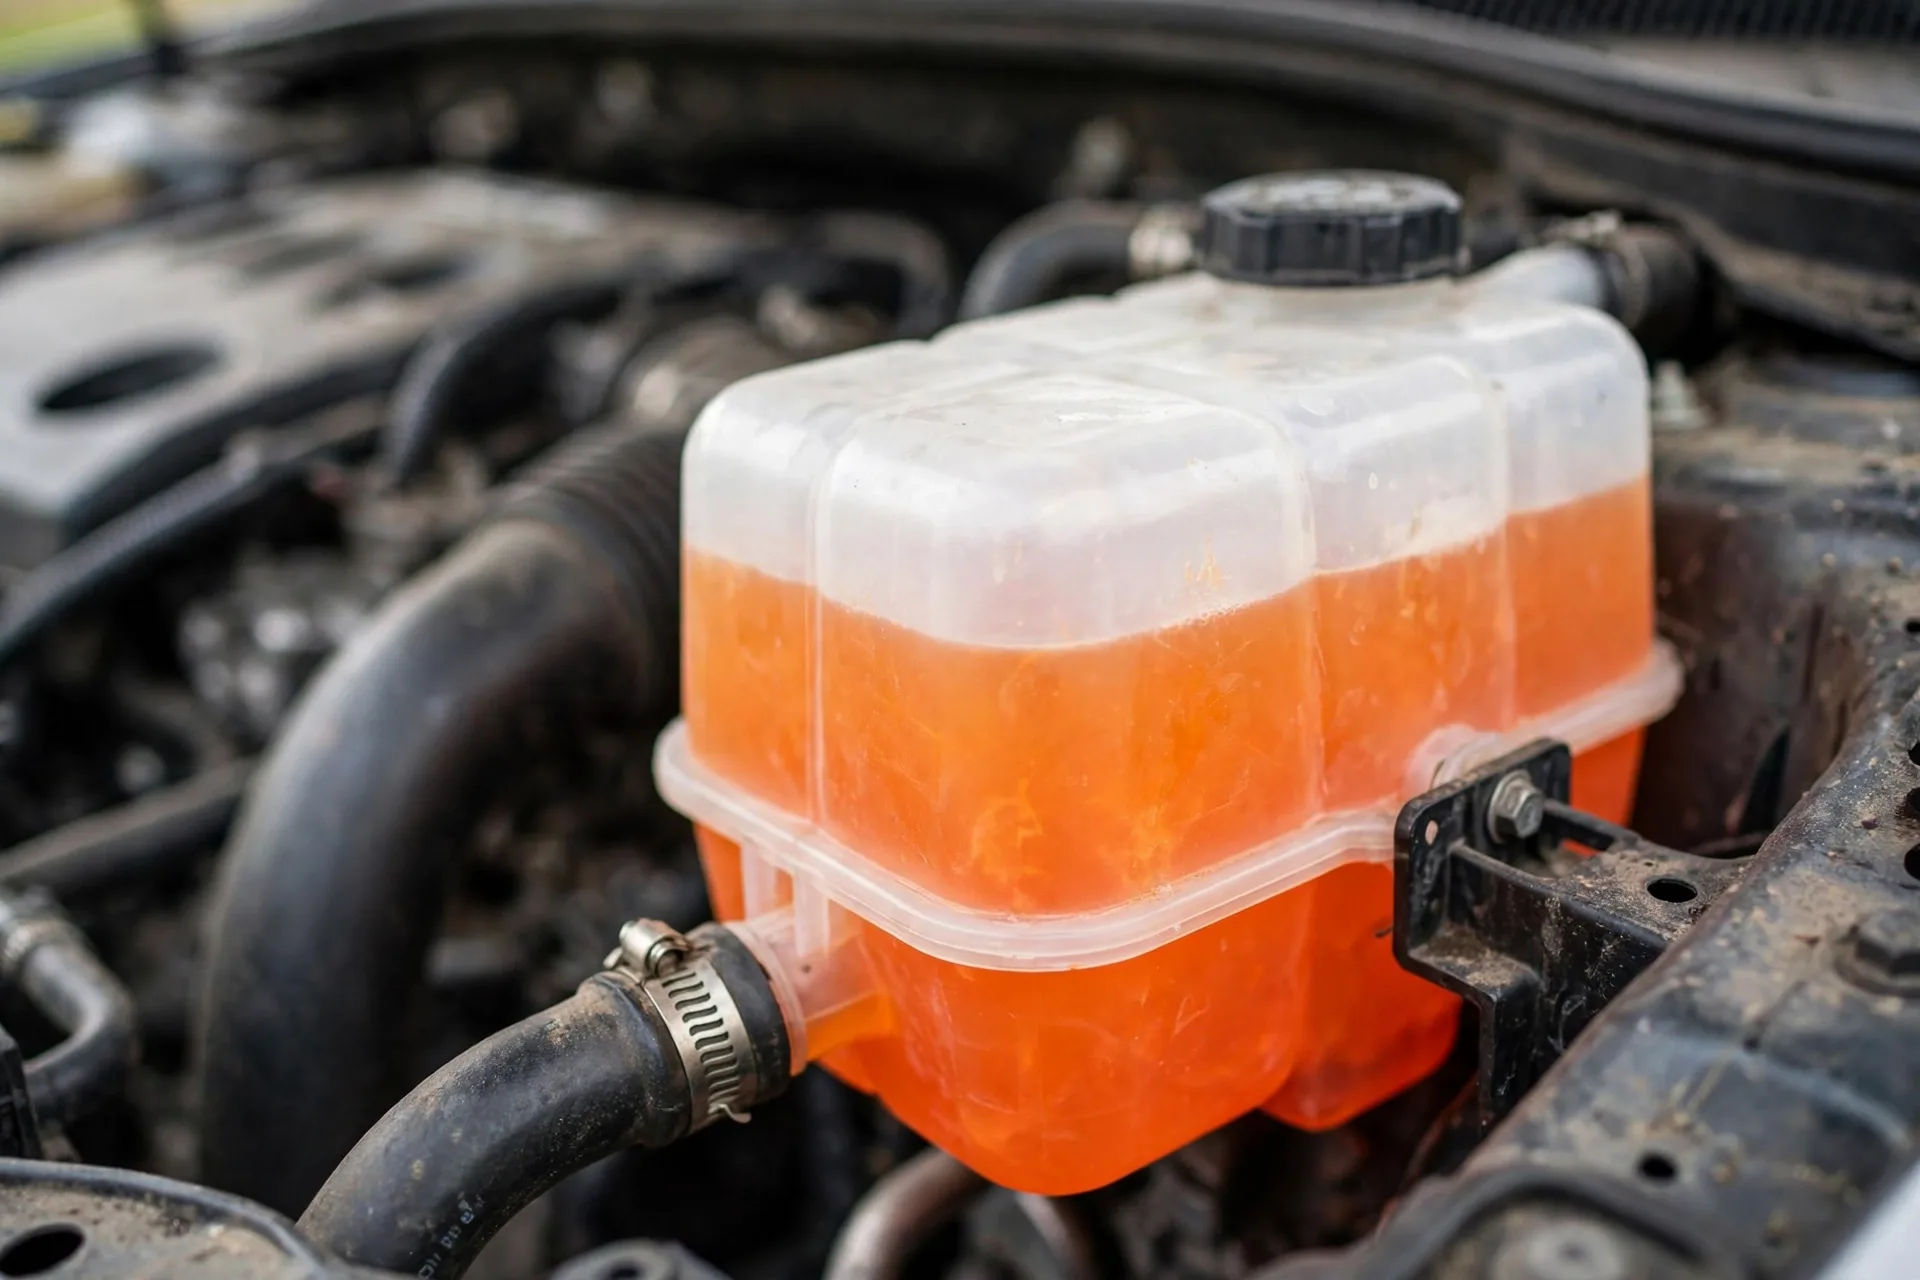
Antifreeze does two jobs: it keeps coolant from freezing in winter and from boiling over in summer, while its additive package fights corrosion inside the system. The ratio matters. Pure antifreeze alone actually freezes at a higher temperature than a proper mix, and plain water carries heat better than coolant does, so the working range is 40 to 60 percent antifreeze. Most cars run happiest right at 50/50.
Two things weaken your mix without you noticing. First, top-offs: every time someone adds plain water to a low reservoir, the antifreeze concentration drops a notch. Second, age: the corrosion inhibitors in coolant get used up over time, the mix drifts acidic, and then it starts eating water pump impellers and heater cores from the inside. That is why the test is worth doing even when the level looks fine.
Warning signs of weak or spent coolant: a rusty brown color, floating crud, white crusty deposits around the radiator cap or hose ends, and a reservoir that keeps dropping after you fill it. That last one usually means a leak, and leaks dilute the mix every time you refill. If the coolant looks milky, stop: that is oil mixing in, which is a different problem entirely.
The Three Ways to Test Coolant
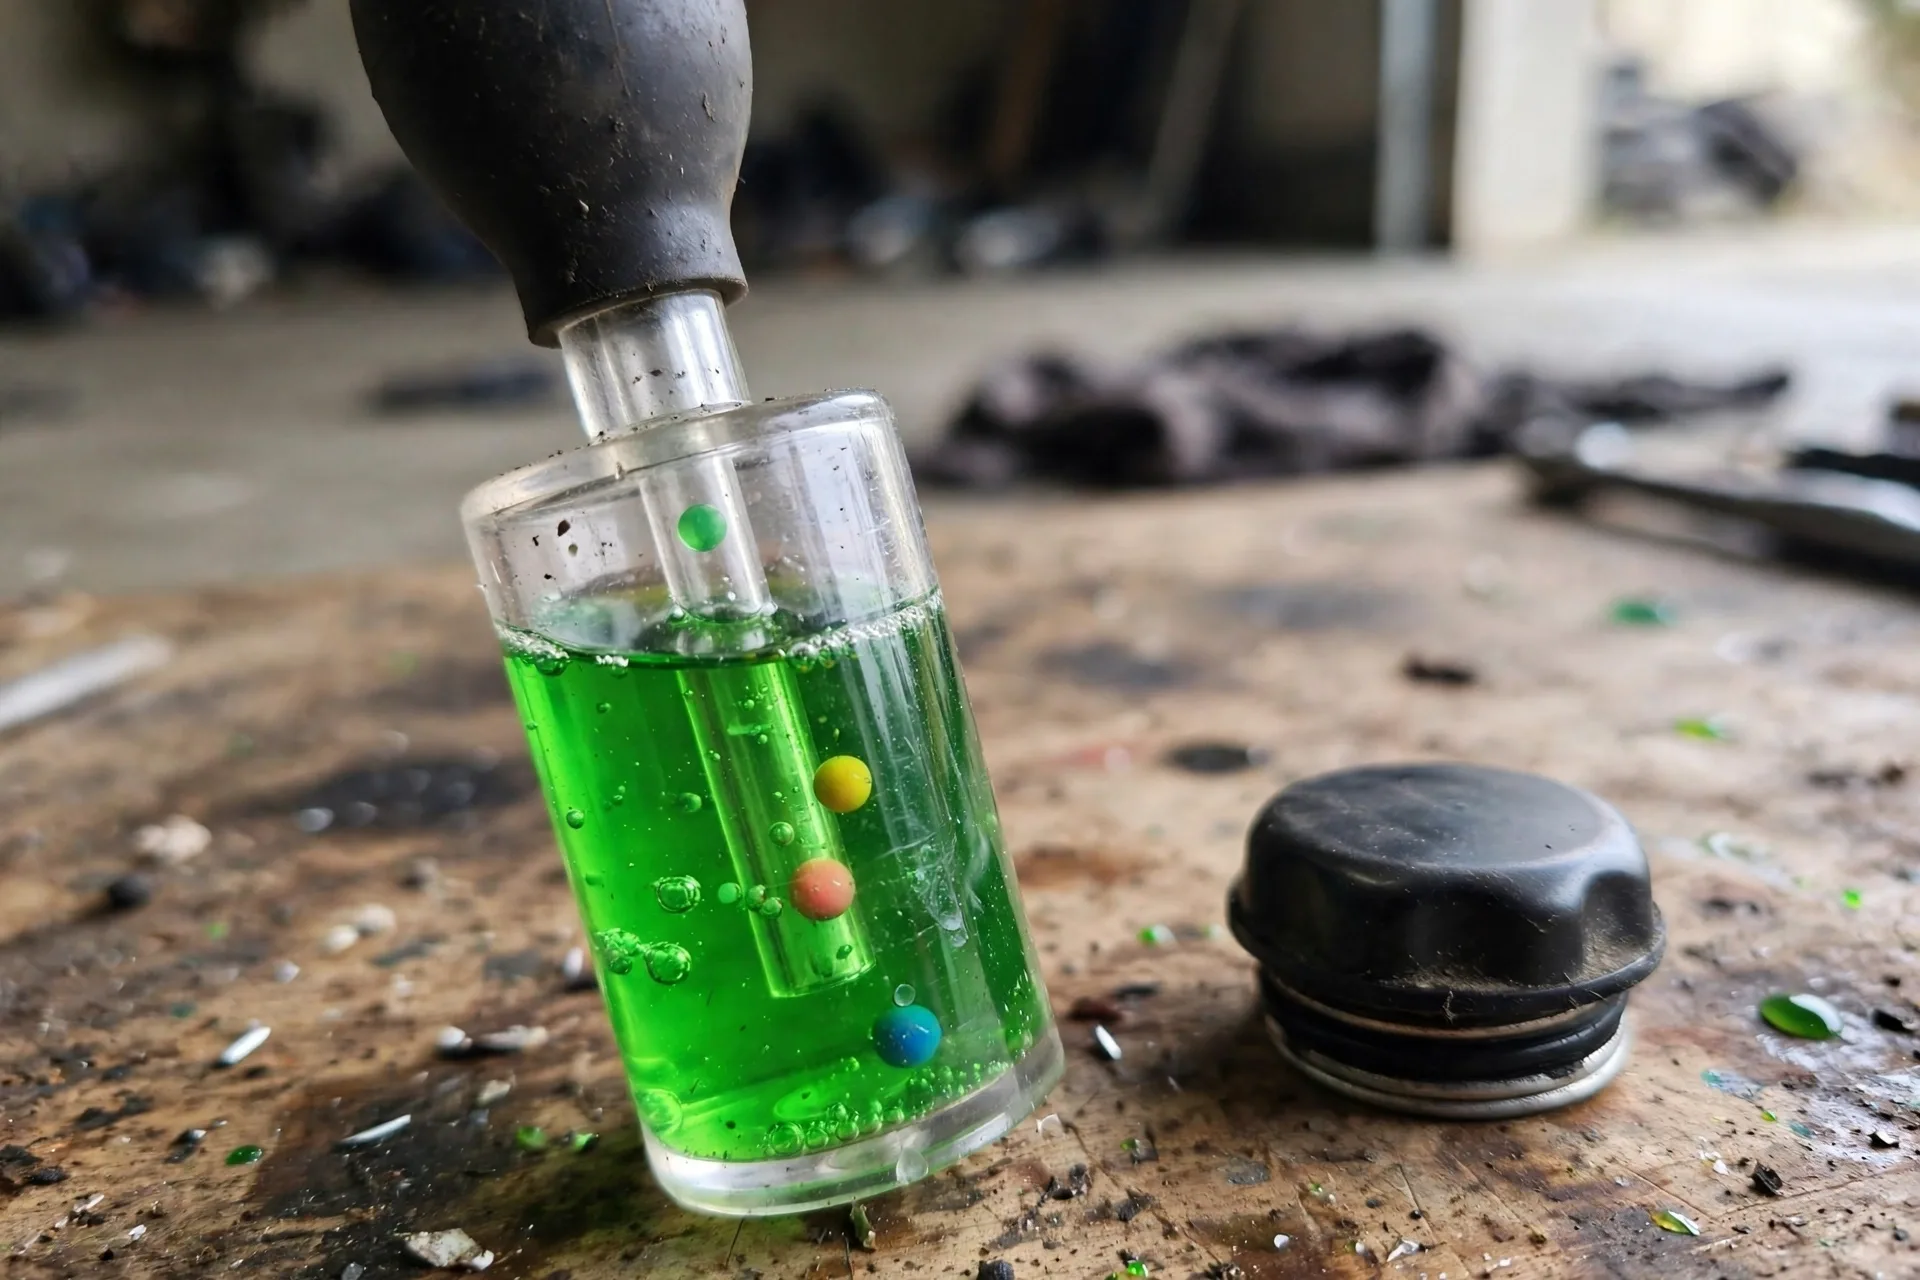
There are three common testers, and they are not equal.
-
The ball-float hydrometer. This is the turkey-baster style tester sold at every auto parts store. Squeeze the bulb, draw coolant into the chamber, and count how many float balls rise: each one marks a freeze-protection band printed on the tester. It is cheap and fast, but it is the least accurate of the three. The old-style hydrometer is the least accurate of the three, though. Fine for a rough check, bad for a final answer.
-
The refractometer. Put a few drops of coolant on the glass prism, close the cover, hold it to the light, and read the freeze point straight off the scale. This is the most accurate of the three for freeze-point readings. It is inexpensive, it fits in a glove box, and it settles arguments. If you only buy one tester, buy this one.
-
Test strips. Dip a strip in coolant, wait the seconds the package calls for, and compare the color squares to the chart. Strips read freeze point and pH. They answer the question the other two cannot: is your corrosion protection still alive? A strip showing acidic coolant means the inhibitor package is spent and the system needs a full flush, not a top-off. The trade-off is that strips are the weakest of the three at measuring freeze point, so use a hydrometer or refractometer for that number.
The actual test procedure is the same for all three:
- Start with a stone-cold engine. Never open a hot cooling system: pressurized coolant can spray and scald you. Park on level ground.
- Find your sample point. A radiator cap is the best draw point on cars that have one. Many newer cars only have a pressurized reservoir: draw from there instead.
- Draw the sample with the hydrometer, place drops on the refractometer prism, or dip the strip. Work over a rag. Coolant is toxic, and animals will drink the sweet-smelling stuff off a driveway.
- Read the result right away and write it down: the freeze point, and the pH if you used strips.
How to Read the Results
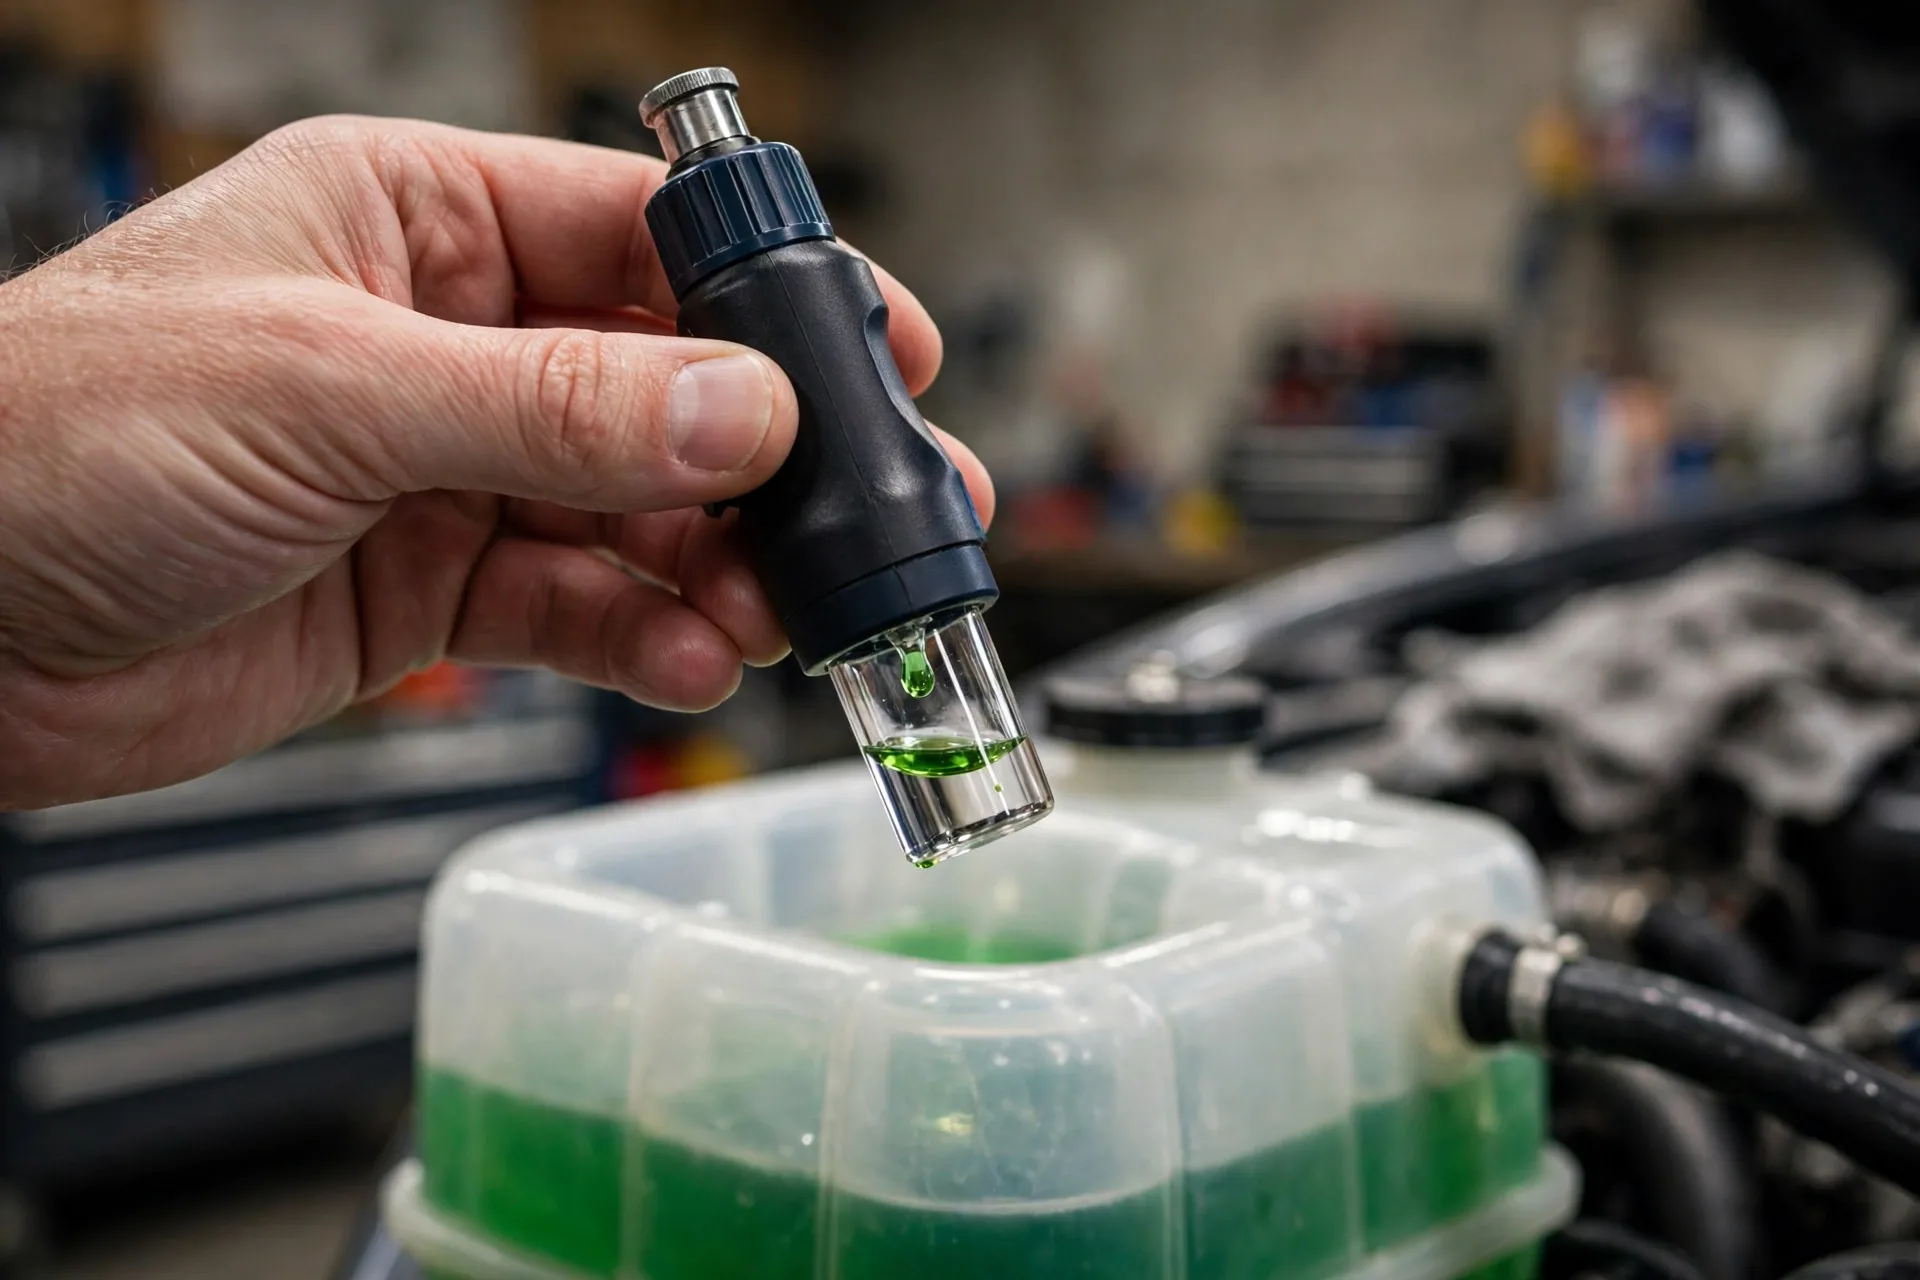
- 50/50, reading about -34°F: you are set for winter.
- Reads weaker than about -20°F: the mix is diluted. With a cold engine, drain some coolant from the radiator petcock and add concentrated antifreeze, then retest. If you mix concentrate yourself, use distilled water only. Tap water carries minerals that corrode the system and shorten coolant life.
- Reads stronger than 60 percent antifreeze: do not celebrate. More is not better. Past about 60 percent, freeze protection gets worse and heat transfer drops, because water does the heavy cooling. Drain some and dilute back toward 50/50.
- pH reads acidic on strips: the inhibitors are gone. Top-offs will not fix this. The system needs a flush and fresh coolant.
When you add anything, match the coolant type your owner's manual specifies. Green, orange, pink, and blue coolants are different chemistries, and mixing incompatible types can form a gel that clogs passages. Color alone is not a spec, so check the bottle against the manual and never guess.
When a Bad Test Means a Flush
A weak reading in clean, correctly colored coolant usually just needs the ratio corrected. A bad reading with rusty color, floating debris, or an acidic pH means the coolant itself is done, and the ratio no longer matters. That is flush territory. The full walkthrough is here, and the same principles apply to any car: 2018-2024 Chevrolet Equinox Coolant Flush. For the background on why coolant service matters at all, read Coolant Flush: Why It Matters and How to Do It Without Making a Mess.
And remember the leak rule: a reservoir that keeps dropping after you fill it is a test you already failed. Topping off a leaking system dilutes the mix with every refill. Find and fix the leak first, then correct the ratio.
DIY vs Shop Verdict
Testing is a driveway job: five minutes, a cold engine, one inexpensive tool. What you cannot do at home as easily is pressure-test the system or track down a slow leak, and a shop can do both in minutes. My verdict: test your own coolant every October, and let a shop handle the flush when the coolant is old, acidic, or rusty, unless you are set up to catch and dispose of the used coolant properly. Old antifreeze is hazardous waste and it is lethal to animals, so disposal is the real cost of the DIY flush.
FAQ
Can I test antifreeze when the engine is hot?
No. Test on a stone-cold engine. A hot system is pressurized and will spray, and hot coolant gives unreliable readings. First thing in the morning, before the first start, is ideal.
What color should my coolant be?
Whatever your manufacturer specified: green, orange, pink, or blue. What matters is that it is clean and translucent in its own color. Rusty brown means corrosion is already happening. Milky means oil is mixing in, which is a head-gasket-level problem, not a coolant problem.
Can I mix coolant colors?
Do not. Different colors are usually different chemistries, and mixing incompatible types can form a gel that clogs passages. Top off only with the type your owner's manual specifies. When in doubt, buy the concentrated version of exactly what the manual names and mix it 50/50 with distilled water.
How often should I test my coolant?
Once a year, in the fall, before the first freeze. Test again any time you have topped off with water, because every plain-water top-off weakens the mix. A full flush follows your owner's manual interval, which is usually every few years.
The Take
Nobody thinks about antifreeze until the coldest night of the year, and that night is the worst possible time to learn your mix was weak. Test it in October, while a fix is still a jug of concentrate and ten minutes in the driveway. Five minutes of testing beats a cracked block every time. If your test fails and the coolant looks spent, start here: Coolant Flush: Why It Matters and How to Do It Without Making a Mess.
Safety: Informational DIY. EZ Car Fix is not a shop or dealer.
Last reviewed: October 2026.