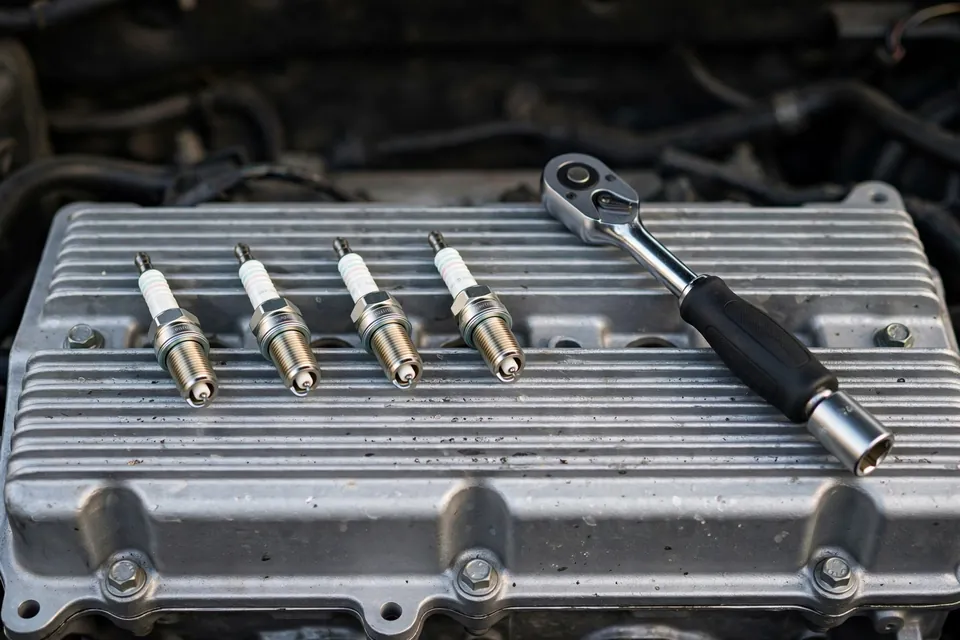
Those Little Things That Make Your Engine Actually Run
Spark plugs are about an inch long and cost $5-15 each. Yet they're responsible for igniting the air-fuel mixture that makes your engine run. No spark = no combustion = no power.
Most people forget about spark plugs until their car starts running rough. Then they're facing a $200-400 shop bill for what's actually a pretty straightforward DIY job.
Let me show you what you need to know.
What Spark Plugs Actually Do
Your engine's combustion cycle goes like this:
- Piston moves down, sucking in air and fuel
- Piston moves up, compressing the mixture
- Spark plug fires, igniting the mixture
- Explosion pushes piston down (power stroke)
- Piston moves up, pushing out exhaust
That spark happens at exactly the right millisecond, thousands of times per minute, in precisely the right cylinder.
The spark plug has to:
- Create a spark across a gap (thousands of volts)
- Withstand extreme heat (1,500-2,000°F)
- Handle pressure (hundreds of PSI)
- Do this millions of times without failing
Pretty impressive for a $10 part.
When to Replace Spark Plugs
Check your manual, but here are general guidelines:
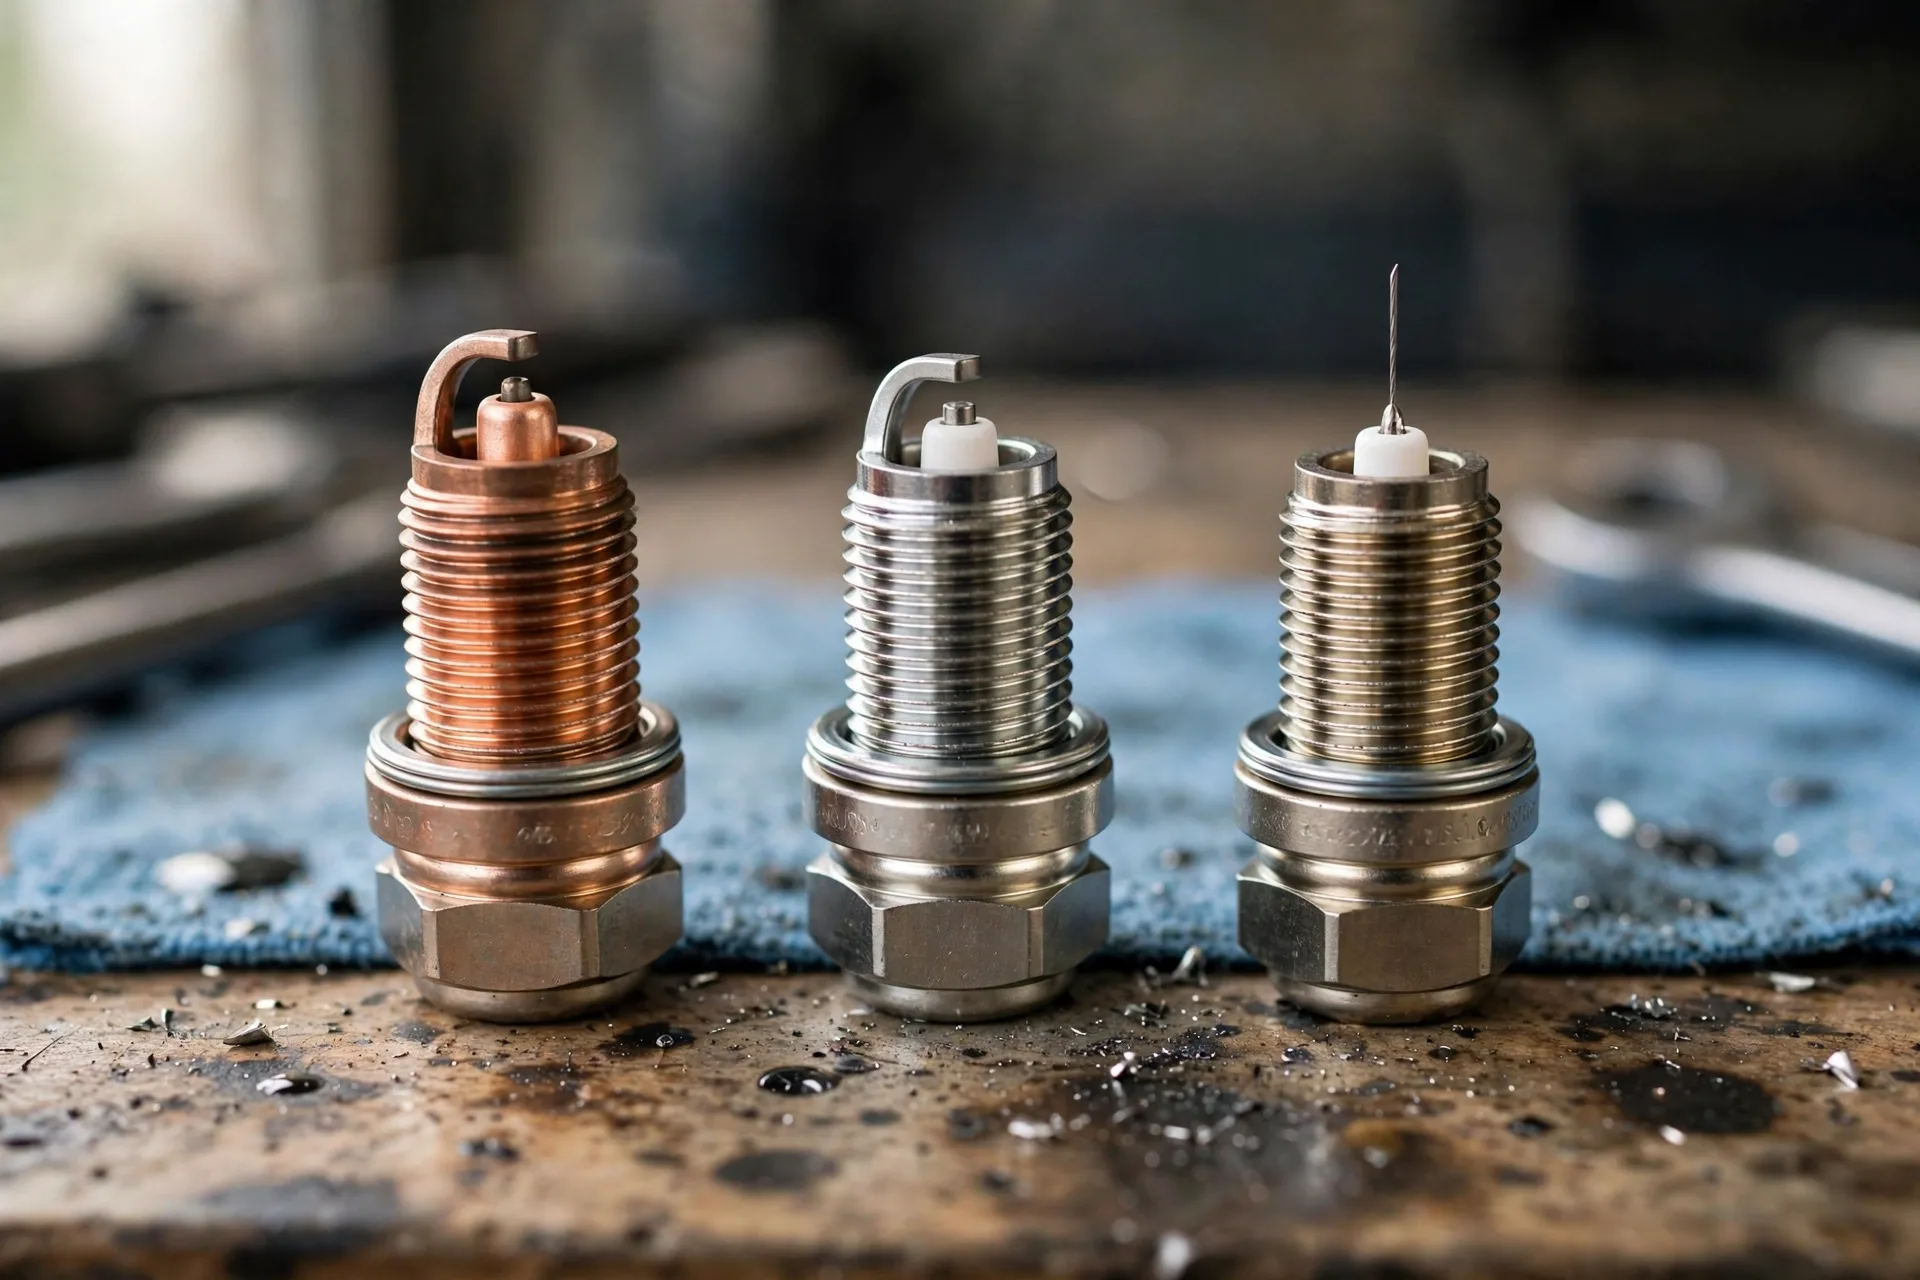
Copper plugs: 20,000-30,000 miles
- Cheapest
- Best conductivity
- Wear fastest
- Rare in modern cars
Platinum plugs: 60,000-80,000 miles
- Mid-price
- Longer life
- Common in many cars
Iridium plugs: 100,000+ miles
- Most expensive
- Longest life
- Best performance
- Standard in many modern cars
Double platinum/iridium: 80,000-100,000+ miles
- Required for some ignition systems
- Don't substitute regular platinum
Reality check from my experience:
- Even "100k mile" plugs often show wear by 80k
- Severe driving conditions (towing, city traffic) = replace earlier
- If you're at 60k+ miles and having issues, just replace them

Signs Your Spark Plugs Need Replacement
1. Rough Idle
Engine shakes or vibrates at idle? Could be misfiring due to worn plugs.
Why it happens: Worn electrodes can't create strong spark = incomplete combustion = rough running
2. Trouble Starting
Engine cranks longer than normal before starting, especially when cold?
Why: Weak spark from worn plugs makes ignition harder
3. Engine Misfire
Feel a hesitation or stumble when accelerating? Check engine light flashing?
Misfire codes: P0300-P0308
Most common cause of misfires: Worn spark plugs
4. Poor Fuel Economy
MPG suddenly dropped 2-3 MPG with no other changes?
Why: Incomplete combustion from weak spark = wasted fuel
5. Lack of Acceleration
Car feels sluggish? Not as much power as usual?
Why: Weak or mistimed spark = less power from each combustion event
6. Engine Surging
Engine RPM goes up and down on its own?
Why: Inconsistent spark = inconsistent power
7. Check Engine Light
Misfire codes are the most common reason for check engine lights in my experience.
Often clearing the code and replacing plugs solves it immediately.
Related guide: 2019-2024 Cadillac XT4 — Check Engine Light / OBD2 Diagnosis DIY Guide | EZ Car Fix — worn plugs are a top cause of misfire codes — here's how to read yours before buying parts.
How to Choose the Right Spark Plugs
Rule #1: Use what your manual specifies
Seriously. Don't get creative here.
Check:
- Heat range (specific number - don't change this)
- Gap specification (measured in thousandths of an inch)
- Thread reach (length)
- Hex size
- Seat type (tapered or gasket)
Don't upgrade to iridium if your car came with platinum just because "iridium is better." Use what's specified.
DON'T:
- Use copper plugs in a car designed for platinum
- Use wrong heat range (can cause pre-ignition)
- Use single platinum in a waste-spark system (needs double platinum)
- Mix plug types (all should match)
DO:
- Buy name brands (NGK, Denso, Bosch, Autolite, Champion)
- Replace all at once (not one at a time)
- Check the part number for your specific car
Brands I trust:
- NGK - my personal favorite, OEM for many cars
- Denso - excellent quality, OEM for Toyota/Honda
- Bosch - good quality, OEM for European cars
- Autolite - solid budget option
- Champion - been around forever, decent
Brands to avoid:
- Random Amazon brands from unknown manufacturers
- Anything suspiciously cheap

DIY Spark Plug Replacement
Difficulty: 3/10 to 8/10 (depends heavily on the car)
Time: 30 minutes to 3 hours (again, depends on car)
Some cars = easy:
- 4-cylinder engines with plugs on top
- Accessible, nothing in the way
- Clear access to plug wells
Some cars = nightmare:
- V6/V8 with plugs buried under intake manifold
- Turbocharged engines with tight spaces
- Subaru boxer engines (horizontal engine)
- Anything German and turbocharged
What You'll Need
Tools:
- Spark plug socket (5/8" or 13/16" usually, with rubber insert)
- Extension bars (3" and 6" usually)
- Ratchet wrench
- Torque wrench (highly recommended)
- Gap tool (if plugs aren't pre-gapped)
- Dielectric grease
- Anti-seize compound (maybe - read below)
- Compressed air or shop vac
Parts:
- New spark plugs (buy all at once)
- Possibly new ignition coils (if old/failing)
- Maybe new plug wires (older cars)
The Process (General Steps)
Step 1: Let Engine Cool
Don't work on a hot engine. You'll burn yourself and potentially crack something by introducing cold tools to hot metal.
Wait at least an hour after driving.
Step 2: Locate the Spark Plugs
If you see thick wires going to the engine, follow them to the plugs (older cars)
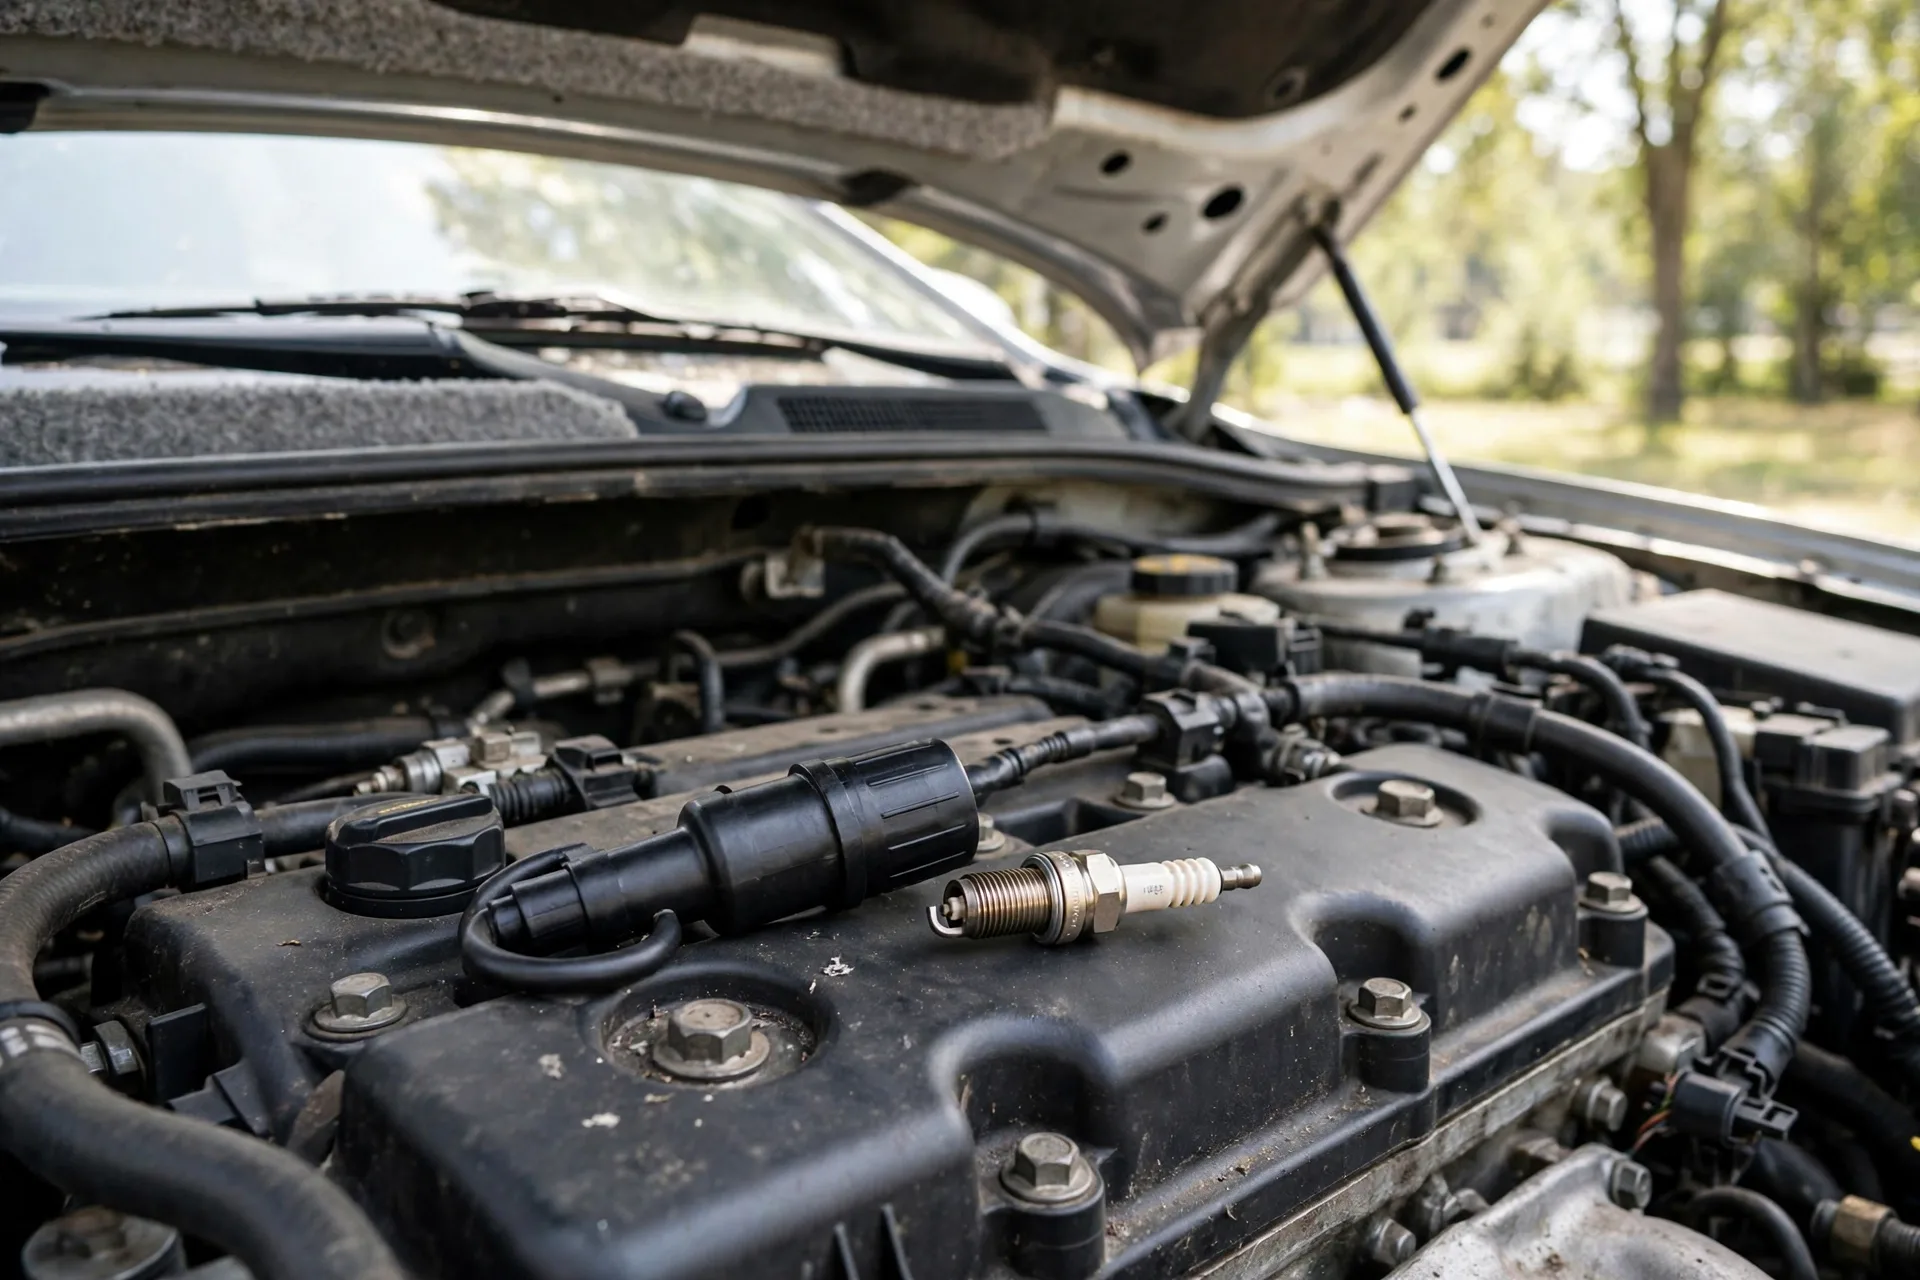
If you DON'T see wires, you have coil-on-plug ignition. You'll see individual coils sitting on top of each cylinder.
Step 3: Work on One Cylinder at a Time
Critical: Only disconnect one plug at a time. This prevents mixing up the firing order.
Step 4: Remove Coil or Wire
Coil-on-plug:
- Disconnect electrical connector
- Remove bolt(s) holding coil down
- Wiggle and pull coil straight up
- If stuck, twist gently while pulling
Plug wires:
- Grip the boot (rubber part), not the wire
- Twist and pull at the same time
- Don't yank on the wire itself
Step 5: Clean Around the Plug
Use compressed air or shop vac to remove any debris around the plug. You don't want dirt falling into the cylinder when you remove the plug.
This step is important. I've seen engines damaged from debris entering the cylinder.
Step 6: Remove Old Plug
- Fit spark plug socket over plug
- Loosen counterclockwise
- Once loose, unscrew by hand
- Remove and inspect
If plug is really tight: Don't force it. You could strip threads. Try:
- Penetrating oil, wait 10 minutes
- Gently rock back and forth while turning
- Make sure you're turning the right direction
Step 7: Inspect Old Plug
The old plug tells you a story:
Normal wear: Tan/gray, slight electrode wear
Oil fouled: Black, wet, oily - you have oil burning issue
Carbon fouled: Black, dry, sooty - running rich or weak ignition
Overheated: White, blistered - wrong heat range or running lean
Worn: Large gap, eroded electrode - just old
Step 8: Check Gap on New Plug
Even "pre-gapped" plugs should be checked. Shipping can change the gap.
Use gap tool:
- Check spec in manual (usually .028" to .060")
- Measure gap with gap tool
- Adjust if needed by gently bending ground electrode
- Recheck
Gap too small = weak spark Gap too large = no spark or hard starting
Step 9: Prep New Plug
Dielectric grease: Put small amount inside spark plug boot (helps prevent moisture and makes future removal easier)
Anti-seize: This is controversial.
- Some say use it (prevents plugs from seizing)
- Some say don't (can mess up torque reading, potentially over-tighten)
- My take: Tiny bit on threads if engine is aluminum head, none if cast iron
Step 10: Install New Plug
- Thread plug in BY HAND first (prevents cross-threading)
- Turn clockwise until hand-tight
- If it won't thread easily, back it out and try again
- Once hand-tight, use ratchet
Tightening:
- With torque wrench: Tighten to spec (usually 15-25 ft-lbs)
- Without torque wrench:
- Gasket seat: 1/2 turn after hand-tight
- Tapered seat: 1/16 turn after hand-tight
Don't overtighten. You can strip aluminum threads. Aluminum is soft.
Step 11: Reinstall Coil or Wire
Coil-on-plug:
- Apply dielectric grease inside coil boot
- Push coil down over plug
- Wiggle to make sure it's seated
- Install bolt(s)
- Reconnect electrical connector
Plug wire:
- Push boot onto plug
- Should hear/feel a click
- Give it a tug to make sure it's seated
Step 12: Repeat for Remaining Cylinders
One at a time. Don't rush.
Step 13: Start Engine and Check
- Start engine
- Listen for smooth idle
- Check for any unusual noises
- Let it warm up
- Test drive to verify improvement
If engine runs rough, you might have:
- Mixed up coil/wire connections
- Cracked a coil
- Cross-threaded a plug
Related guide: 2012-2015 Honda Civic - Spark Plug Replacement — see the full plug swap done step by step on a real car.
Common Mistakes People Make
1. Breaking Off a Spark Plug
This is bad. If the ceramic part breaks off, you've got pieces falling into the cylinder.
How to avoid: Don't force stuck plugs. Use penetrating oil and patience.
If it happens: You might need to remove the head to get pieces out. Expensive.
2. Cross-Threading
Forcing the plug in at an angle strips the threads. Now you need a Helicoil repair ($200-400) or new head.
How to avoid: Thread plugs in by hand first. If resistance, back out and start over.
3. Wrong Torque
Too loose: Plug can blow out under combustion pressure (catastrophic)
Too tight: Strip threads in aluminum head (expensive repair)
How to avoid: Use torque wrench and follow spec
4. Mixing Up Wires/Coils
If you disconnect multiple wires and forget which goes where, engine won't run right.
How to avoid: Do one cylinder at a time
5. Dropping Something Into Cylinder
If something falls into an open plug hole, you've got a problem.
How to avoid: Work carefully, don't place tools over open holes
6. Wrong Plug Type
Using copper instead of platinum, wrong heat range, wrong gap - all cause problems.
How to avoid: Double-check part numbers for your specific car
Special Cases
Ford 5.4L V8 (And Similar)
These engines are NOTORIOUS for:
- Plugs breaking during removal
- Plugs seizing in head
- Plugs blowing out (strips threads)
If you have one of these engines:
- Consider letting a pro do it
- Or buy the special removal tool kit
- Budget extra time and patience
- Sometimes heads need removal to fix
I've seen grown mechanics cry over these.
Subaru Boxer Engines
Horizontal engines = sideways access = tight quarters
Plugs on opposite sides of engine. Driver's side usually easier than passenger side.
Not impossible, just more time consuming.
Turbo Engines
Often have plugs buried under turbo, intercooler, or intake manifold.
Sometimes easier from underneath. Sometimes requires removing major components.
Check forum for your specific car before starting.
European Cars (BMW, Mercedes, Audi)
Often require:
- Removing covers and plastic components first
- Special tools
- Following specific procedures
- Longer labor time
Dealer wants $400-600 for spark plug job on these. Check YouTube for your specific model first.
Should You Replace Ignition Coils Too?
If your car is 80k+ miles and has original coils, consider replacing them with the plugs.
Why: Coils wear out too. If one fails shortly after you do plugs, you're doing the job twice.
Especially if: Your coils are under the intake manifold (Subaru, some V6s). The labor to access them is the same as plugs.
Signs coils are failing:
- Misfires that move between cylinders
- Misfires that change with temperature
- Visible cracks in coil body
Cost: $30-80 per coil usually
Related guide: 2019-2024 Nissan Altima - Ignition Coils — if your misfire follows the coil to a different cylinder, this is the job you're doing next.
The Shop vs. DIY Decision
Do it yourself if:
- Easy access to plugs
- You have the tools
- You have 1-2 hours
- You're comfortable with basic wrenching
- Your car isn't notorious for plug problems
Cost: $40-100 for plugs = total cost
Take it to a shop if:
- Plugs buried under intake manifold
- You don't have tools or space to work
- You have Ford 5.4L or other problem engine
- You're not comfortable with the job
- Your time is more valuable than the labor cost
Cost: $150-400 depending on car and shop
Savings by DIY: $100-300
The Bottom Line
Spark plugs are one of the most important maintenance items. They directly affect:
- Power
- Fuel economy
- Emissions
- How smooth your engine runs
- Engine longevity
Replace them at the recommended interval or sooner if you notice symptoms.
For many cars, this is an easy DIY job that saves $200-300 in labor.
For some cars, it's a nightmare and worth paying someone.
Check YouTube for videos of your specific car to see what you're getting into.
My recommendation: If you can access the plugs easily, do it yourself. If you need to remove the intake manifold to get to them, let a shop do it.
Questions? Drop them below. I've changed thousands of spark plugs in my career.
Keep your plugs fresh and your engine happy.
- Ray Delgado, ASE Master Technician
Last reviewed: October 2026.