Quick answer: Tire Pressure Light & Rotation on a 2016–2024 Chevrolet Camaro is rated Moderate and takes about 45-75 minutes. You'll need 8 tools for this job, and parts cost about $6. This guide walks you through the full job step by step, including the mistakes to avoid.
| Part Name |
Part Number |
Price |
Buy |
| Valve stem caps (optional) Optional |
— |
$6.00 |
|
About prices: shown prices are typical retail averages and change frequently; cheaper alternatives may be available. Confirm the current price before buying.
💡 Pro tip: Order all parts at once to save on shipping
Step-by-Step Instructions
Follow these steps carefully
1
Read door-jamb PSI and inspect tires
On the 2016-2024 Chevrolet Camaro, open the driver door and read the tire-and-loading placard for cold front/rear PSI — use only the placard value, checked cold, and note that many Camaros list different front and rear pressures. Before planning the rotation, check your fitment: SS, ZL1, and 1LE cars often have staggered (wider rear) and/or directional tires that cannot rotate front-to-rear at all. Inspect tread, sidewalls, and valve stems on all four corners; the TPMS sensor sits at each stem base, so a damaged stem can mean a damaged sensor.
🔧 Mechanic's note — Tom Becker
I do this every single time: Before planning the rotation, check your fitment: SS, ZL1, and 1LE cars often have staggered (wider rear) and/or directional tires that cannot rotate front-to-rear at all.
2
Set cold pressures / clear TPMS if low
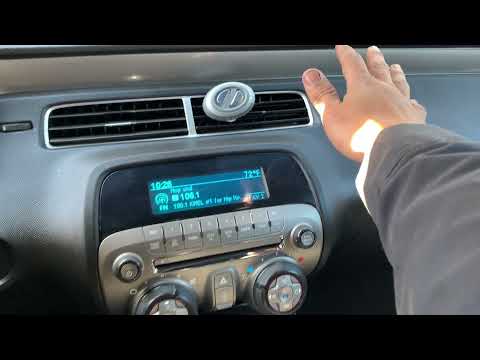
With the tires cold, set each tire to the exact placard PSI with your own gauge. Some trims can enter learn mode from the driver information center instead of the fob — check your manual.
3
Jack and stand
On level ground, set the parking brake and chock the wheels. Jack at the factory pinch-weld points and support on jack stands; never work under the car on the jack alone.
🔧 Mechanic's note — Tom Becker
Jack at the factory pinch-weld points and support on jack stands; never work under the car on the jack alone. I've seen what happens when people ignore that.
4
Rotate per the correct pattern
If your car has staggered fitment, do not move tires between axles — at most, swap left-to-right on the same axle, and only for non-directional tires. Hand-start every lug nut to protect the studs, then snug in a star pattern.
🔧 Mechanic's note — Tom Becker
I've watched people get this wrong: If your car has staggered fitment, do not move tires between axles — at most, swap left-to-right on the same axle, and only for non-directional tires.
5
Lower and torque star pattern
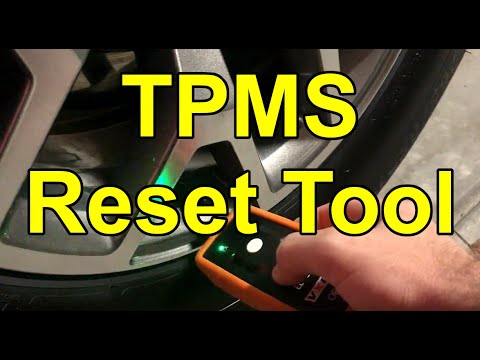
Lower the Camaro until the tires bear weight, then torque the lug nuts in a star pattern to 140 ft-lb (190 N-m) — the GM spec for the Camaro's 14mm studs, so confirm in your owner's manual rather than using a generic value. Recheck torque after 50-100 miles. Then perform the TPMS relearn from step 2 (fob lock+unlock, then the tool at each wheel in LF-RF-RR-LR order) so the system knows which sensor is at which corner — skip this and a future low-pressure warning may point at the wrong tire. Verify cold pressures the next morning.
All Done!
Test your repair before closing everything up. If something doesn't work right, double-check your steps.
⚠️ Common Mistakes to Avoid
- • Inflating to sidewall max instead of door-jamb placard PSI
- • Wrong rotation pattern for directional or staggered tires
- • Overtightening lugs with an impact only (no torque wrench)
- • Skipping jack stands