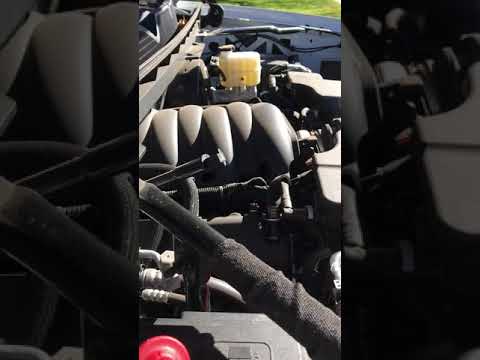
Quick answer: Spark Plug Replacement on a 2019–2024 Chevrolet Silverado 1500 is rated Advanced and takes about 1-3 hours. You'll need 4 tools for this job, and parts cost about $115. This guide walks you through the full job step by step, including the mistakes to avoid.
| Part Name |
Part Number |
Price |
Buy |
| Correct spark plug set for 2019-2024 Chevrolet Silverado 1500; verify engine, heat range, gap, and VIN fitment |
— |
$115.00 |
|
| Coil-boot seals or ignition coils only if inspection finds damage Optional |
— |
$35.00 |
|
About prices: shown prices are typical retail averages and change frequently; cheaper alternatives may be available. Confirm the current price before buying.
💡 Pro tip: Order all parts at once to save on shipping
Step-by-Step Instructions
Follow these steps carefully
1
Confirm engine and plug fitment
The 2019-2024 Silverado 1500's 5.3L L84 V8 (with Dynamic Fuel Management) takes the ACDelco 41-110 iridium — the NGK-made OE plug (ILTR5E11) — pre-gapped at 0.040 in (1.025 mm). You need eight. Note the tight 0.040 gap: this is smaller than the older 5.3s' 0.060, so don't substitute plugs gapped for a previous-generation truck. The iridium OE plug is a ~100,000-mile plug, and DFM-equipped trucks are sensitive to weak spark, so if you're chasing a shudder or misfire under light load, worn plugs are suspect number one. Scan for misfire codes first.
🔧 Mechanic's note — Ray Delgado
I've seen this exact mistake come through the shop: Note the tight 0.040 gap: this is smaller than the older 5.3s' 0.060, so don't substitute plugs gapped for a previous-generation truck.
2
Cool and expose the plugs
Let the 5.3L cool completely; the heads are aluminum. Disconnect the negative battery cable. On the L84 the eight coil packs sit right on top of the valve covers, four per side, each with a connector and a single bolt — no intake removal, no engine cover puzzle. The rearmost coils near the firewall are the tightest, especially on the passenger side under the cowl, so stage a 5/8 in (16 mm) spark plug socket with a rubber insert, a 6-inch extension, and a universal joint.
3
Remove the coils
Work one side at a time. Squeeze each coil connector's locking tab and pull it straight back — don't yank the wiring. Remove the single coil bolt and lift each coil straight up, keeping them in cylinder order on a rag.
4
Remove and install plugs
Remove each old plug with the 5/8 in (16 mm) spark plug socket, turning counterclockwise. Compare each old plug's reach and deposits to the new ACDelco 41-110 — they must match exactly. Verify the 0.040 in gap on every new plug even though they're pre-gapped; do not pry on the fine iridium center electrode to adjust it. Thread each new plug in BY HAND for several turns to protect the aluminum threads, then tighten to the manufacturer's spec in your owner's manual. Never use an impact for final seating, and skip anti-seize on these plated threads.
🔧 Mechanic's note — Tom Becker
I make it a point to do yourself a favor here: Never use an impact for final seating, and skip anti-seize on these plated threads.
5
Reconnect and verify
Press each coil firmly onto its plug until it seats, refit the coil bolts, and reconnect every electrical connector until the tabs click — tug-test each one. Reconnect the negative battery cable.
All Done!
Test your repair before closing everything up. If something doesn't work right, double-check your steps.
⚠️ Common Mistakes to Avoid
- • Using the wrong plug or assuming a pre-gapped plug needs no verification
- • Blowing debris into an open cylinder or plug well
- • Cross-threading a plug or tightening it without a torque wrench
- • Overusing anti-seize or dielectric grease on the plug threads
- • Mixing coil connectors or ignoring a misfire after reassembly