Quick answer: 12V Battery Replacement on a 1993–1997 Chrysler Concorde is rated Easy and takes about 30-90 minutes. You'll need 2 tools for this job, and parts cost about $180. This guide walks you through the full job step by step, including the mistakes to avoid.
| Part Name |
Part Number |
Price |
Buy |
| Replacement 12-volt battery for 1993-1997 Chrysler Concorde; verify group size, CCA, terminal layout, and VIN fitment |
— |
$180.00 |
|
| Anti-corrosion terminal protectant or felt washers (optional) Optional |
— |
$8.00 |
|
About prices: shown prices are typical retail averages and change frequently; cheaper alternatives may be available. Confirm the current price before buying.
💡 Pro tip: Order all parts at once to save on shipping
Step-by-Step Instructions
Follow these steps carefully
1
Confirm the right battery and the real symptom
Parts catalogs commonly list a Group 34 battery around 700 to 800 CCA for these cars, but read the group code on your old battery before buying. Confirm the failure first: slow cranking or repeated no-starts point to the battery.
2
Shut the car down and set up for wheel-well access
Disconnecting the battery clears radio presets and the clock. Chock the rear wheels, loosen the passenger-side front lug nuts slightly, then raise that corner with a jack and secure it on a jack stand — never work under a car held only by a jack.
3
Open the wheel well to reach the battery
Remove the passenger-side front wheel for the clearest access. Remove the six to eight small bolts holding the battery compartment cover in the front of the wheel well and take the cover off. Note the cable routing before touching anything.
4
Disconnect the old battery, negative first
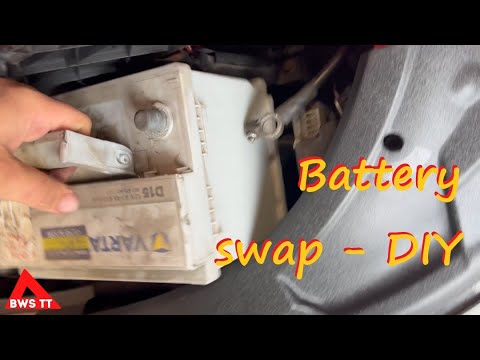
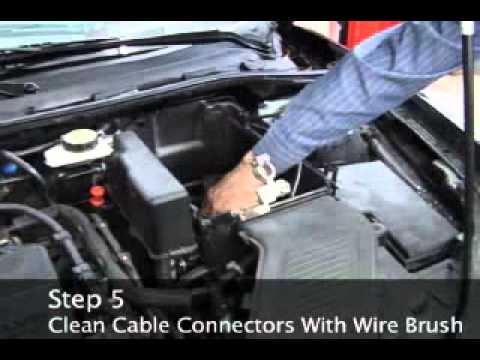
Slide the battery rearward in its compartment to reach the terminals. Loosen the negative clamp first and pull it off, tucking the cable where it cannot spring back. Lift the old battery out through the wheel-well opening.
5
Set the new battery in and reconnect
Set the new Group 34 battery into the compartment in the original orientation, positive terminal at the top left, and slide it fully home. Refit the top hold-down clamp and tighten its bolts snugly. Connect the positive cable first and tighten it, then the negative.
6
Close up
Refit the air filter housing and its duct, confirming the duct seats fully so no unfiltered air reaches the engine. Reinstall the wheel-well cover with all its bolts, then refit the wheel and torque the lug nuts to spec with the car on the ground.
7
Verify charging and recycle the old battery
With the engine running you should see 13.5 to 14.5 volts at the underhood jump-start posts on the passenger side, and no battery warning light. Confirm accessories run steadily. Return the old battery to the parts store for its core refund and proper recycling.
🔧 Mechanic's note — Ray Delgado
Battery jobs have bitten me before: Read the group code off the old battery before you order — catalogs say Group 34, but a buried battery is the worst place to discover the last owner fitted something else.
All Done!
Test your repair before closing everything up. If something doesn't work right, double-check your steps.
⚠️ Common Mistakes to Avoid
- • Buying by appearance instead of group size, CCA, polarity, and hold-down fit
- • Shorting the positive terminal to the body with a metal tool
- • Lifting the battery by damaged terminals or leaving it unsecured
- • Skipping battery registration, window/clock resets, or charging-system checks when required
- • Assuming a new battery fixes a parasitic draw or charging fault