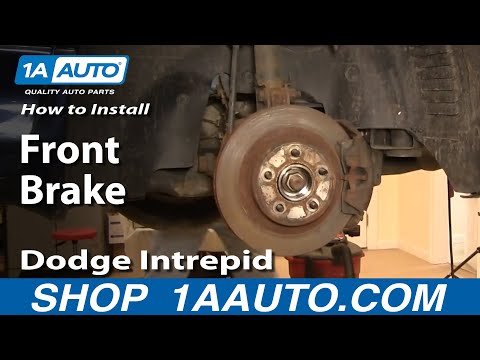
Quick answer: Front Brake Pad Replacement on a 1993–1997 Dodge Intrepid is rated Moderate and takes about 60-90 minutes. You'll need 7 tools for this job, and parts cost about $90. This guide walks you through the full job step by step, including the mistakes to avoid.
| Part Name |
Part Number |
Price |
Buy |
| Front ceramic brake pad set (1993-1997 Intrepid) |
— |
$71.00 |
|
| Brake cleaner spray |
— |
$10.00 |
|
| High-temperature silicone brake grease |
— |
$9.00 |
|
| Replacement stainless pad hardware clips (if corroded) Optional |
— |
— |
|
About prices: shown prices are typical retail averages and change frequently; cheaper alternatives may be available. Confirm the current price before buying.
💡 Pro tip: Order all parts at once to save on shipping
Step-by-Step Instructions
Follow these steps carefully
1
Secure the car on jack stands
Park level, parking brake on, rear wheels chocked. Break the front lug nuts loose on the ground, then raise the front under the subframe with a floor jack and set it on jack stands at the pinch-weld or subframe points.
2
Remove the front wheel and inspect
Pull the front wheel off to expose the caliper and rotor. Photograph the hardware orientation for reference. Check the rotor face for deep grooves or a pronounced lip at the edge — either means the rotor needs replacement too.
3
Unbolt and hang the caliper
Remove the two guide-pin bolts and hang the caliper from the coil spring with a wire — never by the hose. Slide the old inner and outer pads out, noting which had the wear indicator tab.
4
Clean and re-grease the slide pins
Pull the bracket off for rotor work and wire-brush the pad channels to bare metal. Pull the slide pins from their boots, wipe off the dried grease, inspect the boots for tears, and re-coat the pins with high-temp silicone grease.
🔧 Mechanic's note — Tom Becker
Sticking pins are the number-one cause of uneven pad wear on these LH cars — that's why this step matters to me; I wipe them clean, inspect the boots, and use high-temp silicone grease so they slide for the life of the pads.
5
Compress the caliper piston
Compress the piston slowly with a C-clamp until flush with the caliper bore. Open the reservoir cap first and watch that it doesn't overflow as the piston retracts. Dark, contaminated fluid means it's time to plan a full fluid flush.
🔧 Mechanic's note — Tom Becker
If the fluid in the reservoir looks like coffee, I don't just top it off — I've learned that's moisture and rust, and driving on contaminated fluid is how calipers seize, so I plan the full flush.
6
Install the new pads and hardware
Fit the new clips into the bracket channels, greasing only the metal-to-metal contact points — never the friction surface. Slide the pads in with the wear-indicator tab on the inboard pad as before. Confirm both pads move freely without binding.
7
Reinstall the caliper and wheel
Set the caliper over the pads and rotor, threading the guide-pin bolts in by hand. Reinstall the wheel, lower the car, and torque the lugs in a star pattern. Top off the reservoir if the level dropped.
8
Pump the pedal and road-test
Pump the brake pedal until firm — this seats the pistons against the new pads. Confirm the pedal stays firm with the engine running, then bed the pads with several stops from 25-35 mph. Recheck the lugs after 50 miles.
All Done!
Test your repair before closing everything up. If something doesn't work right, double-check your steps.
⚠️ Common Mistakes to Avoid
- • Reusing pads that look half-worn on one side only — uneven wear on a 1st-gen Intrepid usually means a sticking caliper slide pin, and new pads will wear crooked again if the pins are not cleaned and re-greased.
- • Forgetting to pump the brake pedal before driving — the caliper pistons sit retracted after the job, so the first pedal press goes to the floor; pump until firm with the car still parked.
- • Letting the caliper hang by the brake hose — the LH-platform rubber hose is not a support strap; always hang the caliper from the strut spring with a bungee or wire.
- • Installing pads without the anti-rattle clips — 1993-1997 Intrepids use stainless hardware clips that must be transferred or replaced, otherwise the pads rattle and drag.