Quick answer: Engine Air Filter Replacement on a 1998–2004 Dodge Intrepid is rated Easy and takes about 20-45 minutes. You'll need 2 tools for this job, and parts cost about $35. This guide walks you through the full job step by step, including the mistakes to avoid.
| Part Name |
Part Number |
Price |
Buy |
| Engine air filter for 1998-2004 Dodge Intrepid; verify engine, housing shape, and VIN fitment |
— |
$35.00 |
|
About prices: shown prices are typical retail averages and change frequently; cheaper alternatives may be available. Confirm the current price before buying.
💡 Pro tip: Order all parts at once to save on shipping
Step-by-Step Instructions
Follow these steps carefully
1
Confirm filter fitment and engine state
Match the replacement to the housing before you touch anything: hold the new panel filter against the old one's footprint and confirm the rubber seal and airflow arrow orientation, because the wrong shape will never seal in this cramped box.
2
Open the air box
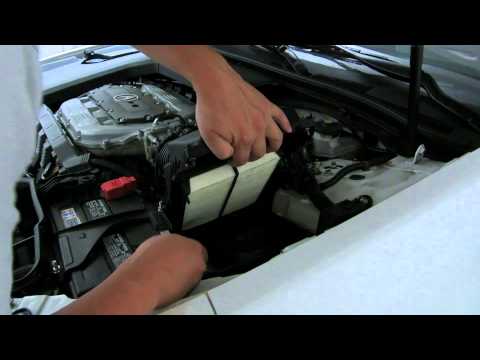
Work the airbox lid free in place — the housing sits directly behind the passenger-side headlight assembly, so reach in from the top and release the lid's clips or fasteners without yanking on the headlight wiring or the nearby harness. This box is a tight fit against the fender — do not force the lid sideways; the plastic hinge tabs crack. Once the lid loosens, drape a clean shop towel over the intake opening so no dirt or hardware can fall into the duct while you work.
3
Inspect the old filter and housing
Note that the Intrepid has no cabin air filter, so this engine filter is the only one to service. Check the lid seal for flattening, look over the intake duct and its clamps for cracks, and make sure no sensor wiring got pinched.
🔧 Mechanic's note — Ray Delgado
I've got the scars to prove it: No cabin filter on the Intrepid — so when the interior air smells dusty, it's this engine filter's housing you check for leaks, not some glovebox filter that doesn't exist.
4
Check the filter panel seating
The panel should sit flat with no rocking; if it rocks or stands proud, the part is wrong for the housing, so stop and re-check fitment than crushing the lid down on it.
5
Close and verify the intake
Set the lid back onto the lower half, making sure the hinge tabs engage before you snap or screw the fasteners home. Confirm there is no check-engine light, no loose-housing rattle, and no whistling under light throttle before you close the hood.
All Done!
Test your repair before closing everything up. If something doesn't work right, double-check your steps.
⚠️ Common Mistakes to Avoid
- • Confusing the engine filter with the cabin filter
- • Installing the filter upside down or leaving a corner unseated
- • Dropping clips, dirt, or shop towels into the intake tract
- • Over-tightening plastic air-box fasteners
- • Failing to reconnect the intake duct or sensor connector