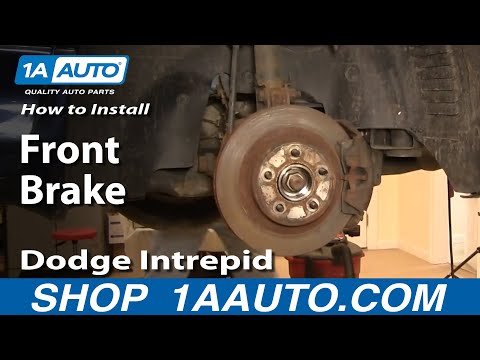
Quick answer: Front Wheel Bearing and Hub Replacement on a 1998–2004 Dodge Intrepid is rated Advanced and takes about 1-2 hours. You'll need 11 tools for this job, and parts cost about $125. This guide walks you through the full job step by step, including the mistakes to avoid.
| Part Name |
Part Number |
Price |
Buy |
| Front wheel bearing and hub assembly (with integrated ABS sensor where applicable) |
— |
$109.00 |
|
| Replacement axle nut (use new; many are prevailing-torque style) |
— |
$16.00 |
|
| Anti-Seize Compound |
— |
— |
|
About prices: shown prices are typical retail averages and change frequently; cheaper alternatives may be available. Confirm the current price before buying.
💡 Pro tip: Order all parts at once to save on shipping
Step-by-Step Instructions
Follow these steps carefully
1
Confirm the bearing is the culprit
Drive 35-45 mph, swerving gently — a hum or growl rising on right turns points to the left bearing and vice versa. Jack the front up; rock the wheel at 12 and 6 — play confirms a bad hub.
2
Loosen the axle nut before lifting
On the ground, remove the center cap and loosen the axle nut with a breaker bar while a helper holds the brakes. The nut must be cracked loose on the ground or the hub spins; don't remove it fully yet.
🔧 Mechanic's note — Ray Delgado
Crack that axle nut loose on the ground — I've watched people fight it in the air with the hub spinning freely, and it's a losing battle. Breaker bar, helper on the brakes, crack it free before the jack comes out.
3
Raise the car and remove the wheel
Loosen the lug nuts, jack up the front, and support it on jack stands under the subframe. Never work under a car supported only by a jack. Remove the wheel to expose the rotor, caliper, and hub.
4
Remove the brake caliper and rotor
Unbolt the caliper bracket and hang the caliper from the strut so the hose isn't strained. Slide the rotor off the hub — if rusted on, tap the hat with a mallet — exposing the hub flange and knuckle bolts.
5
Disconnect the ABS sensor wiring
Trace the wheel-speed sensor wire to its connector and unplug it. The sensor is built into the hub on most trims — the new hub includes one. Note the routing so the new harness follows the same path.
6
Remove the axle nut and free the axle
Remove the axle nut, then push the axle through the hub with a brass drift or by hand. Use penetrating oil and taps on the splines; never hammer the shaft with steel. Push it back enough to clear the hub.
7
Unbolt the hub from the knuckle
Remove the three (or four, depending on year) hub-to-knuckle bolts with a socket and breaker bar. Usually corroded — soak with penetrating oil, use steady pressure to avoid snapping one, tap the flange if rust-stuck.
8
Clean the knuckle mounting surface
Wire-brush the hub mounting face to clean metal — rust or debris will cock the new hub, causing bearing failure or ABS air-gap issues. Anti-seize on the mating surface, off bolt threads and tone ring, eases the next replacement.
🔧 Mechanic's note — Ray Delgado
That anti-seize on the mating surface is future-me's best friend — I've turned the next hub job from a two-hour fight into a twenty-minute swap by using it, and I just keep it off the bolt threads and tone ring.
9
Install the new hub assembly
Seat the new hub into the knuckle; thread the bolts in by hand to avoid cross-threading. Torque the hub bolts to spec in a star pattern. Route the ABS harness along the original path, clip it in, reconnect the plug.
10
Reinstall the axle, rotor, bracket, and wheel; torque the axle nut
Slide the axle through the hub. Reinstall the rotor and bracket, torquing to spec, then the wheel; lower the car. With weight on the wheels, torque the axle nut to spec and stake or cotter it as before.
11
Road-test and recheck
Test drive carefully, listening for the original hum and confirming the ABS light stays off. Brake gently several times to reseat the pads. After 50 miles, recheck axle and lug nut torque — new hubs can settle.
All Done!
Test your repair before closing everything up. If something doesn't work right, double-check your steps.
⚠️ Common Mistakes to Avoid
- • Hammering the CV axle with a steel hammer, which mushrooms the threads and ruins the axle.
- • Forgetting to route and reconnect the ABS sensor harness, triggering an ABS light after the repair.
- • Reusing a rusted, pitted knuckle surface without cleaning it, causing the new bearing to fail early.
- • Torquing the axle nut with the wheel in the air, which can damage the new bearing before it ever rolls.
- • Letting the caliper dangle by the brake hose and cracking the hose internally.