Quick answer: 12V Battery Replacement on a 2015–2024 Land Rover Discovery Sport is rated Moderate and takes about 30-90 minutes. You'll need 2 tools for this job, and parts cost about $188. This guide walks you through the full job step by step, including the mistakes to avoid.
| Part Name |
Part Number |
Price |
Buy |
| Replacement 12-volt battery for 2015-2024 Land Rover Discovery Sport; verify group size, CCA, terminal layout, and VIN fitment |
— |
$180.00 |
|
| Anti-corrosion terminal protectant or felt washers |
— |
$8.00 |
|
About prices: shown prices are typical retail averages and change frequently; cheaper alternatives may be available. Confirm the current price before buying.
💡 Pro tip: Order all parts at once to save on shipping
Step-by-Step Instructions
Follow these steps carefully
1
Confirm the right battery and the real symptom
The Discovery Sport uses a Group 94R (H7) AGM battery rated near 800 CCA. Stop-start demands AGM — a flooded battery fails fast and triggers charging faults. Slow cranking, dead stop-start, or repeated 'low battery' warnings point to a weak battery, not the alternator.
2
Shut the vehicle down and protect its settings
Park on level ground, set the parking brake, switch the ignition off, and take the key away so modules power down. The clock, radio presets, and window indexing will need resetting. Wear eye protection and gloves, and keep sparks and flame away from the battery.
3
Expose the battery under the cowl
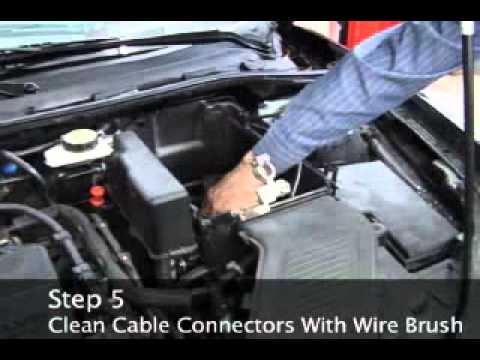
Open the hood — the battery sits at the rear of the compartment under the cowl trim. Remove the cowl cover and clips for reuse. Note the cable routing and vent tube, and photograph the terminals. Keep tools clear so nothing bridges the terminals.
4
Disconnect the old battery, negative first
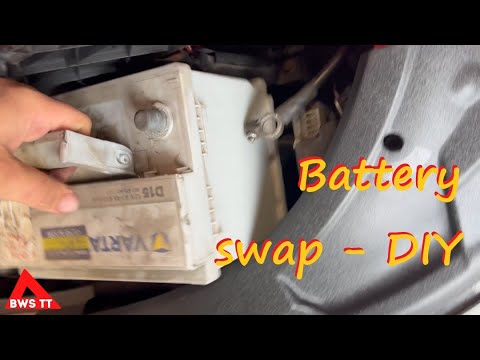
Loosen the negative clamp and lift it off first, tucking the cable clear. Remove the base hold-down, then positive, keeping the wrench clear of the bodywork. Detach the vent tube. Lift the old battery straight out — it weighs over 50 pounds.
🔧 Mechanic's note — Ray Delgado
My rule: The vent tube is the part people forget, and on these cowl-mounted batteries it matters — AGM vents route outside for a reason. Snap it back on exactly as it was before the hold-down goes in, while you can still see the port.
5
Set the new AGM battery in and reconnect
Lower the new Group 94R (H7) AGM into the tray, positive at the top right. Reattach the vent tube as before. Refit the hold-down snug, without cracking the case. Connect positive first, then negative; snug each clamp and coat the terminals with anti-corrosion spray.
6
Reset the battery monitor and relearn settings
The battery monitor may need a reset with a compatible scan tool so charging matches the new battery — without it, expect lingering warnings or shorter battery life. Reset the clock and presets, and relearn the windows by holding each switch up briefly after closing.
🔧 Mechanic's note — Tom Becker
Battery jobs have bitten me before: Most Discovery Sports want that BMS reset — the charging profile is stored in the module, and swapping without it charges the new battery like the old one, which cooks it early.
7
Verify charging and recycle the old battery
Start it — cranking should be strong. Running, expect 13.5 to 14.8 volts, and stop-start should resume after a few drive cycles. Refit the cowl cover with no warning lights left. Return the old battery to the parts store for its core refund and recycling.
All Done!
Test your repair before closing everything up. If something doesn't work right, double-check your steps.
⚠️ Common Mistakes to Avoid
- • Buying by appearance instead of group size, CCA, polarity, and hold-down fit
- • Shorting the positive terminal to the body with a metal tool
- • Lifting the battery by damaged terminals or leaving it unsecured
- • Skipping battery registration, window/clock resets, or charging-system checks when required
- • Assuming a new battery fixes a parasitic draw or charging fault