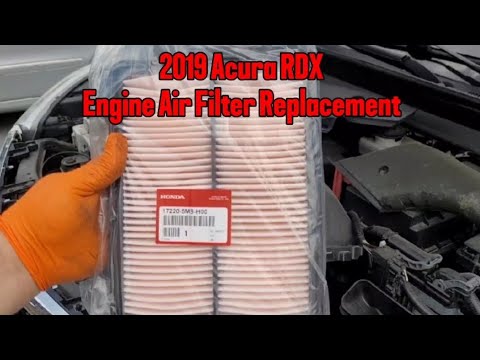
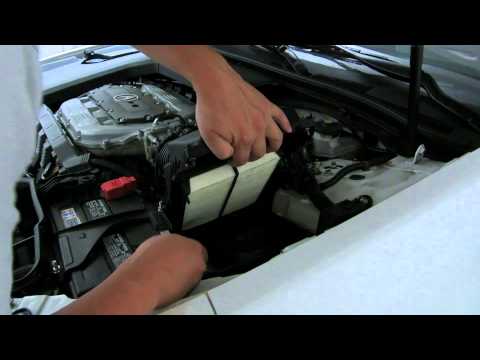
Quick answer: Engine Air Filter Replacement on a 2015–2024 Land Rover Discovery Sport is rated Easy and takes about 20-45 minutes. You'll need 2 tools for this job, and parts cost about $35. This guide walks you through the full job step by step, including the mistakes to avoid.
| Part Name |
Part Number |
Price |
Buy |
| Engine air filter for 2015-2024 Land Rover Discovery Sport; verify engine, housing shape, and VIN fitment |
— |
$35.00 |
|
About prices: shown prices are typical retail averages and change frequently; cheaper alternatives may be available. Confirm the current price before buying.
💡 Pro tip: Order all parts at once to save on shipping
Step-by-Step Instructions
Follow these steps carefully
1
Confirm filter fitment and engine state
Verify you have the correct panel-style filter for the 2.0L turbo inline-4 (Si4 and Ingenium) — compare the new filter against the old one before opening the housing. Switch the engine off and let the turbo and hot components cool before starting.
🔧 Mechanic's note — Tom Becker
This is one of my go-to tricks: Tom Becker: Lay the new filter against the old one before you open the housing. If the gasket shape doesn't match, you've got the wrong filter — better to find out before the car is apart.
2
Open the air box
Release the clips or screws and lift the lid straight up — tilting cracks the plastic tabs. Cover the intake with a clean towel. Do not touch the MAF sensor element or strain its wiring. Note how the lid and gasket sit for reassembly.
🔧 Mechanic's note — Ray Delgado
My shop rule on these: Ray Delgado: The MAF sensor sits right beside the airbox lid, and its wire element is fragile. Never rest tools on it or touch the element — a damaged sensor throws a check-engine light and rough idle.
3
Inspect the old filter and housing
Note the old filter's dirty side and orientation as you lift it out. Inspect the airbox, gasket, snorkel, clamps, and connectors for cracks, deformation, water, or debris — a damaged gasket lets unmetered air past the filter. Wipe or vacuum the box clean.
4
Install the new filter
Seat the filter squarely, gasket fully in the channel — no gaps, no folded corners. Don't force one that won't sit level; it's the wrong filter. A bad seal sends unfiltered air past the MAF into the turbo, costing power and economy.
🔧 Mechanic's note — Tom Becker
I tell every DIYer this: Tom Becker: If the filter looks right but the lid won't sit flat, the element is usually flipped, not wrong. Turn it over and check the gasket direction before you blame the fitment.
5
Close and verify the intake
Refit the cover and fasten every clip or screw. Check the duct, clamps, and connectors are snug, then start the engine and listen at idle for a hiss or whistle — a poor seal. Take a short drive to confirm throttle response feels normal.
All Done!
Test your repair before closing everything up. If something doesn't work right, double-check your steps.
⚠️ Common Mistakes to Avoid
- • Confusing the engine filter with the cabin filter
- • Installing the filter upside down or leaving a corner unseated
- • Dropping clips, dirt, or shop towels into the intake tract
- • Over-tightening plastic air-box fasteners
- • Failing to check the duct, clamps, and connectors are snug.