Quick answer: Spark Plug Replacement on a 2007–2013 Mini Cooper is rated Moderate and takes about 45-90 minutes. You'll need 5 tools for this job, and parts cost about $118. This guide walks you through the full job step by step, including the mistakes to avoid.
| Part Name |
Part Number |
Price |
Buy |
| 4x spark plugs (correct type for your engine: BERU for base Cooper, NGK for Cooper S) |
— |
$108.00 |
|
| Dielectric grease |
— |
$10.00 |
|
About prices: shown prices are typical retail averages and change frequently; cheaper alternatives may be available. Confirm the current price before buying.
💡 Pro tip: Order all parts at once to save on shipping
Step-by-Step Instructions
Follow these steps carefully
1
Let the engine cool and disconnect the battery
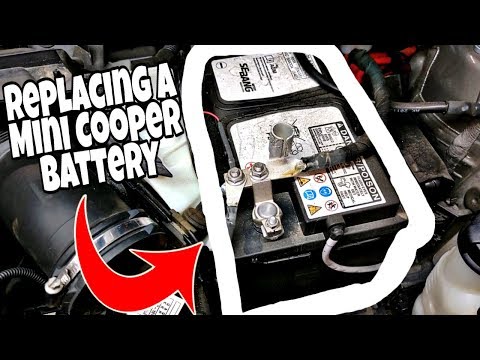
Make sure the engine is fully cold, because removing plugs from a hot aluminum head risks thread damage. Open the hood and disconnect the negative battery terminal with a 10mm wrench.
🔧 Mechanic's note — Tom Becker
I let the engine go fully cold — I've seen plugs pulled from a hot aluminum head take the threads with them, and the helicoil bill is painful.
Video at 00:00
2
Remove the engine cover
Pull the plastic engine cover straight up off its mounting grommets to expose the ignition coils. On the R56 the cover simply lifts away once the rubber mounts release. Set it aside so the four coil packs are fully accessible.
3
Disconnect the ignition coil connectors
Press the release tab on each coil's electrical connector and pull it free, working one coil at a time. Label or note each connector's cylinder position so every coil returns to its original cylinder.
🔧 Mechanic's note — Ray Delgado
I work one coil at a time and note each cylinder — I've mixed up coil connectors before, and the misfire it caused had me chasing ghosts.
4
Remove the ignition coils
Remove the small bolt holding each coil pack and pull the coil straight up out of its well. If a coil resists, twist it gently rather than yanking the boot. With the coils out, the spark plug wells are exposed.
Video at 06:37
5
Blow out the plug wells and remove the old plugs
Use compressed air or a shop vacuum to clear grit from around each plug so debris cannot fall into the cylinders. Fit the 14mm thin-wall spark plug socket with an extension and unscrew each plug.
Video at 07:40
6
Gap and install the new spark plugs
Thread each plug in by hand first to avoid cross-threading, then tighten with the torque wrench to the specified torque. All four plugs are seated when each turns smoothly to its final torque without binding.
Video at 09:06
7
Reinstall the ignition coils
Apply a thin smear of dielectric grease inside each coil boot to ease future removal. Push each coil firmly onto its plug until it seats, refit the hold-down bolts, and reconnect each electrical connector to its original cylinder.
Video at 10:36
8
Reconnect the battery and test
Refit the negative battery terminal and tighten it, then press the engine cover back onto its grommets. Start the engine and listen for a smooth idle with no misfire or check-engine light.
🔧 Mechanic's note — Tom Becker
I listen for a smooth idle with no misfire — I've caught a loose coil connector by ear on the first start, before the CEL even came on.
All Done!
Test your repair before closing everything up. If something doesn't work right, double-check your steps.
⚠️ Common Mistakes to Avoid
- • Installing plugs without checking the gap, causing misfires.
- • Over-tightening plugs and damaging the aluminum cylinder head threads.
- • Mixing up coil connectors so cylinders fire in the wrong order.
- • Skipping dielectric grease, which makes future coil removal difficult.