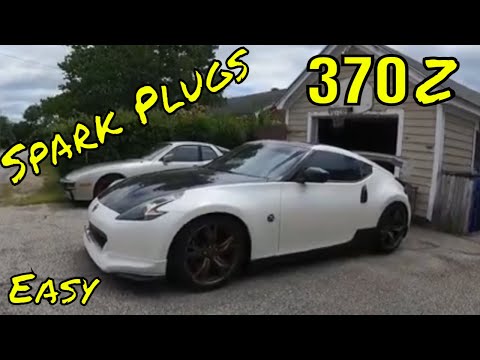
Quick answer: Brake Pad Replacement on a 2009–2020 Nissan 370Z is rated Advanced and takes about 1-3 hours. You'll need 3 tools for this job, and parts cost about $205. This guide walks you through the full job step by step, including the mistakes to avoid.
| Part Name |
Part Number |
Price |
Buy |
| Front or rear brake pad set for 2009-2020 Nissan 370Z; verify axle, brake package, and VIN fitment |
— |
$180.00 |
|
| Replacement pad hardware or wear sensor only if the kit requires it |
— |
$25.00 |
|
About prices: shown prices are typical retail averages and change frequently; cheaper alternatives may be available. Confirm the current price before buying.
💡 Pro tip: Order all parts at once to save on shipping
Step-by-Step Instructions
Follow these steps carefully
1
Confirm axle, parts, and brake condition
Confirm Sport-package brakes: fixed Akebono 4-piston calipers over 14-inch (354mm) rotors, pads held by cross springs and R-clipped retainer pins; base cars use smaller floating calipers. Order a hardware kit: new cross springs, retainer pins, and R-clips. Measure rotor thickness — 354mm rotors are pricey.
2
Lift and secure the vehicle
Set the parking brake and chock the rear wheels. Break the lug nuts loose, then jack the front at the crossmember or pinch-weld points and lower onto stands. Remove the wheel, then siphon the reservoir down from MAX — compressing four pistons pushes fluid back.
🔧 Mechanic's note — Ray Delgado
A low-profile jack helps here — the Z sits low enough that my regular floor jack just barely fits under the crossmember.
3
Remove the retainer pins, springs, and old pads
Remove the four R-clips and four retainer pins, then lift off the cross springs — the caliper stays bolted to the knuckle. Note orientation; they go back one way. Slide the pads out. Inspect pins and springs for corrosion and dust boots for heat damage.
🔧 Mechanic's note — Ray Delgado
After a salty winter, Akebono retainer pins seize on me — I soak the pin with penetrant and twist gently with pliers before reaching for a hammer. I only reuse old R-clips if I am stranded; new ones are cheap insurance.
4
Install pads and hardware
Compress the four pistons evenly so none cocks sideways. Clean the pad abutments with brake cleaner. Slide the new pads in, refit the springs, push the retainer pins through, and secure them with new R-clips, double-checking every pin — a walking pin destroys a rotor.
5
Torque, pump, and bed in
Torque the caliper bolts to Nissan's spec. Reinstall the wheel, torquing the lugs star-pattern to 108 N·m (80 ft-lb), confirmed for your year. Pump the pedal until firm before driving. Bed the pads — stops from 60 to 20 mph, minimal braking for several minutes.
🔧 Mechanic's note — Ray Delgado
I tell everyone: don't panic if the pedal drops nearly to the floor on the first pump — that's normal until the pistons take up the new pads. It should be firm within three or four pumps.
All Done!
Test your repair before closing everything up. If something doesn't work right, double-check your steps.
⚠️ Common Mistakes to Avoid
- • Changing only one pad or mixing pad sets on an axle
- • Working under a vehicle supported only by a jack
- • Letting the caliper hang from the brake hose
- • Forcing a seized piston or ignoring a leaking caliper
- • Skipping final lug and caliper torque or the bedding procedure