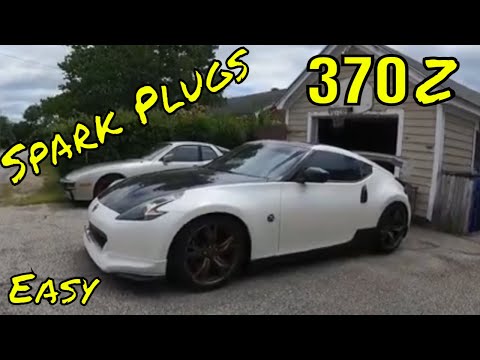
Quick answer: Engine Air Filter Replacement on a 2009–2020 Nissan 370Z is rated Easy and takes about 20-30 minutes. You'll need 2 tools for this job, and parts cost about $35. This guide walks you through the full job step by step, including the mistakes to avoid.
| Part Name |
Part Number |
Price |
Buy |
| Engine air filters (pair) for 2009-2020 Nissan 370Z; verify engine, housing shape, and VIN fitment |
— |
$35.00 |
|
About prices: shown prices are typical retail averages and change frequently; cheaper alternatives may be available. Confirm the current price before buying.
💡 Pro tip: Order all parts at once to save on shipping
Step-by-Step Instructions
Follow these steps carefully
1
Know this: the 370Z has TWO airboxes and needs TWO filters
Park on level ground, shut the engine off, let it cool, and pop the hood. Find the two black boxes tucked between the headlights and the engine. Buying a single filter and doing one side is the classic 370Z mistake; get both before you start.
2
Unplug both MAF sensor connectors
Leave the MAF sensors themselves bolted to the lids — they don't need to come off for a filter swap.
🔧 Mechanic's note — Ray Delgado
The glovebox damper often needs to be detached. I note how it connects — they're fiddly to reattach blind. I replace the cabin filter when the windows fog excessively. A clogged filter can't dehumidify properly.
3
Remove the 10mm airbox bolts
Then remove the single 10mm bolt that holds each airbox to its bracket and set both bolts aside. There's no need to remove the strut tower brace or the engine cover for a filter swap; leave them alone.
4
Pull each airbox straight up off its bottom grommets
The base of each airbox sits in rubber grommets in the chassis bracket — pull straight up firmly and the box pops free. It takes a confident tug; don't rock it sideways or you'll tear a grommet.
5
Open each lid and swap the elements
Unlatch the clips around each airbox lid and lift the lids off. Pull both old elements and compare them — on a 370Z one side is dirtier than the other.
6
Reassemble both sides completely
A half-seated MAF plug is the number one cause of a check-engine light after this job. Reconnect both MAF sensor connectors until each one clicks. Reinstall the 10mm bolt on each side and tighten the throttle-body clamps.
7
Start it up and verify both sides
Start the engine and listen: the V6 should idle smoothly with no whistle or sucking-air sound at either box, and no warning lights on the dash. If the check-engine light comes on, shut it down and recheck both MAF plugs and every lid clip before driving — one loose connector is all it takes. Inspect both elements at each oil change and always replace the pair together, since one fresh filter and one clogged one unbalances the dual intake.
All Done!
Test your repair before closing everything up. If something doesn't work right, double-check your steps.
⚠️ Common Mistakes to Avoid
- • Replacing only one of the two filters — the 370Z has two separate airboxes, one per side; always do the pair.
- • Unbolting a MAF sensor from its lid and reinstalling it backwards — the sensor's airflow arrow must face the same direction it came off.
- • Not pushing the airboxes fully back down onto the bottom grommets — a loose box rattles and leaks unfiltered air.
- • Forgetting to reconnect one of the two MAF connectors — instant check-engine light.