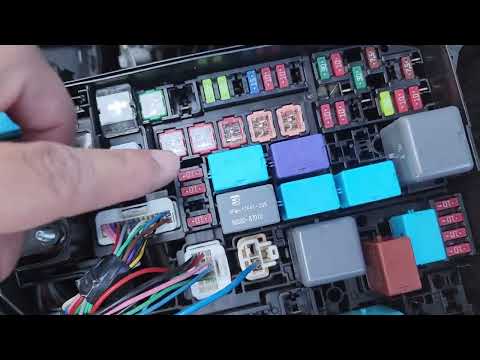
Quick answer: Oxygen Sensor on a 2014–2019 Toyota Corolla is rated Moderate and takes about 45-90 minutes. You'll need 5 tools for this job, and parts cost about $65. This guide walks you through the full job step by step, including the mistakes to avoid.
| Part Name |
Part Number |
Price |
Buy |
| Correct upstream or downstream oxygen sensor; verify bank, sensor position, and engine by VIN |
— |
$65.00 |
|
About prices: shown prices are typical retail averages and change frequently; cheaper alternatives may be available. Confirm the current price before buying.
💡 Pro tip: Order all parts at once to save on shipping
Step-by-Step Instructions
Follow these steps carefully
1
Confirm the sensor diagnosis
Scan, record the DTC and freeze-frame data, and identify the exact bank and sensor position. Check the wiring, connector, exhaust leaks, fuel mixture, and other causes before replacing the sensor.
2
Cool and secure the vehicle
Park on level ground, set the parking brake, chock the wheels, and allow the exhaust to cool. Raise and support it on rated jack stands only if the sensor cannot be reached from above.
3
Locate and unplug the sensor
Find the specified upstream or downstream sensor and trace its harness to the connector. Release the connector lock, unplug it, and free the harness clips without pulling on the wires.
4
Remove the old sensor
Brush dirt from the sensor bung, apply penetrating oil to the threads if needed, and use the correct slotted O2 socket or wrench. Break it loose carefully; stop if the bung or exhaust component starts to deform.
🔧 Mechanic's note — Ray Delgado
I give the bung penetrating oil and a few minutes before muscling it — a snapped sensor is a bad day, and a stripped bung means a welder, not a wrench; I've learned to be patient.
5
Prepare and install the replacement
Compare the new sensor's connector, wire length, and sensor position with the old part. If the threads are not pre-coated, use only the manufacturer-approved amount of anti-seize on the threads, never on the sensing tip, and start it by hand.
6
Torque and route the harness
Tighten the oxygen sensor to the exact service-manual torque for its engine, reconnect the connector, reinstall every harness clip, and route the wire clear of the exhaust, driveshaft, steering, and suspension.
🔧 Mechanic's note — Tom Becker
I refit every harness clip, not most of them — a loose O2 harness finds the exhaust eventually, and I've learned melted wire insulation sets the same code as a bad sensor.
7
Clear codes and verify the repair
Clear the recorded codes only after the repair, start the engine, check for exhaust leaks and warning lights, and complete a controlled drive cycle to confirm the code does not return and monitors run as expected.
All Done!
Test your repair before closing everything up. If something doesn't work right, double-check your steps.
⚠️ Common Mistakes to Avoid
- • Replacing the wrong upstream/downstream or bank sensor
- • Using the harness to twist or remove a seized sensor
- • Applying anti-seize to the sensing tip or contaminating the connector
- • Cross-threading the sensor or rounding it with the wrong socket
- • Clearing the code without completing a drive cycle and checking readiness monitors