Quick answer: Thermostat Replacement on a 2019–2026 Volkswagen Jetta is rated Expert and takes about 5-7 hours. You'll need 9 tools for this job, and parts cost about $290. This guide walks you through the full job step by step, including the mistakes to avoid.
| Part Name |
Part Number |
Price |
Buy |
| Water pump and thermostat assembly, 1.4L TSI (complete unit with gasket) |
04E121600CS |
$243.00 |
|
| Water pump drive belt, 1.4L TSI |
04E121605E |
$21.00 |
|
| G13 coolant, 1 gallon (50/50 ready to use) |
— |
$26.00 |
|
About prices: shown prices are typical retail averages and change frequently; cheaper alternatives may be available. Confirm the current price before buying.
💡 Pro tip: Order all parts at once to save on shipping
Step-by-Step Instructions
Follow these steps carefully
1
Confirm your engine and diagnosis
This guide covers the 1.4L TSI (engine codes DGXA/DJXA, 2019-2021 Jetta), where the thermostat is built into the coolant pump module, so a thermostat job means replacing the whole pump/thermostat unit. If your Jetta is a 2022-2026 1.5L, confirm your module revision by VIN before ordering: the part numbers below are for the 1.4L. The GLI 2.0T uses a different EA888 module and is not covered. Confirm the failure first: a thermostat stuck open shows up as slow warm-up, lukewarm heater output, and often code P0128; a leaking unit shows coolant residue on top of the module or low coolant with no visible hose leak.
2
Let the engine cool and disconnect the battery
Work on a fully cold engine: never open the cooling system hot. Disconnect the negative battery terminal and set it aside so it cannot touch the post.
3
Raise the car and drain the coolant
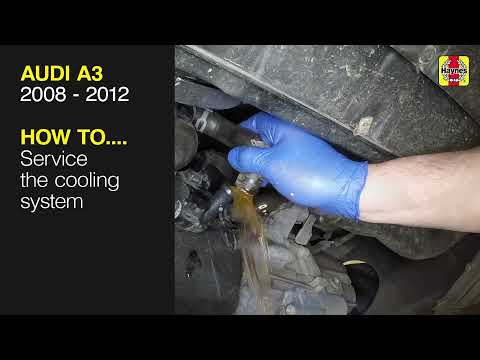
Raise the front, support it on axle stands, and remove the undertray. Place a drain tub under the radiator and drain the coolant from the lower-right radiator connector: pry out the metal retaining clip with a flat screwdriver and pull the connector apart.
4
Clear access to the pump module
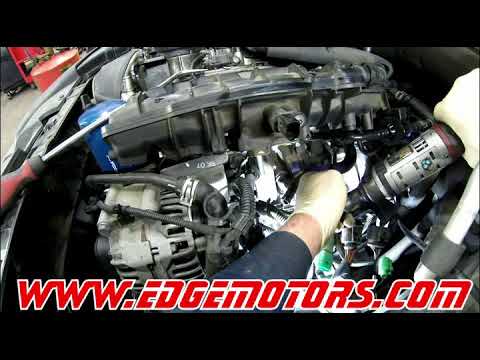
Remove the engine cover. The pump/thermostat unit sits on the gearbox side of the engine. Remove the turbo intake pipe elbow and the cover over the pump drive gear (2x T30 screws). Release the clips on the 5 coolant pipes with hose clamp pliers.
🔧 Mechanic's note — Ray Delgado
I have done this job before, and one elbow bolt is only reachable from underneath, so get the car up and your tools underneath before you start fighting the intake pipe.
5
Remove the old pump/thermostat unit
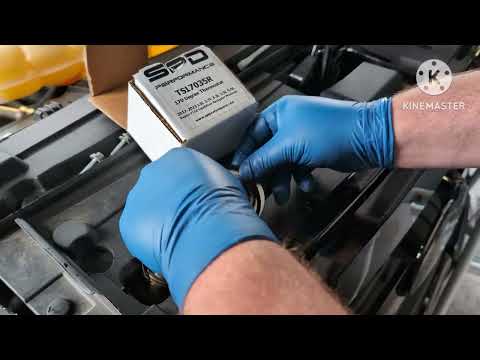
Remove the 5x T30 screws: 2 on top, 2 at the ends, and 1 below. Pull the unit free. Remove the old gasket and clean the mating surface with a scouring pad until the metal is clean and free of old gasket residue.
🔧 Mechanic's note — Ray Delgado
Do not be surprised when the little drive belt slips off the cam gear as the unit comes out. That is normal, and I always fit a fresh belt with a new unit anyway.
6
Fit the new unit and new drive belt
Fit the new belt onto the cam gear and unit, seat the unit with its new gasket. Tighten the 5 bolts 1 to 5 to 12 Nm (9 ft-lb). Tension the belt per 30 Nm (22 ft-lb) and confirm the belt sits on both gears.
7
Refit pipes, intake, and undertray
Reconnect the 5 coolant pipes, replacing any O-rings that came with the new unit, and refit the drive-gear cover, turbo intake pipe elbow, engine cover, and undertray. Double-check every pipe clip is fully seated before filling.
8
Vacuum-fill the cooling system
A vacuum coolant filler is essential: pull 0.5-0.6 bar of vacuum. Do not fill the reservoir and start the engine with the cap off: one thermostat opens around 103-105 C, so an open-cap fill can boil coolant and leave an airlock that overheats the engine.
🔧 Mechanic's note — Ray Delgado
I never skip the vacuum filler on this system. An open-cap fill looks easier, but I have seen it leave an airlock that overheats the engine.
9
Warm up, check for leaks, and recheck the level
Reconnect the battery, start the engine, and let it idle until the thermostat opens and the cooling fan runs. Inspect the unit, pipes, and radiator connector for leaks, then let the engine cool fully and recheck the reservoir level, topping up with G13 as needed. If the temperature gauge climbs past 90 C after filling, stop the engine immediately: that means an airlock, and the fill must be redone with the vacuum filler.
All Done!
Test your repair before closing everything up. If something doesn't work right, double-check your steps.
⚠️ Common Mistakes to Avoid
- • Ordering the GLI 2.0T EA888 module (06L family) for a 1.4L TSI, or a 1.4L module for a 2022-plus 1.5L without checking the VIN revision.
- • Reusing the old drive belt with the new unit.
- • Filling through the reservoir with the cap off instead of vacuum-filling, leaving an airlock.
- • Leaving old gasket residue on the engine mating surface, which causes the new unit to leak.
- • Skipping the 1-to-5 bolt order or guessing the housing torque.