Look, Your Battery WILL Die Eventually
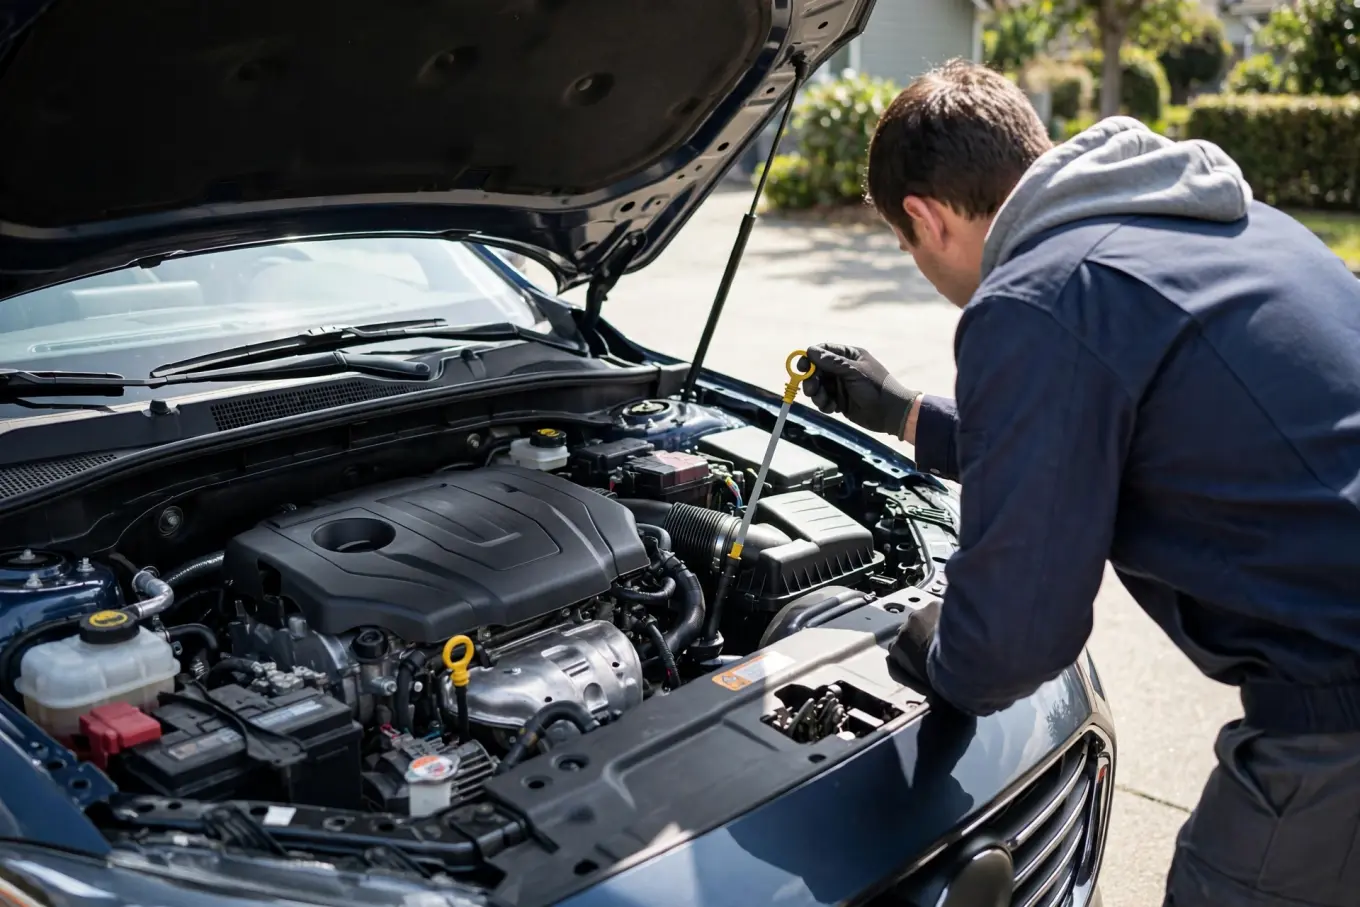
It's not a question of if, it's when. And it always happens at the worst possible time - you're late for work, it's pouring rain, or you're in the middle of nowhere. I've seen it a thousand times in 22 years of wrenching.
But here's the thing: batteries give you warning signs before they completely die. Most people just don't know what to look for. Let me walk you through this the way I'd explain it to my own family.
Warning Signs Your Battery Is On Its Last Legs
1. Slow Engine Crank
This is usually the first sign. When you turn the key (or push the start button), the engine cranks slower than normal. It still starts, but it sounds sluggish - especially on cold mornings.
Don't ignore this. You've got maybe a few weeks before it leaves you stranded. If you hear that slow "rrrrrr-rrrrrr-rrrrrr" instead of the normal quick "rr-rr-vroom," your battery is struggling.
2. Dim Headlights
If your headlights look dimmer than usual when you first start the car, or if they brighten up when you rev the engine, that's your electrical system struggling. The battery can't supply enough juice.
Test this at night: turn on your headlights with the engine off. Wait 30 seconds. Are they getting dimmer? That's a weak battery.
3. Electrical Issues Start Popping Up
Radio cutting out, power windows moving slow, dashboard lights flickering, the clock resetting - these are all signs. Modern cars have so many electronics that a weak battery shows symptoms everywhere.
I had a customer once swear his car was haunted because weird things kept happening. Nope - just a dying battery affecting all the computer modules.
4. The Dreaded Click-Click-Click
If you turn the key and just hear rapid clicking (no engine cranking), your battery is too weak to turn the starter motor. You might be able to jump it, but you're borrowing time. That battery is toast.
The clicking is the starter solenoid trying to engage but not having enough power. It's like trying to start a lawnmower with dead legs.
5. That Crusty Buildup on Terminals
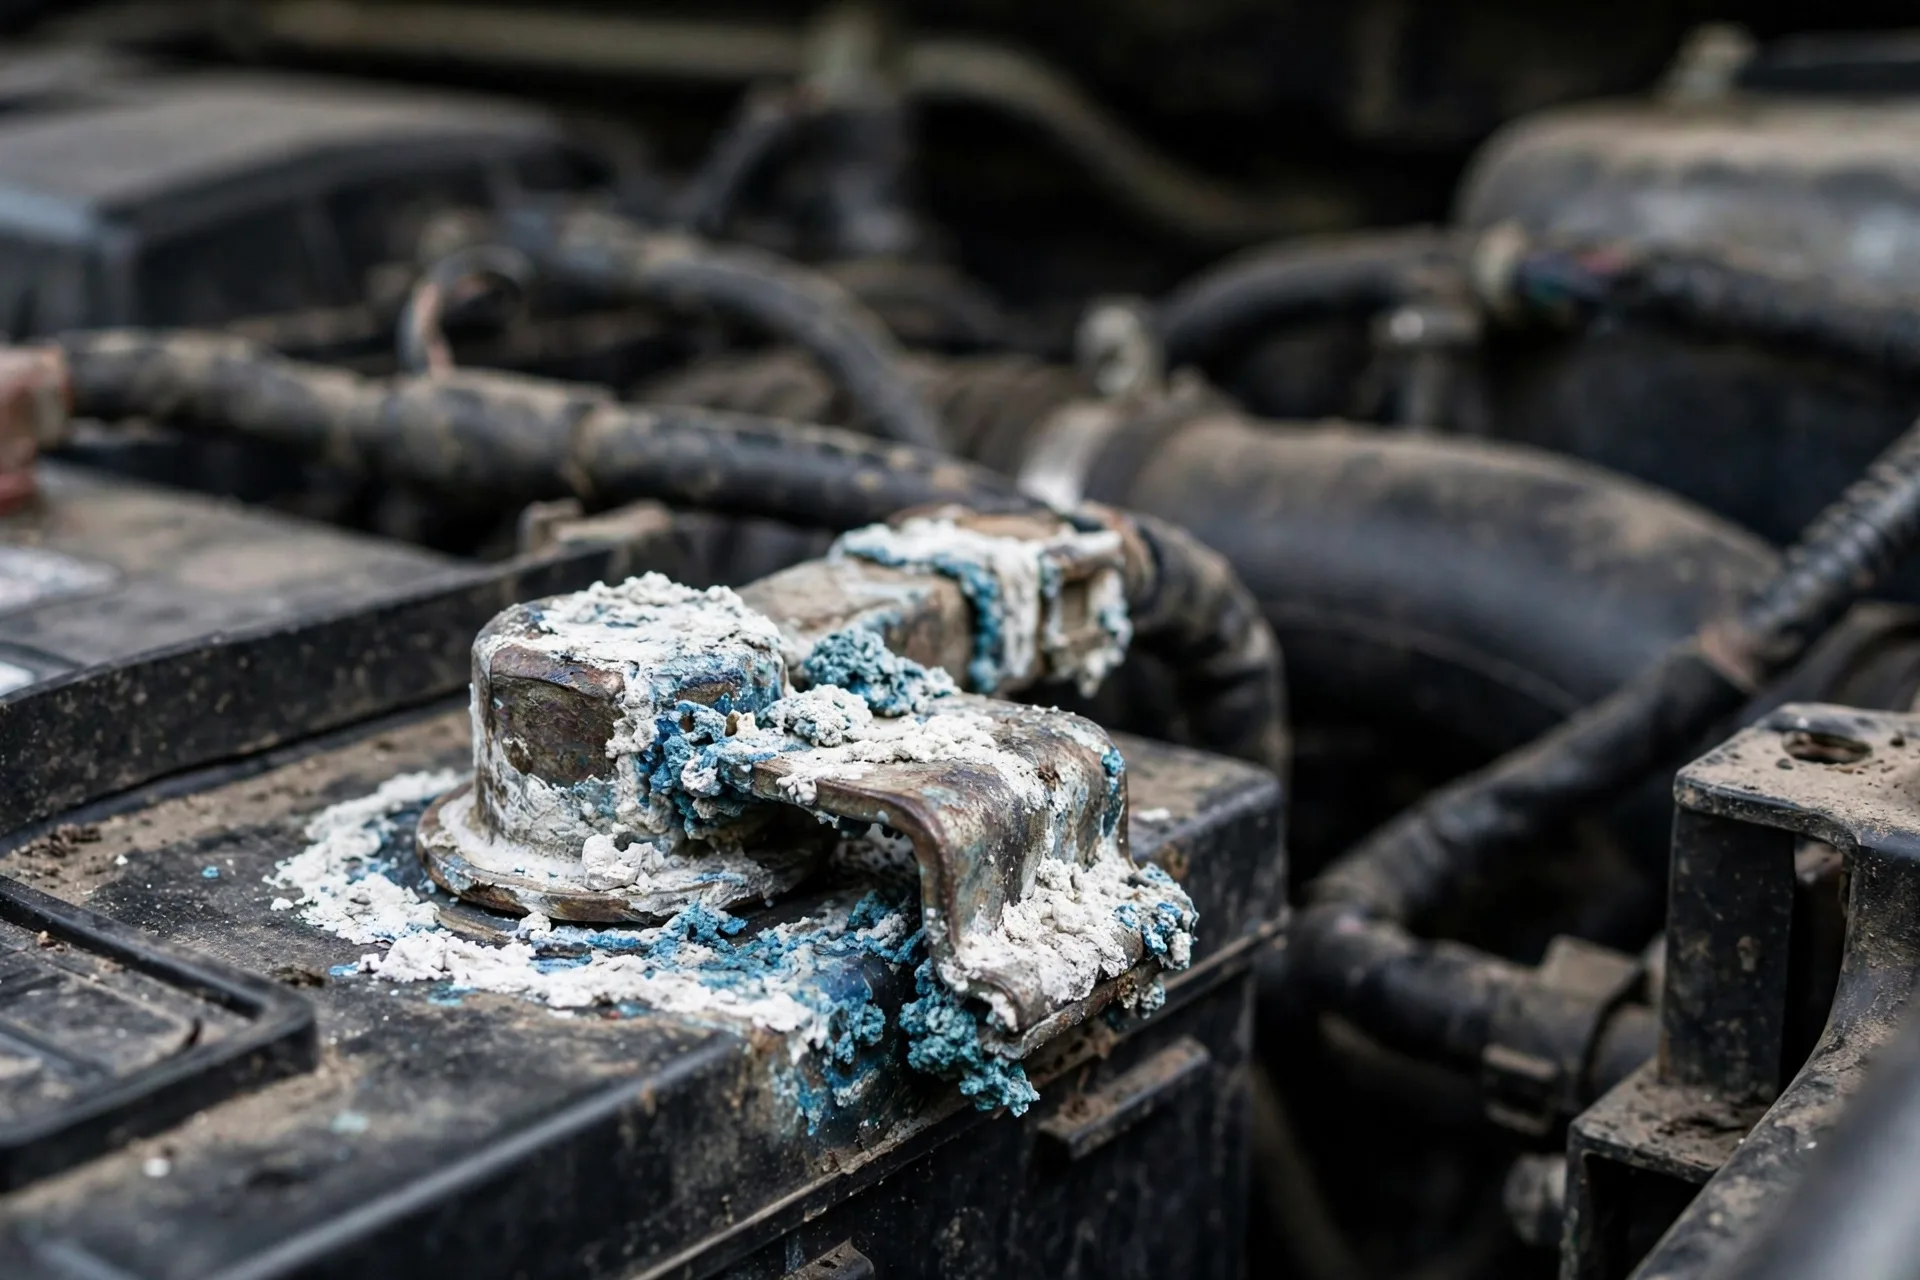
Pop your hood and look at the battery terminals. See white, blue, or greenish crusty stuff? That's battery acid corrosion leaking out and crystallizing.
While you can clean it off (baking soda and water work great), it's often a sign the battery is leaking and dying. Clean it, but start shopping for a replacement.
6. Battery Age - The Most Honest Indicator
Check the sticker on your battery. Most have a date code - usually a letter for the month (A=January, B=February, etc.) and a number for the year.
Battery lifespan reality:
- Under 3 years: Usually fine
- 3-4 years: Start testing it
- 4-5 years: Living on borrowed time
- Over 5 years: You're lucky it still works
If your battery is over 3 years old and showing ANY of the above symptoms, replace it. Don't wait.
Related guide: 2019-2024 Volkswagen Jetta - Jump Start — if it won't start at all, here's how to get going safely before you test anything.
How Batteries Actually Die (The Science)
I'm going to nerd out for a second because understanding this helps you make better decisions.
A car battery is basically a box of lead plates sitting in sulfuric acid. When you use it, the acid reacts with the lead to create electricity. When you charge it (while driving), that reaction reverses.
Over time:
- The lead plates slowly deteriorate and shed material
- The acid gets weaker and more watered down
- Sulfate crystals build up on the plates (called sulfation)
- The plates can warp from heat cycles
- The separators between plates can fail
- Eventually, it can't hold a charge anymore
Heat kills batteries faster than cold. Yeah, you hear more about dead batteries in winter, but that's because a weak battery that worked fine in summer finally gives up when it gets cold. The actual damage happens in hot weather.
I've seen batteries in Arizona and Texas die in 2-3 years because the heat just cooks them. In Minnesota? Sometimes 6-7 years. If you live in a hot climate, expect shorter battery life.
Related guide: 2017-2021 Acura MDX - Alternator Replacement — a battery that keeps dying after a fresh charge usually means the alternator is the real problem.
Testing Your Battery (The RIGHT Way)
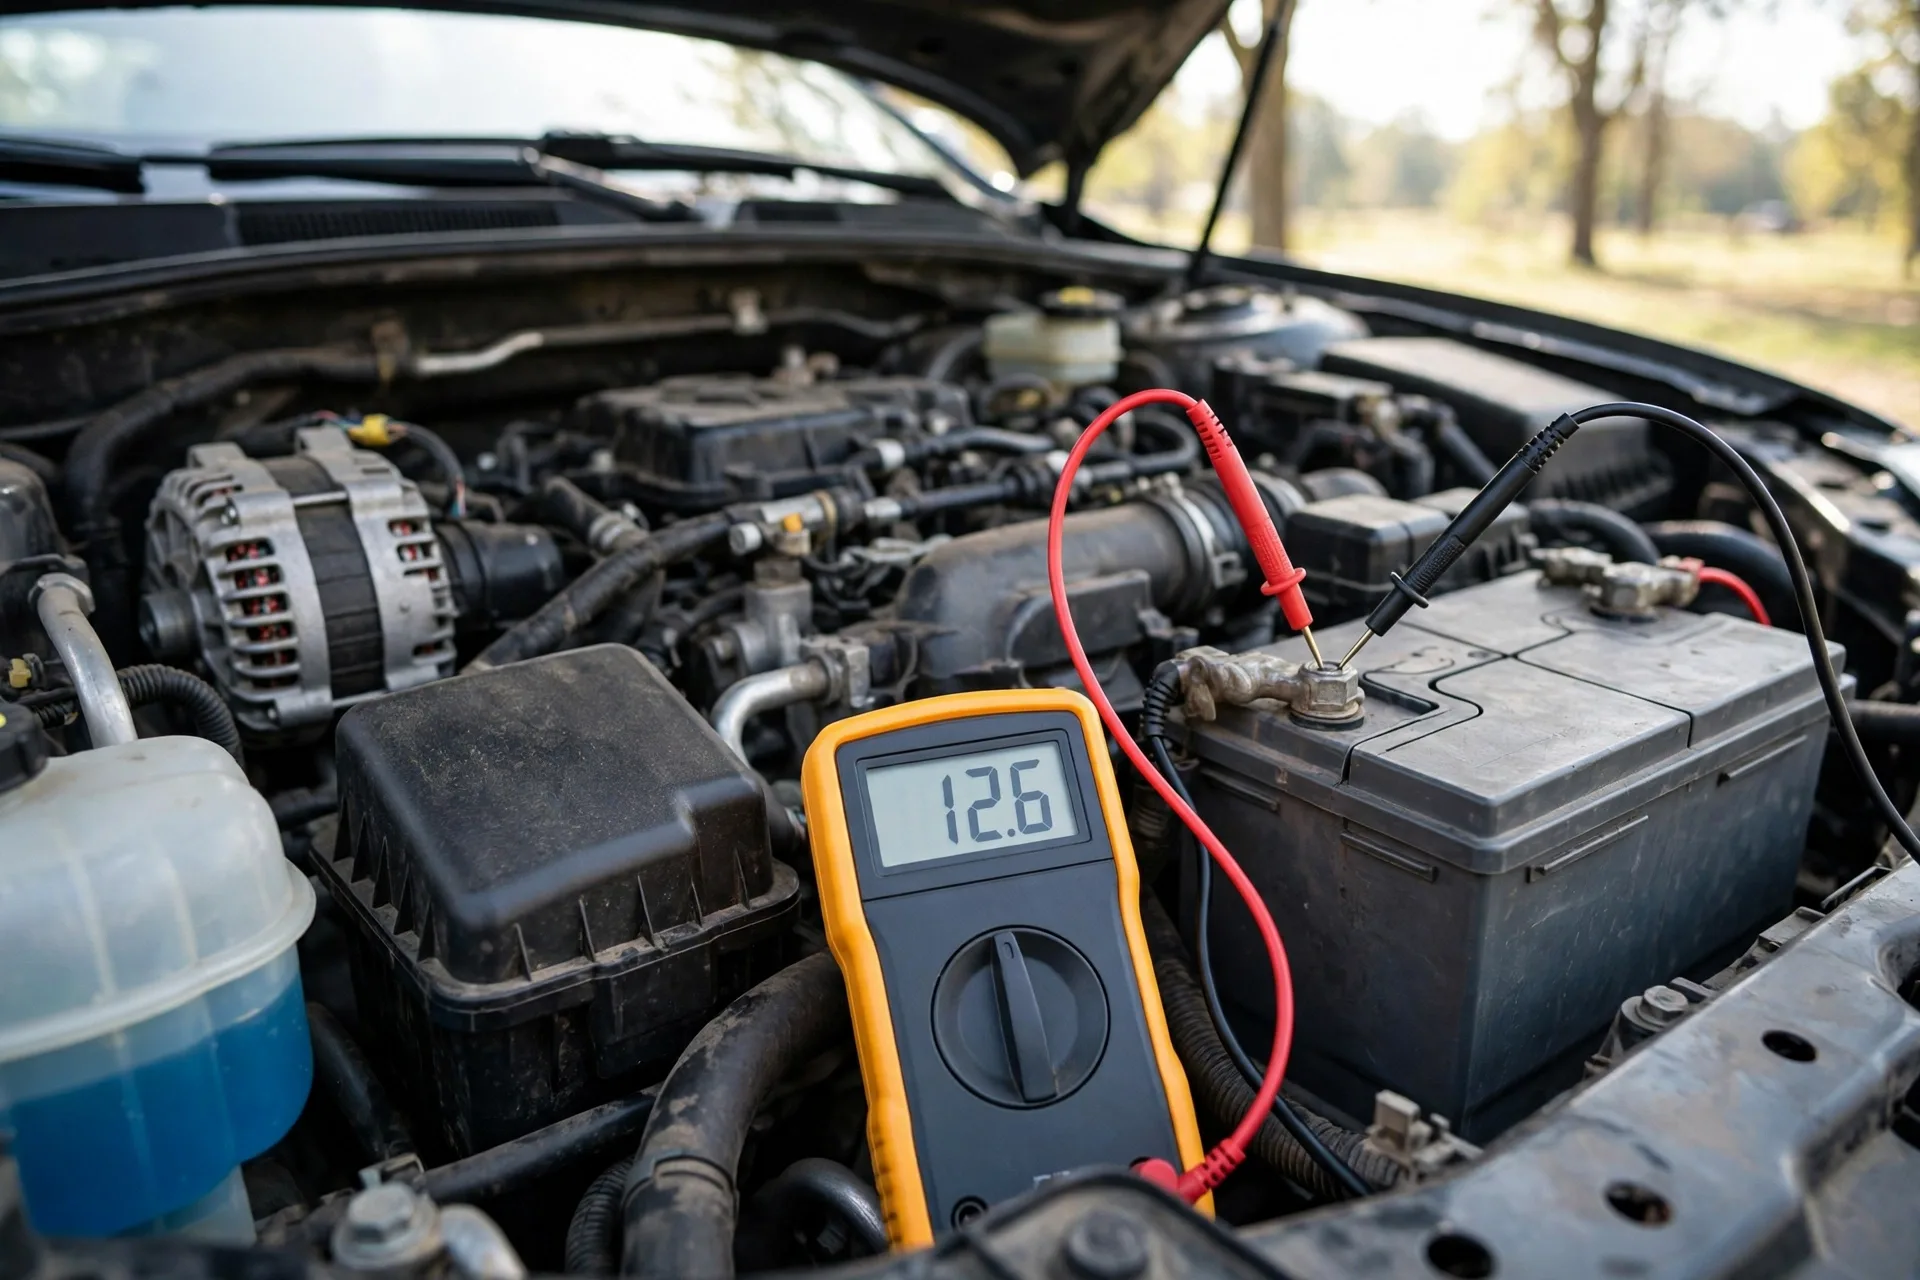 Don't guess. Here's how to actually know if your battery is dying:
Free Testing at Auto Parts Stores
AutoZone, O'Reilly's, Advance Auto Parts - they'll all test your battery for free. Takes 5 minutes. They use a fancy tester that checks:
- Voltage - should be 12.6V or higher when engine is off
- Cold Cranking Amps (CCA) - measures starting power
- State of charge - tells you if it's actually holding power
- Alternator output - makes sure your charging system works
If the test shows "replace," believe it. These machines are pretty accurate. They're not trying to sell you a battery (well, they are, but the test is legit).
DIY Testing With a Multimeter ($15 Tool)
Got a cheap multimeter from Harbor Freight? Here's the professional test:
Test 1: Resting Voltage
- Engine off, everything off, car hasn't run for 2+ hours
- Set multimeter to 20V DC
- Touch red probe to positive (+) terminal, black to negative (-)
- Read the voltage
What the numbers mean:
- 12.6V or higher = fully charged (100%)
- 12.4V = 75% charged
- 12.2V = 50% charged
- 12.0V = 25% charged
- Below 12V = dead or dying
If you're at 12.2V or lower, your battery is weak even if it starts the car.
Test 2: Charging System
- Start the engine
- Measure voltage at the battery
- Should jump to 13.7-14.7V
That's your alternator charging the battery. If it stays at 12V, your alternator is dead. If it goes higher than 15V, your voltage regulator is overcharging (also bad).
Test 3: Load Test Turn on the headlights with the engine off. Voltage should drop but stay above 12V. If it drops below 11.5V within 30 seconds, the battery can't handle load - it's dying.
Buying a New Battery: Don't Get Ripped Off
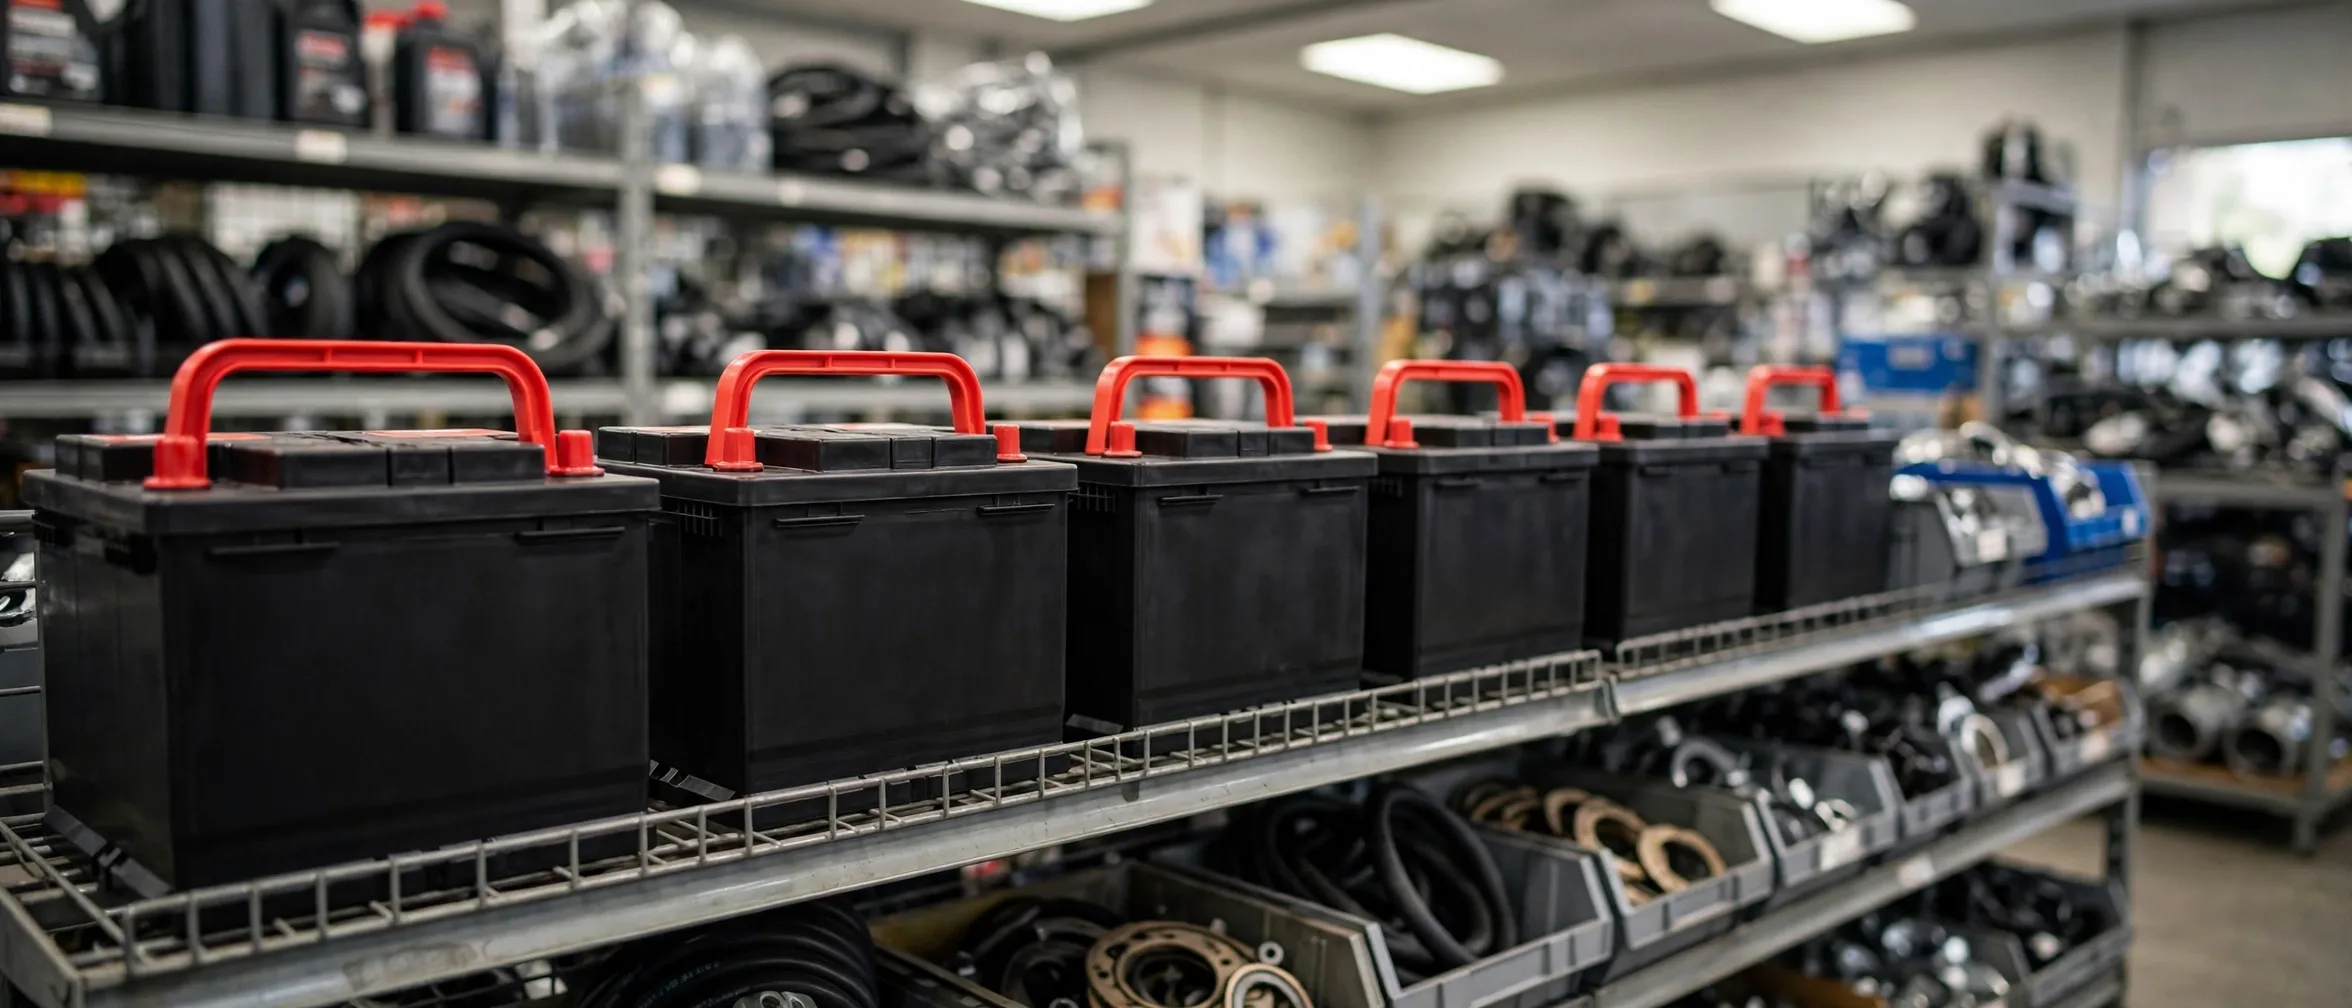
Group Size - Make Sure It Fits
Batteries come in different physical sizes - Group 24, 35, 65, 51R, etc. Your car needs a specific size to fit in the battery tray and have the terminals in the right spots.
Check:
- Your owner's manual
- The sticker on your current battery
- Ask the parts store to look it up
Don't try to force a wrong-size battery to fit. I've seen people do this with zip ties and wood blocks. It rarely ends well.
Cold Cranking Amps (CCA) - The Important Number
This measures how much power the battery can deliver at 0°F (-18°C) for 30 seconds. Your car has a minimum CCA requirement.
More CCA = better, especially in cold climates. But don't go crazy:
- Car requires 600 CCA? A 650-700 CCA battery is perfect
- 900 CCA is fine but costs more
- 1200 CCA is overkill unless you have a diesel truck
In warm climates, you can get away with meeting the minimum. In cold climates, I recommend 10-20% above the minimum.
Reserve Capacity (RC) - The Backup Number
This tells you how long (in minutes) the battery can run your car's electrical system if the alternator dies. Higher is better, but it's not as critical as CCA.
If you break down at night in the rain, RC tells you how long you can run your hazard lights before the battery dies. 90+ minutes is good.
Warranty - This Matters A LOT
Battery warranties have two periods:
- Free replacement period - they give you a new battery no questions asked
- Prorated period - you get a discount on a new battery
Good warranties:
- 3 years free replacement + 1 year prorated (3+1)
- 4 years free + 1 year prorated (4+1)
- 5 years free (rare but awesome)
Cheap warranties:
- 1 year free + 1 year prorated (1+1)
- 2 years free only
Do the math: A $100 battery with a 1+1 warranty might need replacing in 3 years. A $150 battery with a 4+1 warranty lasts longer AND comes with better coverage. The expensive battery is actually cheaper.
Brand Recommendations (From Experience)
I've installed thousands of batteries. Here's what actually lasts:
Top tier (best quality, longest life):
- Interstate - my personal favorite, excellent warranty support
- Optima - pricey but bulletproof, great for extreme conditions
- DieHard Platinum - the good ones, not the budget line
- OEM batteries from your dealer - expensive but guaranteed to fit perfectly
Solid mid-range (best value):
- Duralast Gold (AutoZone) - surprisingly good
- DieHard Gold (Advance Auto)
- EverStart Maxx (Walmart) - don't laugh, these are solid
Budget (you get what you pay for):
- Basic EverStart (Walmart)
- Econocraft
- Store generic brands
- Used batteries (just no)
Don't cheap out on a battery. The difference between a $100 battery and a $150 battery is like $10/year over its life. Worth it.
Replacing It Yourself - The REAL Process
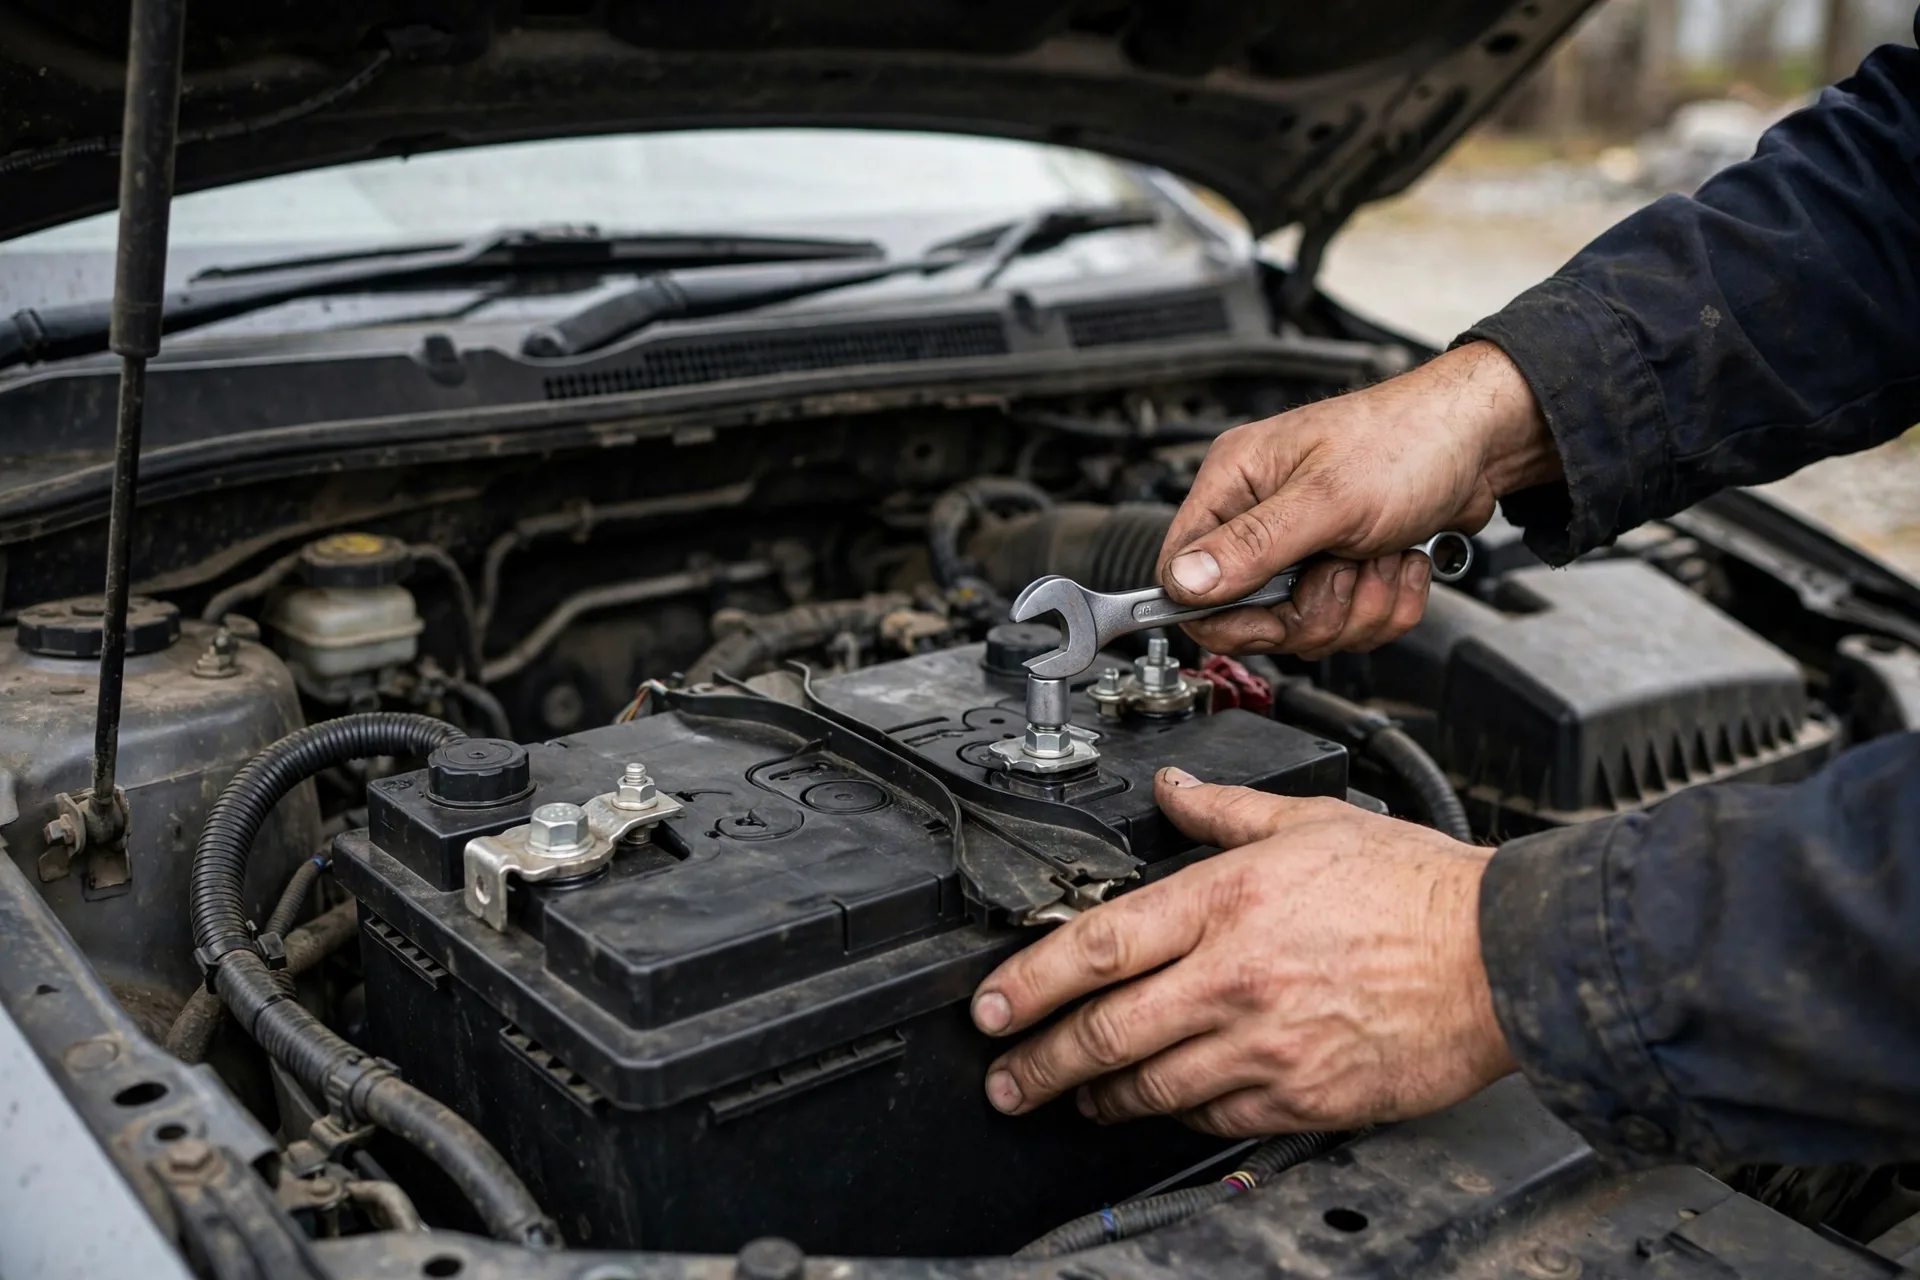 Shops charge $20-50 for installation. It takes 15-20 minutes if you know what you're doing. Save your money.
What You Actually Need
- New battery (obviously)
- 10mm wrench or socket (most common, sometimes 8mm or 13mm)
- Wire brush or battery terminal cleaner tool ($3 at any parts store)
- Baking soda and water in a spray bottle
- Battery terminal protection spray OR dielectric grease
- Gloves (optional but recommended - battery acid burns)
- Safety glasses (really, wear them)
- Rags or paper towels
Step-by-Step (The Way I Actually Do It)
Step 1: Turn EVERYTHING Off
Keys out. Doors closed. Trunk closed. Hood light off if you can. Everything.
Some cars draw power even with the key off if a door is open. You want zero draw when you disconnect.
Step 2: Locate the Battery
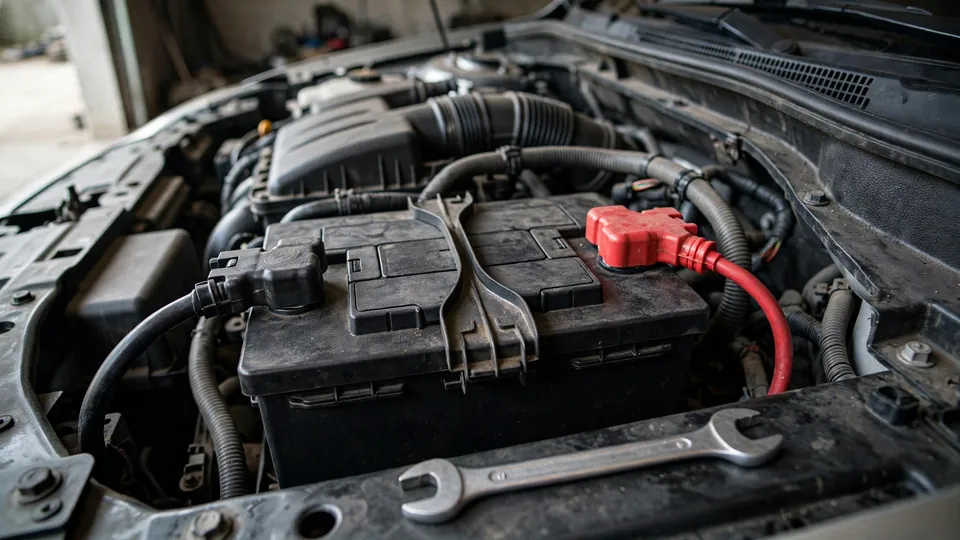
Usually under the hood on one side or the other. But:
- Some BMWs: in the trunk
- Some Chryslers: in the trunk under carpet
- Some GM trucks: under the rear seat
- Some Dodges: in the wheel well (I wish I was kidding)
Check your manual if you can't find it.
Step 3: NEGATIVE Terminal First (This Is Critical)
Always disconnect negative first.
Why? Because if you disconnect positive first and your wrench touches any metal part of the car, you create a direct short circuit to ground. Results:
- Huge sparks
- Possible fire
- Ruined electrical components
- Melted wrench
- Pacemaker stops working (seriously)
Negative terminal has a minus (-) sign and is usually black.
- Loosen the bolt (usually 10mm)
- Wiggle the terminal clamp off the post
- If it's really stuck, gently pry with a flat screwdriver
- Don't hammer on it - you'll crack the terminal post
Once it's off, tuck the cable away so it can't touch the battery or anything else.
Step 4: Positive Terminal Next
Now remove the positive terminal (red, plus + sign). Same procedure - loosen, wiggle, remove.
Be extra careful not to let the wrench or cable touch any metal. That positive terminal is still hot.
Step 5: Remove the Hold-Down Bracket
Most batteries have something holding them in place:
- Top bar - usually one bolt on each end
- Base clamp - bolt goes through a plate under the battery
- J-hooks - unhook and lift up
Remove whatever's holding your battery down. Keep track of the hardware - you'll need it for the new battery.
Step 6: Lift Out the Old Battery
Warning: Batteries are HEAVY. A typical car battery weighs 35-45 pounds. A truck battery can be 50-60 pounds.
- Use your legs, not your back
- Get a good grip on the handle (if it has one) or grab opposite corners
- Lift straight up - don't tip it or you'll spill acid
- If it's stuck, rock it gently to break the seal
Pro tip: Some batteries have built-in handles. Use them. If not, battery carrying straps cost $5 and save your back.
Step 7: Clean the Terminal Clamps (Don't Skip This)
This is where people usually rush and regret it later.
Those terminal clamps are probably crusty with corrosion. If you don't clean them, your new battery won't make good contact.
- Mix baking soda and water (makes a paste or spray)
- Apply to the crusty parts - it'll fizz (that's the acid neutralizing)
- Scrub with a wire brush until shiny metal appears
- Rinse with water
- Dry thoroughly
Also clean the battery tray if there's corrosion. Any white, blue, or green crusty stuff needs to go.
Pro tip: Battery terminal cleaning brushes cost $3 and work way better than a regular wire brush. One end cleans the post, the other end cleans inside the clamp. Best $3 you'll spend.
Step 8: New Battery In
Carefully lower the new battery into the tray. Make sure:
- The terminals are on the correct sides (positive and negative in right positions)
- It sits flat in the tray
- The posts line up with the cables
If the terminals are on the wrong side, you have the wrong battery. Don't try to make it work.
Step 9: Reinstall the Hold-Down
Secure that battery properly. A loose battery bouncing around under your hood will:
- Crack the case and leak acid
- Break the terminal posts
- Short out on metal parts
- Become a 40-pound projectile in a crash
Tighten the hold-down, but don't go gorilla on it. Snug is fine. If it's a top bar, don't crank it down so hard you crack the battery case.
Step 10: POSITIVE Terminal First (Opposite Order)
When reinstalling, we go opposite order from removal - positive first, then negative.
Why? If you connect negative first and your wrench touches metal while connecting positive, you short it out.
- Slide the positive (+) clamp onto the positive post
- Wiggle it to make sure it's seated
- Tighten the bolt until the clamp won't twist by hand
Don't overtighten - you can crack the terminal post. Snug, not Hulk-tight. If you can twist the clamp with your hand, tighten more. If you can't, you're good.
Step 11: Negative Terminal Last
Same procedure. Slide it on, seat it properly, tighten until it won't twist.
You might see a small spark when you connect the negative. That's normal - the car's computers are waking up.
Step 12: Protection Against Future Corrosion
Spray both terminals with battery terminal protection spray (red and green spray cans at parts stores). Or smear on some dielectric grease.
This creates a moisture barrier and prevents future corrosion. Takes 10 seconds, saves you hassle later.
Step 13: Test Everything
Before you close the hood:
- Turn the key - does it start?
- Check headlights - are they bright?
- Try the radio, windows, etc.
If it doesn't start, most of the time you didn't tighten the terminals enough. Go back and make them tighter.
If you hear clicking or nothing happens, check your connections first before assuming the new battery is bad.
Related guide: 2006-2011 Honda Civic - Battery Replacement — the complete battery swap walkthrough with photos if you want the full procedure.
Common Mistakes (I've Seen Them All)
1. Mixing Up the Terminals
Don't laugh - people do this more than you'd think. Positive to negative, negative to positive.
Result: Massive sparks, blown fuses, fried electronics, melted battery, possible fire, ruined battery.
Reversed terminals can easily cost $500+ in electrical damage — sometimes $2,000+ if computer modules fried.
Double-check before you tighten anything. Red to red (+). Black to black (-).
2. Forgetting to Reprogram Stuff
Disconnecting the battery resets your:
- Radio presets (annoying)
- Clock (whatever)
- Power window calibration (sometimes needs relearn)
- Idle learning in the engine computer (might run rough for a day)
- Radio security code (can lock you out)
- Adaptive transmission shift points (might shift weird for a bit)
Some cars need the windows "relearned" - just roll each window all the way down, then all the way up and hold the button for 2 seconds at the top.
If you have a radio security code (common on Hondas and some others), find it BEFORE you disconnect the battery. It's usually on a card in your owner's manual or a sticker in the glove box. Without it, your radio is a brick.
3. Not Disposing of the Old Battery Properly
Batteries are toxic. Lead and sulfuric acid. Don't:
- Throw it in the trash (illegal in most places)
- Leave it in your garage forever
- Dump it in the woods (seriously, I've seen this)
Take it to any auto parts store - they're required to accept it for recycling. You'll usually get a $10-20 core charge refund too.
Most places knock the core charge off your new battery price if you bring the old one at purchase time.
4. Assuming the Battery Was the Problem
Sometimes the battery dies because something else is wrong:
- Parasitic draw - something draining power when car is off (common culprits: aftermarket alarm, trunk light stuck on, radio staying on)
- Bad alternator - not charging the battery while you drive
- Corroded or loose battery cables - preventing current from flowing
- Bad starter - drawing too much power and killing battery
If your brand new battery dies within a few weeks, you've got a bigger problem. Get it tested:
- Parasitic draw test (measures what's draining when car is off)
- Alternator output test (makes sure it's charging)
- Starter amp draw test (makes sure starter isn't pulling too much)
Most shops will test these for free if you ask.
5. Using the Wrong Battery Type
Not all batteries are the same. There are three main types:
Flooded Lead-Acid (Regular Battery)
- Cheapest option
- Needs to stay upright
- Can't handle deep discharge well
- Fine for most cars
AGM (Absorbent Glass Mat)
- More expensive ($150-250)
- Sealed, can't spill
- Handles deep discharge better
- Charges faster
- Required for cars with start/stop systems
- Required for some European cars (BMW, Mercedes)
Lithium (Rare in Cars)
- Super expensive ($400+)
- Lighter weight
- Longer life
- Only for specialty applications
Important: If your car came with an AGM battery, you MUST replace it with another AGM. A regular flooded battery won't work right with start/stop systems and will die quickly.
Special Cases and Situations
Cars With Battery Management Systems (BMS)
Some newer European cars (BMW, Mercedes, Audi, VW, some Volvos) have a Battery Management System that monitors battery health and controls charging.
When you replace the battery, you need to "register" or "code" the new battery to the car using a special scan tool. This tells the computer:
- There's a new battery
- What type it is
- To reset the charging algorithm
You can still replace the battery yourself, but you'll need to:
- Take it to a shop with the right scan tool ($50-100 usually)
- Or buy your own scan tool ($200-500)
- Or use a shop that offers this service
If you don't register it, the car might:
- Undercharge or overcharge the battery
- Shorten battery life
- Not use start/stop properly
Hybrids and Electric Cars
12V Accessory Battery: Hybrids and EVs have a small 12V battery (like a regular car) that powers accessories and computer systems. When people say "hybrid battery died," it's usually this little 12V battery, not the big traction battery.
Replacement is similar to regular cars, but:
- The 12V battery might be in a weird spot (trunk, under rear seat)
- Some require special procedures
- Some need to be registered to the system
- Never touch the orange cables (high voltage!)
If you're not comfortable, pay someone. High voltage will kill you.
Traction Battery: The big battery that powers the electric motor? Leave that to professionals. It's not a DIY job unless you're an EV technician.
Diesel Trucks
Diesel engines need way more cranking power. Many trucks have TWO batteries.
When one dies, replace BOTH. Mismatched batteries cause problems:
- One drains the other
- They fight each other
- Both die quickly
Diesel batteries are expensive ($200-300 each), but you need them. Don't cheap out.
Classic Cars and Motorcycles
Older vehicles with minimal electronics can often run on smaller batteries. But:
- Make sure it has enough CCA for your engine
- Check terminal type (some classics use side terminals)
- Consider a battery tender if you don't drive it often
When to Actually Replace Your Battery
Here's my professional recommendation:
Replace immediately if:
- Won't hold a charge (dies overnight)
- Tests bad at auto parts store
- Over 5 years old AND showing any symptoms
- Visible damage, cracks, or leaking
- Swollen or bulging case
- You've jumped it 3+ times in a month
Replace soon (within a month) if:
- Slow cranking in morning
- Over 3 years old in hot climate (Arizona, Texas, Florida)
- Over 4 years old anywhere else
- Electrical issues appearing
- Voltage tests below 12.4V at rest
- Tests show low CCA
Keep monitoring if:
- Tests good at parts store
- Under 3 years old
- No symptoms at all
- Voltage tests above 12.6V
- CCA tests above 100% of rating
The Bottom Line Truth
A battery costs $100-200. A tow truck costs $100-150. Being stranded costs you:
- Missed work
- Ruined plans
- Stress and frustration
- Risk if you're in a bad area
- Priceless (in a bad way)
If your battery is over 3 years old, have it tested annually - preferably in fall before winter hits. If it tests weak, replace it before it strands you. Don't wait until you're stuck.
And seriously, replacing it yourself is stupid easy. Don't pay a shop $40-50 for a 15-minute job. You can do it yourself with a $10 wrench.
Pro tip from 22 years in the business: Keep jumper cables or a portable jump starter in your trunk. Even with a brand new battery, you never know when you (or someone you're trying to help) will need it.
I carry a portable jump pack in every vehicle I own. $50 well spent.
Questions? Drop them in the comments below. I've done about 10,000 battery replacements and seen every possible scenario.
Stay safe out there, and don't let a dead battery ruin your day.
- Tom Becker, Senior Technician
Last reviewed: October 2026.