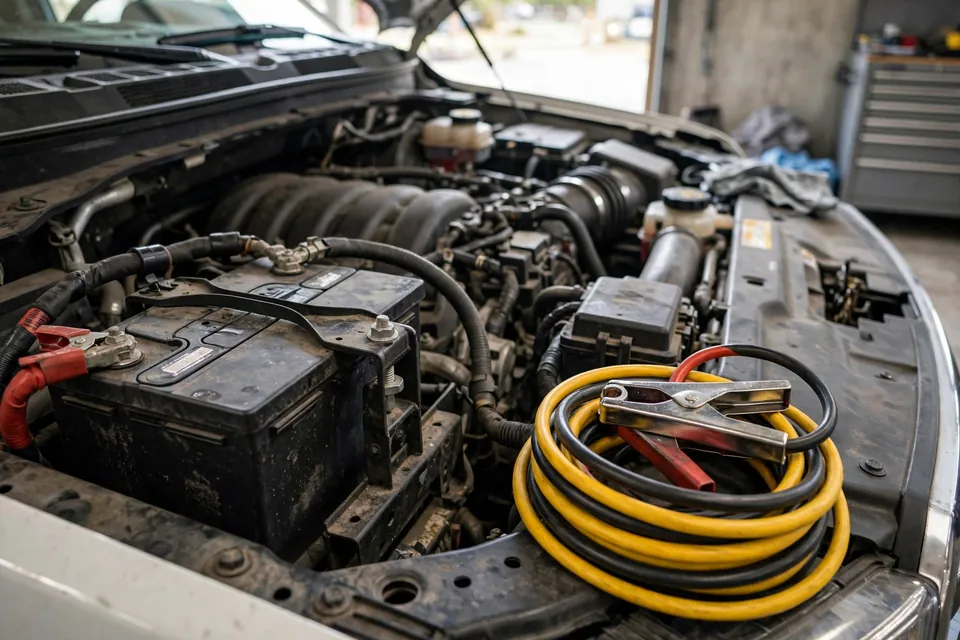
Ford Battery Replacement DIY: IBS Sensor, Reset, and Fitment
Ford 12V is still a battery job — until it is a module job
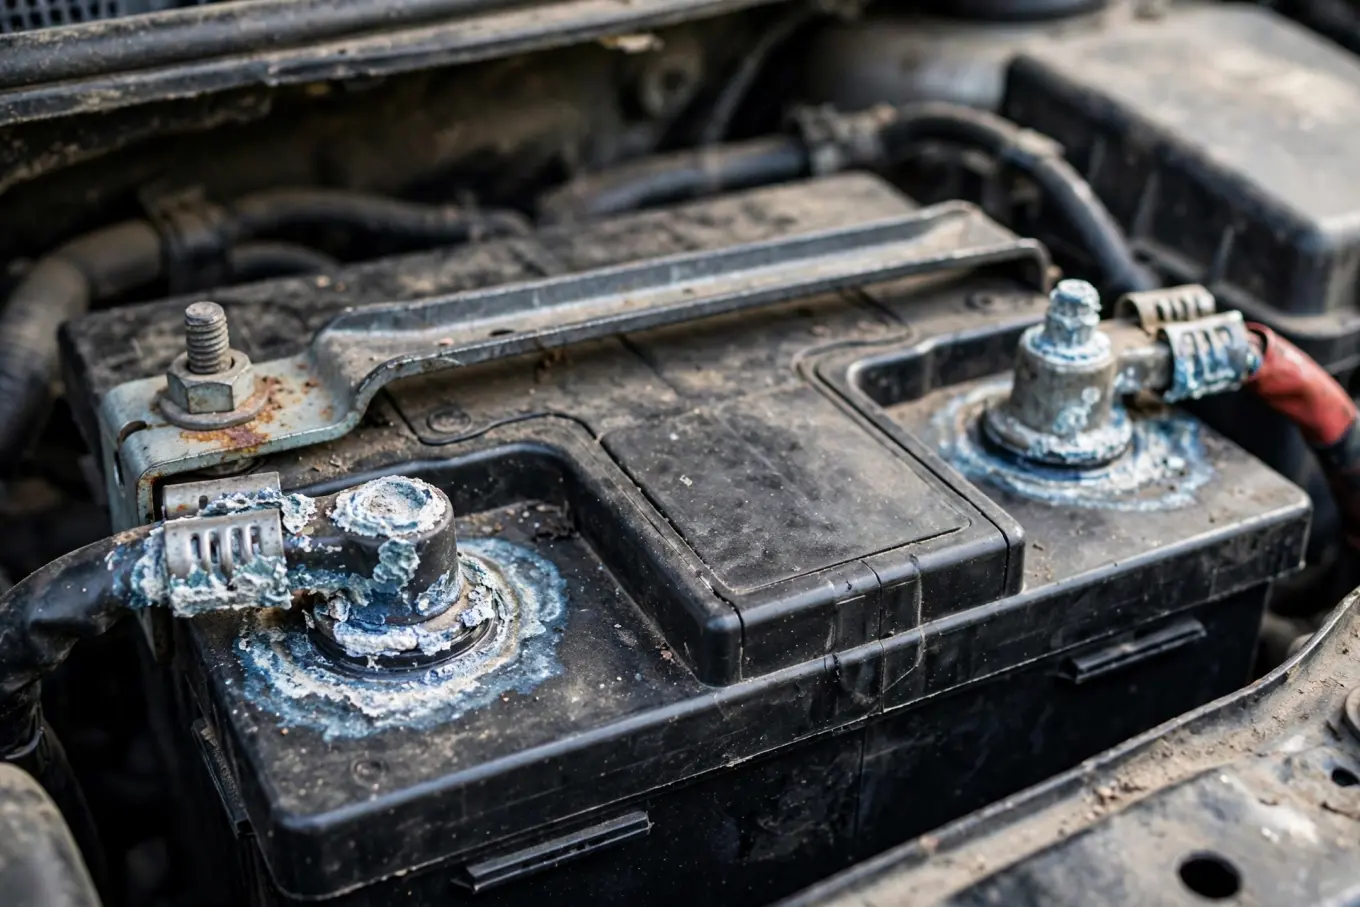
Most F-150 / Escape / Fusion 12V swaps are straightforward. Some years talk to the Body Control Module; a no-name battery with no IBS/PCS setup can set a pile of U-codes.
Related guide: Ford F-150 - Alternator Replacement — if a fresh battery still dies, the alternator is the next thing to check.
Related guide: 2015-2020 Ford F-150 - Jump Start — dead on the roadside — safe jump procedure before you replace anything.
Order of operations
- Power windows down, radio code if needed, hood open, eye protection.
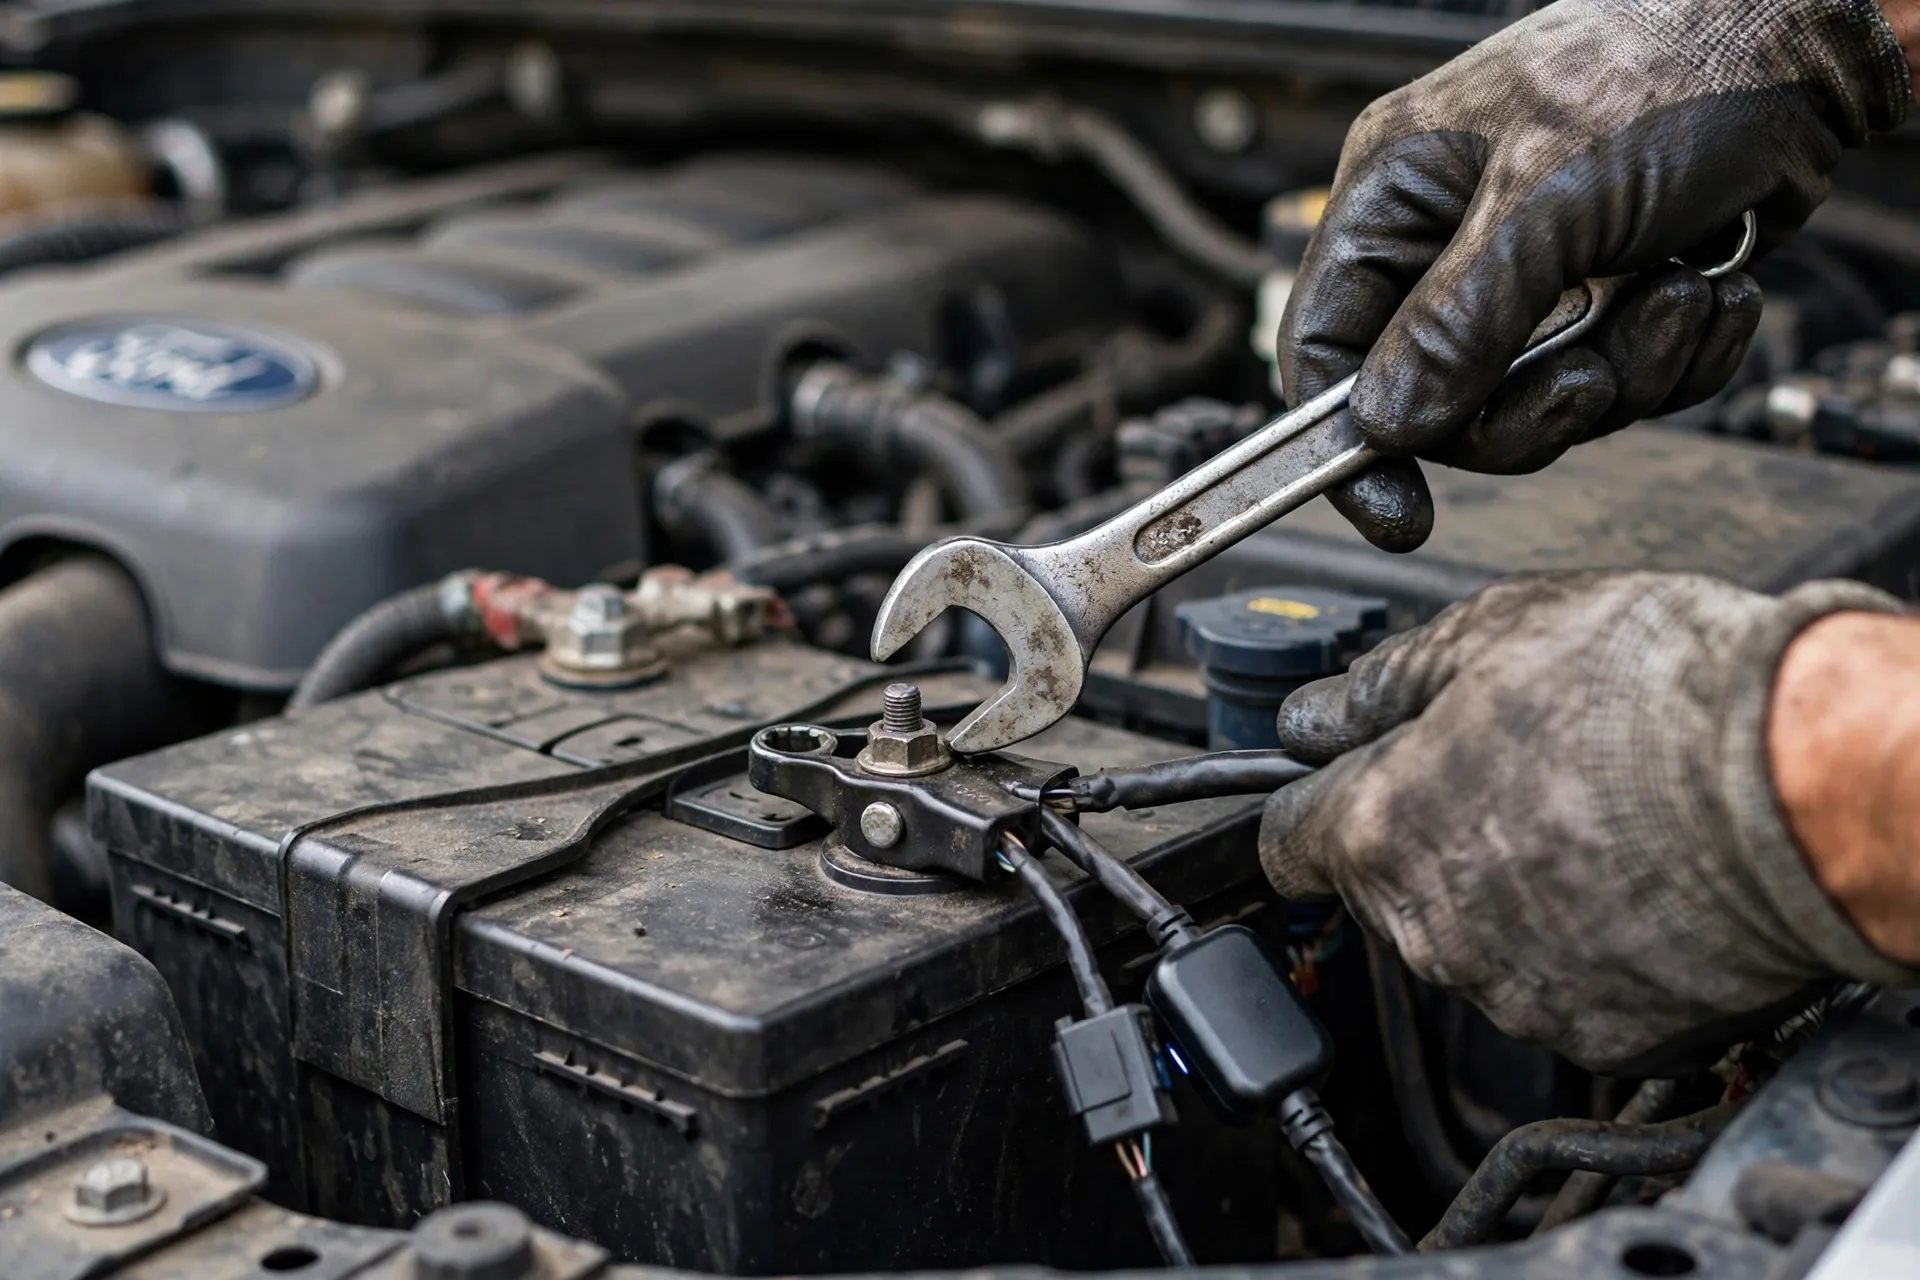
- Note IBS (battery monitoring) sensor on the negative cable — do not crush it.
- Disconnect negative first, then positive.
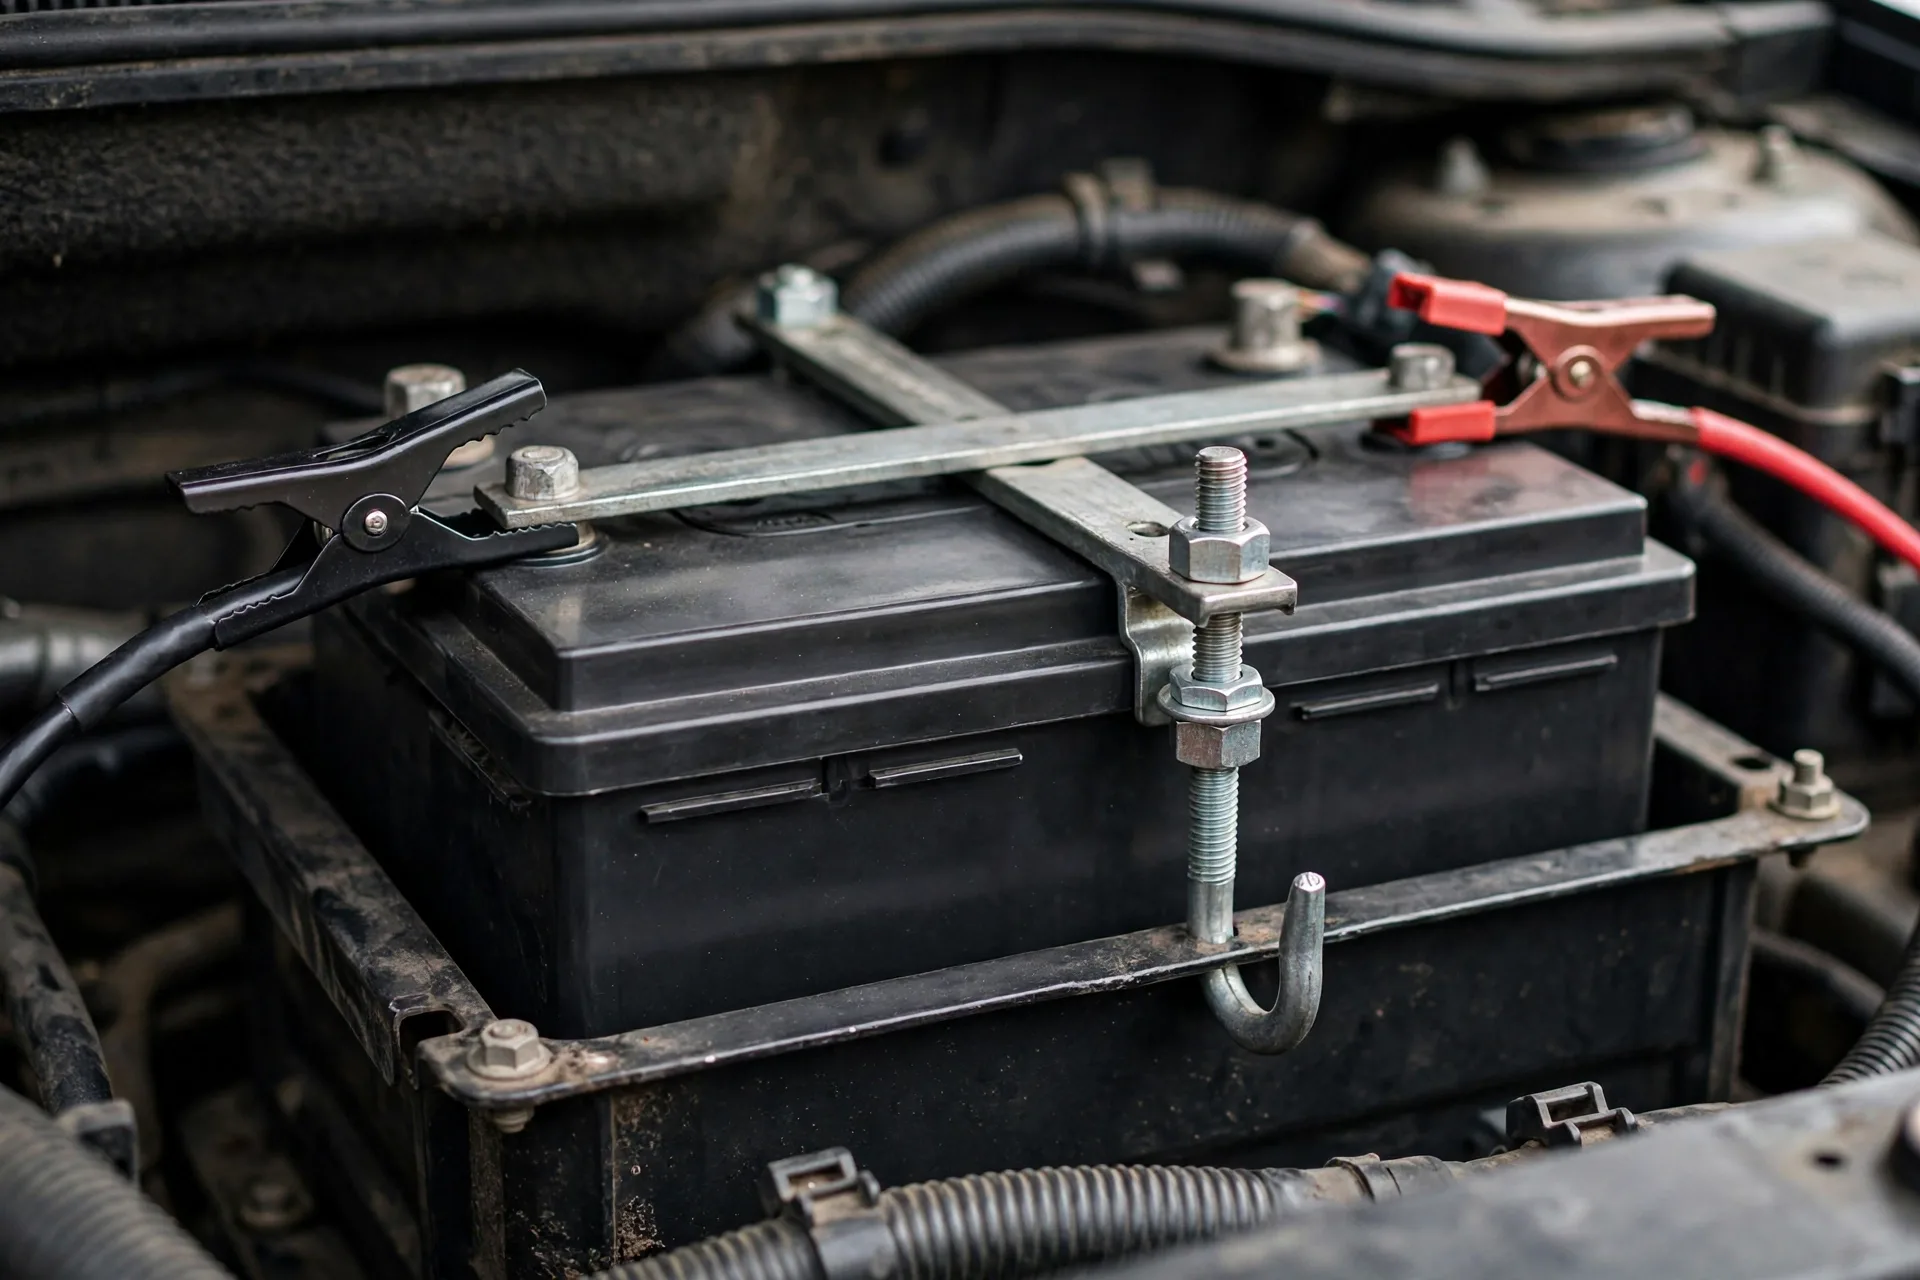
- Clock the hold-down. Many Fords use a J-clamp or side tray. The replacement must match group size and terminal type.
- Clean the tray. Connect positive first, then negative.
- Register / reset if the manual or a basic scan tool says to (some Fords learn current draw).
Related guide: 2013-2019 Ford Escape - Battery Replacement — model-specific terminal and hold-down walkthrough for the order above.
Fitment traps
- Group 65 vs 78 vs H6 — measure the tray, do not trust the aisle endcap.
- Stop-start trucks often want an AGM. A flooded battery in an AGM car will fail early.
- Hybrid/Electric Fords: this is 12V accessory battery only. Orange HV cable = walk away.
Safety: Informational DIY. EZ Car Fix is not a shop.