The $20 Failure That Kills Your Entire Car
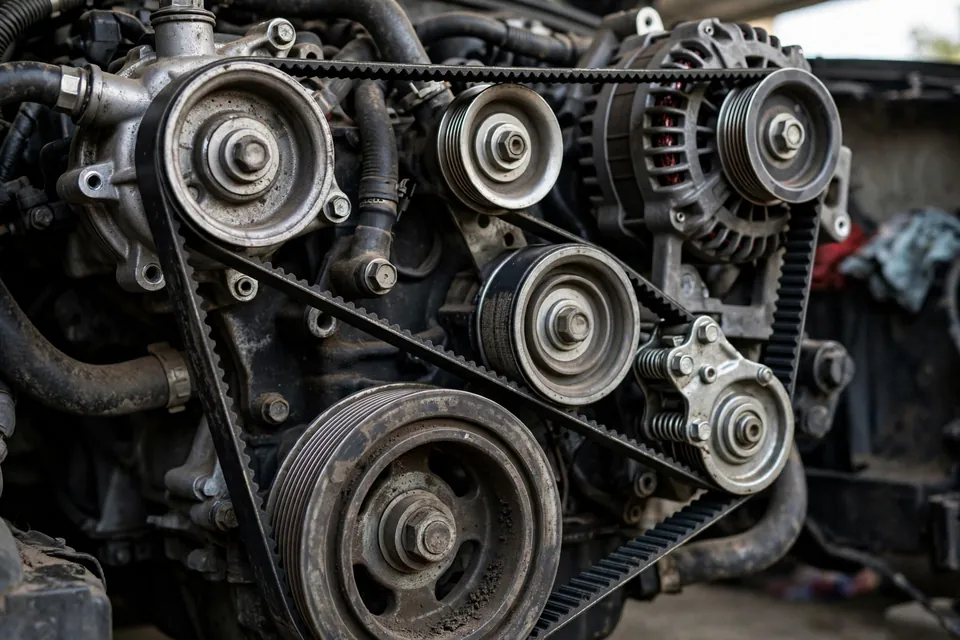
Your serpentine belt is one long rubber belt that drives almost everything on your engine:
- Alternator (charges battery, powers electrical)
- Power steering pump (allows you to steer)
- AC compressor (keeps you cool)
- Water pump (prevents overheating) - on some cars
When it breaks:
- Battery dies within minutes
- Steering becomes extremely heavy
- AC stops working
- Engine might overheat
- You're stranded
All from a $20 belt.
I've seen people stranded on the highway, in parking lots, on road trips - all from a worn belt that showed obvious signs of failure they ignored.
Let me show you how to avoid this.
What the Serpentine Belt Does
Your engine's crankshaft spins constantly while running. The serpentine belt wraps around multiple pulleys, transferring that rotational power to accessories:
What it powers:
Alternator:
- Generates electricity
- Powers all electrical systems
- Charges battery
- Without it: Battery dies in 30-60 minutes
Power steering pump:
- Provides hydraulic assist for steering
- Without it: Steering becomes VERY heavy (you can still steer, just requires much more force)
AC compressor:
- Compresses refrigerant for AC system
- Without it: No AC
Water pump (on some cars):
- Circulates coolant
- Without it: Engine overheats in 5-10 minutes
- Many modern cars have electric water pumps (not belt-driven)
Air pump/smog pump (some cars):
- Emissions system
- Without it: Check engine light, emissions fail
One belt drives all of this. If it breaks, all of those accessories stop.
Related guide: 2017-2021 Acura MDX - Alternator Replacement — The belt drives the alternator — if the alternator itself is the problem, here is the replacement guide.
How Long Do Serpentine Belts Last?
Old belts (pre-2000): 30,000-50,000 miles
Modern belts (EPDM rubber): 60,000-100,000 miles
Reality from my experience:
- Check at 50,000 miles
- Plan to replace by 60,000-70,000 miles
- Don't push it past 80,000 miles
Factors that shorten belt life:
- Hot climate (Arizona, Texas, Florida)
- Oil/coolant contamination (from leaks)
- Misaligned pulleys
- Bad tensioner
- Lots of short trips (more start/stop cycles)
Factors that extend belt life:
- Moderate climate
- Highway driving
- Clean engine (no oil leaks)
- Good tensioner
How to Inspect Your Serpentine Belt
This takes 5 minutes. Do it every oil change.
Visual Inspection
Look for:
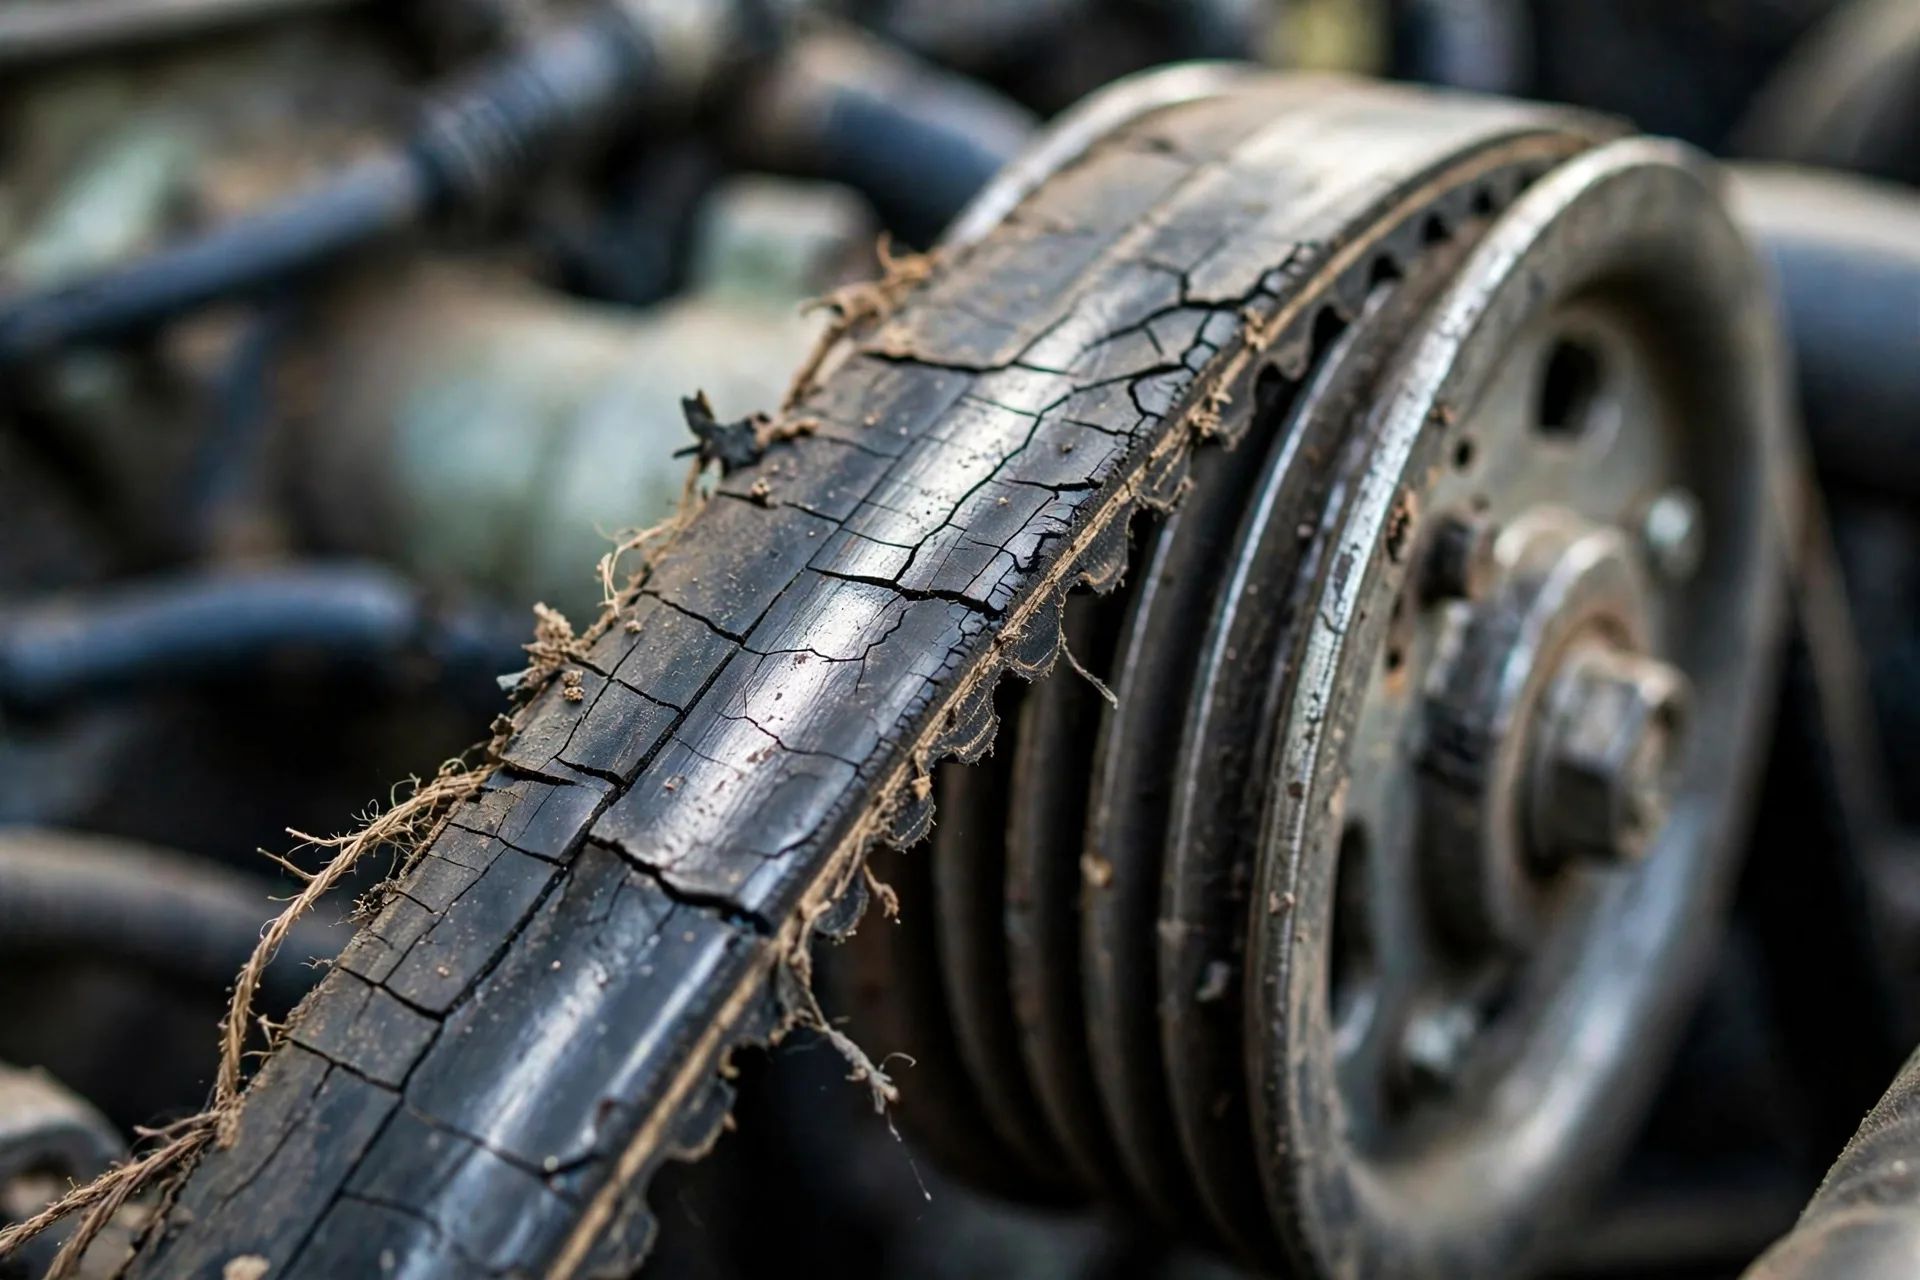
Cracks on the ribbed side:
- Small surface cracks: Acceptable (for now)
- Deep cracks across multiple ribs: Replace soon
- Chunks missing: Replace immediately
Glazing (shiny, smooth surface):
- Belt has been slipping
- Indicates tensioner issue or pulley problem
- Replace belt and investigate cause
Fraying at edges:
- Belt wearing unevenly
- Misalignment issue
- Replace belt, check pulleys
Missing ribs/chunks:
- Critical - belt can break any time
- Replace immediately
Oil or coolant contamination:
- Belt appears wet or soaked
- Find and fix leak
- Replace belt (contaminated belt fails early)
Squealing noise:
- Belt slipping
- Could be worn belt, bad tensioner, or misaligned pulley
- Investigate and replace if needed
The Twist Test
- Engine OFF and cool
- Twist belt 90 degrees at longest span
- Look at inner ribs
Good belt: Ribs intact, minimal cracking
Bad belt: Deep cracks, missing chunks, separating layers
Check Belt Tension
Most cars have automatic tensioner:
- Spring-loaded pulley maintains constant tension
- Should have indicator marks showing if tension is correct
- If tensioner is at end of travel, replace it
Some older cars have manual tension:
- Press on belt at longest span
- Should deflect about 1/2 inch
- Too loose: needs adjustment
- Too tight: will fail prematurely
Signs Your Belt is Failing
Squealing noise:
- On startup (cold)
- When accelerating
- When turning steering wheel
- When AC turns on
Squealing means: Belt is slipping (worn, loose, or glazed)
Chirping noise:
- High-pitched chirp from engine bay
- Often means misalignment or bad pulley bearing
Battery warning light:
- Belt slipping on alternator
- Alternator not spinning fast enough
- Not generating enough power
Heavy steering:
- Power steering pump not spinning
- Belt slipping or broken
Overheating:
- If water pump is belt-driven
- Belt broken or slipping
- Coolant not circulating
Visible wear:
- Cracks you can see
- Fraying edges
- Shiny/glazed appearance
If you see or hear any of these: inspect belt immediately.

DIY Serpentine Belt Replacement
Difficulty: 2/10 to 5/10 (depends on car)
Time: 15-30 minutes (once you figure out how tensioner works)
Cost: $15-40 for belt
This is one of the easiest maintenance jobs. If you've never worked on a car, this is a good first project.
What You Need
Tools:
- Socket set or wrench (size depends on car)
- Breaker bar or long ratchet
- Flashlight
- Maybe serpentine belt tool (for some cars)
Parts:
- New serpentine belt (correct size for your car)
- Optional: new tensioner if old one is worn
Before You Start
Take a photo of the belt routing with your phone.
Seriously. Belt routing can be confusing. Having a photo helps.
Most cars also have a belt routing diagram under the hood. If not, look it up online.
The Process
Step 1: Locate the tensioner
Look for a pulley with a square or hex hole in the center, or with a bolt head in the center.
This is your automatic tensioner.
Step 2: Relieve tension
Two types:
Type A: Rotate tensioner with wrench/breaker bar:
- Put wrench on tensioner bolt or in square hole
- Rotate (usually clockwise) to release tension
- Hold it there
- Slip belt off one pulley
- Slowly release tension
Type B: Push tensioner with special tool:
- Some tensioners have a pin hole
- Rotate tensioner until holes align
- Insert pin to hold it
- Remove belt
- Remove pin when ready to install new belt
Step 3: Remove old belt
With tension released, slide belt off all pulleys.
Pull it out.
Step 4: Inspect pulleys
While belt is off:
- Spin each pulley by hand
- Should spin smoothly and quietly
- If rough, grinding, or wobbly: that pulley needs replacement
- Check tensioner pulley especially
Step 5: Route new belt
Using your photo or the diagram:
- Start at crankshaft (biggest pulley at bottom)
- Route around each pulley in correct order
- Leave tensioner pulley for last
- Make sure belt is seated in all grooves
Important: Belt has ribbed side and smooth side. Ribbed side should face pulley grooves (except idler pulleys, which use smooth side).
Step 6: Install on tensioner
- Rotate tensioner to release tension
- Slip belt onto tensioner pulley
- Slowly release tensioner
- Belt should now have proper tension
Step 7: Verify routing
Double-check that:
- Belt is on all pulleys correctly
- Belt is seated in grooves
- Nothing looks twisted or crossed
- Routing matches diagram
Step 8: Start engine and check
- Start engine
- Look for wobbling or misalignment
- Listen for squealing
- Watch for a minute to ensure everything is good
If anything sounds wrong, shut off immediately and recheck routing.
Common Mistakes
Wrong routing:
- Missing a pulley
- Going around pulley wrong direction
- Ribbed side on smooth pulley or vice versa
Not fully seated:
- Belt riding on edge of pulley
- Will wear quickly and squeal
Wrong belt size:
- Too short (won't reach) or too long (loose)
- Always verify correct part number
Forgetting to release tensioner:
- Trying to force belt on without releasing tension
- Can damage belt or pulleys
Related guide: 2013-2018 Toyota RAV4 — Serpentine Belt Replacement DIY Guide — Watch the full belt replacement start to finish on a real car.
When to Replace the Tensioner Too
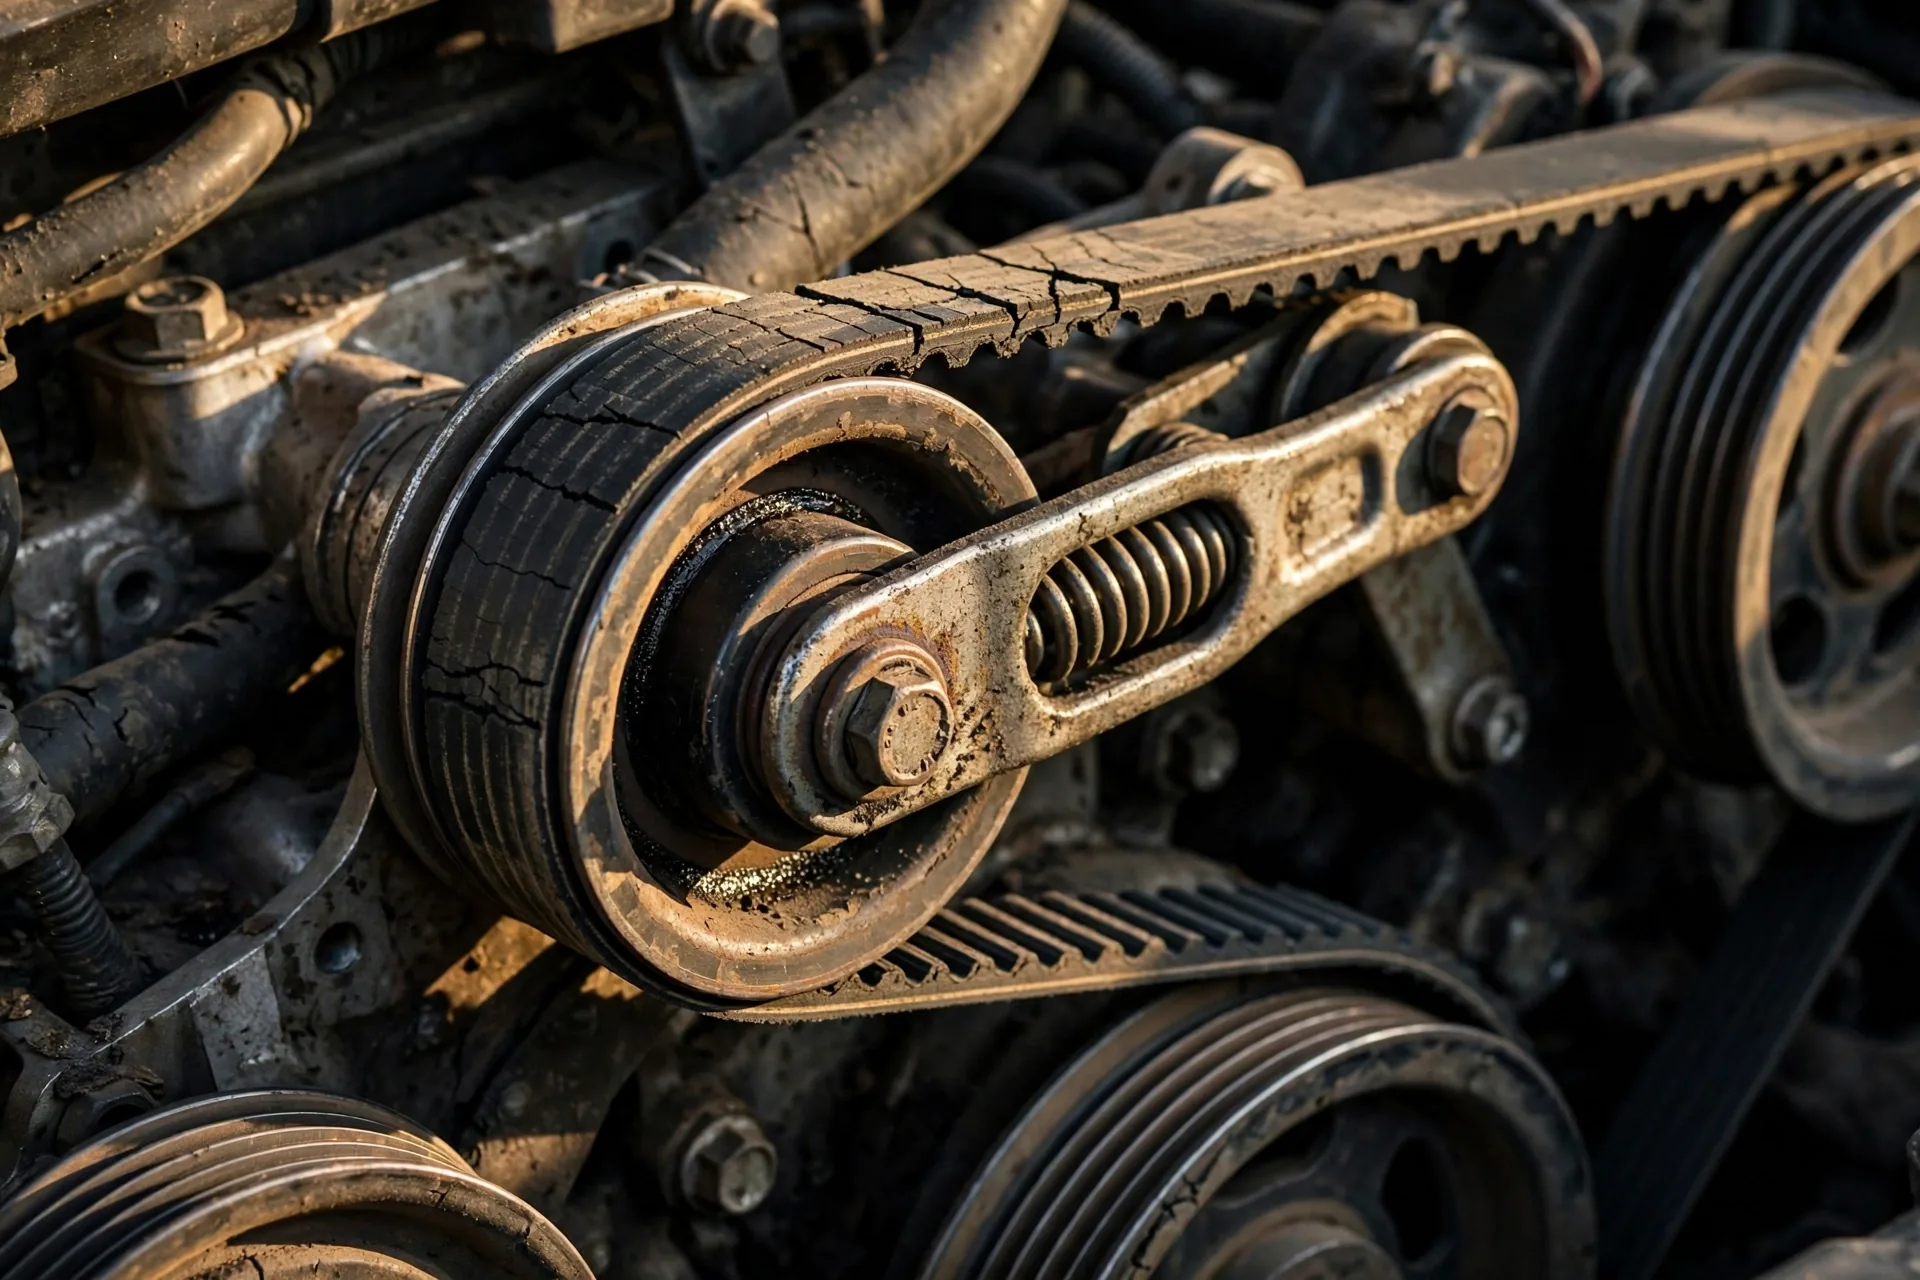
Tensioner is a wear item. Eventually needs replacement.
Replace tensioner if:
- Past 100,000 miles
- Pulley feels rough or noisy when spinning
- Tensioner arm is at end of travel
- Spring feels weak
- Tensioner pulley is damaged
- Any oil leak from tensioner (some are hydraulic)
Cost: $40-80 usually
Labor: Same as belt (add 5 minutes)
My recommendation: If you're doing belt at 80,000+ miles, replace tensioner too. Cheap insurance.
Idler Pulleys
Some serpentine belt systems have idler pulleys (non-powered pulleys that guide the belt).
Replace if:
- Bearing is rough or noisy
- Pulley wobbles
- Visible wear or damage
Cost: $20-50 each
Do it while belt is off - same labor, just add parts cost.
What If Your Belt Breaks While Driving?

Immediate symptoms:
- Battery warning light
- Power steering warning light
- All dashboard lights may come on
- Steering becomes heavy
- You might hear a snap or sudden noise
What to do:
If on highway:
- Signal and carefully move to shoulder
- Steering will be VERY heavy - use force
- Brakes still work but will be harder
- Don't panic - you can still control the car
If in city:
- Get to nearest safe spot (parking lot, side street)
- You have only a few minutes before battery dies completely
If engine starts overheating (temp gauge rising):
- Turn off AC
- Turn heater to max (helps cool engine)
- Get somewhere safe ASAP
- Don't drive far - engine damage can occur
Call for tow or roadside assistance.
Can you drive without belt?
- Very short distance in emergency only
- Without power steering (heavy steering)
- Battery will die quickly
- Engine might overheat
- Not recommended except to get to safe location
Related guide: 2006-2011 Honda Civic - Battery Replacement — With the belt gone the battery drains in minutes — if yours dies, here is how to replace it.
Emergency Belt Replacement
If you're stranded and have a new belt:
- Pop hood
- Locate broken belt pieces
- Remove them
- Route new belt (use diagram under hood)
- Use wrench to release tensioner
- Install belt
- Done in 15 minutes
This is why I carry a spare belt in vehicles on road trips. $20 and 15 minutes vs. $150 tow.
Keep these in your car:
- Spare serpentine belt
- Breaker bar or long ratchet
- Socket that fits tensioner
Belt takes up almost no space. Cheap insurance.
Belt Squeal: Causes and Fixes
Belt squealing is the belt slipping. Here's why:
Worn belt:
- Ribs worn smooth
- Not gripping pulleys
- Replace belt
Loose belt:
- Bad tensioner
- Replace tensioner
Contaminated belt:
- Oil or coolant on belt
- Find and fix leak
- Replace belt
- Clean pulleys
Misaligned pulleys:
- Pulleys not in line
- Can be from bad engine mount
- Or damaged pulley
- Requires diagnosis
Bad pulley bearing:
- Pulley not spinning smoothly
- Creates drag, belt slips
- Replace affected pulley
Cold weather squeal:
- Belt hardens in cold
- Squeals until warmed up
- If minor, acceptable
- If loud/constant, replace belt
"Fix" sprays (belt dressing):
- Temporary fix only
- Covers up real problem
- Use only in emergency
- Still need to address root cause
Shop vs. DIY
Shop cost:
- Parts: $20-50
- Labor: 0.5 hour ($50-75)
- Total: $70-125
DIY cost:
- Belt: $15-40
- Total: $15-40
Savings: $50-85
This is one of the best DIY savings opportunities. 15-30 minutes of work saves $50-85 in labor.
Do it yourself if:
- You have basic tools
- Belt is accessible
- You're willing to try
Even if you mess up the routing, you can redo it — but recheck before driving: if the water pump isn't turning, the engine can overheat.
Multi-Belt Systems (Older Cars)
Some older cars (pre-1995 mostly) have multiple belts instead of one serpentine:
- Alternator belt
- Power steering belt
- AC belt
- Water pump belt
Advantages:
- If one breaks, others still work
- Easier to replace individual belts
Disadvantages:
- More belts to maintain
- More potential failure points
- Harder to tension correctly
Replacement is similar:
- Loosen adjustment bolt
- Slip off old belt
- Install new belt
- Tension to spec
- Tighten adjustment
If you have this system: Replace all belts at once (even if only one is bad). Labor is similar, and if one is worn, others aren't far behind.
Related guide: 1990-1996 Chevrolet Lumina APV — Serpentine Belt Replacement — A full belt replacement walkthrough on a car from the multi-belt era.
The Bottom Line
Serpentine belt replacement is:
- Cheap ($20-40)
- Easy (15-30 minutes)
- Critical (prevents stranding)
Check your belt every 6 months:
- Look for cracks
- Check for glazing
- Listen for squealing
- Feel for proper tension
Replace when:
- Deep cracks visible
- Chunks missing
- Glazed/shiny
- Squealing constantly
- Over 60,000 miles
Don't wait until it breaks - you'll be stranded at the worst time.
Carry a spare belt on road trips - takes up no space, could save you hours and hundreds of dollars.
This is an easy DIY - if you've never worked on a car, start here. Hard to mess up, easy to do, and saves money.
Questions? Drop them below.
- Tom Becker, Senior Technician
Last reviewed: October 2026.