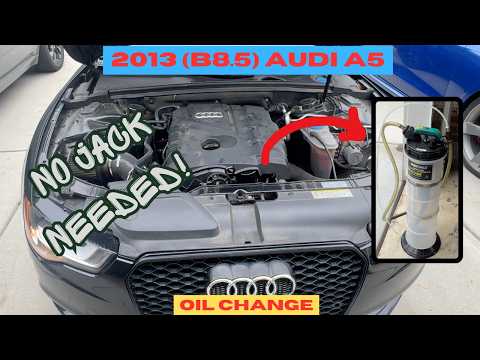
Quick answer: Engine Air Filter Replacement on a 2012–2017 Audi A5 is rated Easy and takes about 15 minutes. You'll need 2 tools for this job, and parts cost about $15. This guide walks you through the full job step by step, including the mistakes to avoid.
| Part Name |
Part Number |
Price |
Buy |
| Engine air filter for B8.5 A5 1.8/2.0 TFSI |
— |
$15.00 |
|
About prices: shown prices are typical retail averages and change frequently; cheaper alternatives may be available. Confirm the current price before buying.
💡 Pro tip: Order all parts at once to save on shipping
Step-by-Step Instructions
Follow these steps carefully
1
Park and remove the engine cover
Park the A5 on level ground, shut the engine off, and pop the hood. Pull the engine cover — the one with the Audi rings — straight up and off first; it just lifts off. Set it aside for access to the box.
2
Unplug the MAF and release the intake hose
Unplug the MAF sensor connector on the intake tract: squeeze its release tab and pull the plug straight off, not by the wires. Then undo the circular clip on the air intake hose — a 7mm socket or a flat screwdriver does it.
3
Remove the front intake duct section
Remove the section of intake air duct at the front of the box first; it pulls up and out of the way. Watch for the small clip holding it — don't let it pop off and disappear into the dark recesses of the engine bay.
🔧 Mechanic's note — Tom Becker
Don't learn this the expensive way like I did: I watch for the small clip — I've let one pop off into the engine bay, and it's gone forever.
4
Undo the six Torx-30 fixings
Undo the six Torx-30 retaining fixings around the airbox cover. Carefully lift the air filter box cover away — the intake piping has some flex, so work the cover back and up rather than forcing it straight off.
🔧 Mechanic's note — Ray Delgado
Quick word from someone who's been under there: I work the cover back and up — the intake piping has flex, so I never force it straight off.
5
Rotate the old filter out
Lift the old filter out. Note the little tabs on the bottom of the filter and how they sat in the box's tab holders, plus the big tab at the front; the new one registers exactly the same way.
6
Fit the new filter and close the cover
Vacuum or wipe the inside of the box. Set the new filter in by matching its bottom tabs to the tab holders in the airbox, rotate it into place, and click the big front tab home. Lower the cover back on, aligning it so all six Torx fixings sit in their holes, and screw them in gently — snug, not gorilla-tight, since they thread into plastic.
7
Reconnect everything and verify
Reconnect the intake hose and tighten its circular clip, refit the front duct section, and push the MAF plug back on until it clicks. Refit the engine cover. Start the engine and confirm a smooth idle with no warning lights — a forgotten MAF plug will set a fault code almost immediately. Take a short drive, then log the date and mileage.
🔧 Mechanic's note — Ray Delgado
I've seen this exact mistake come through the shop: Start the engine and confirm a smooth idle with no warning lights — a forgotten MAF plug will set a fault code almost immediately.
All Done!
Test your repair before closing everything up. If something doesn't work right, double-check your steps.
⚠️ Common Mistakes to Avoid
- • Overtightening the six Torx screws and stripping the plastic threads
- • Dropping the new filter in without engaging its bottom tabs in the holders — it won't seal
- • Forgetting to reconnect the MAF sensor, which triggers a check-engine light
- • Losing the small clip from the intake duct section in the engine bay