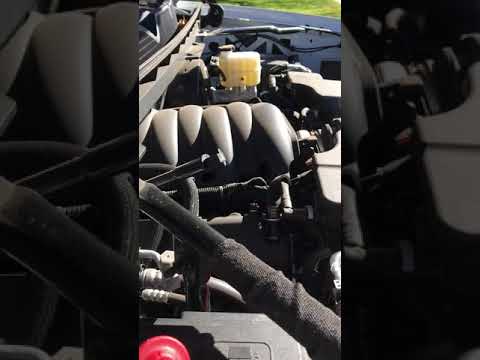
Quick answer: Serpentine Belt on a 2019–2024 Chevrolet Silverado 1500 is rated Moderate and takes about 45-90 minutes. You'll need 3 tools for this job, and parts cost about $45. This guide walks you through the full job step by step, including the mistakes to avoid.
| Part Name |
Part Number |
Price |
Buy |
| Serpentine/accessory drive belt |
— |
$45.00 |
|
About prices: shown prices are typical retail averages and change frequently; cheaper alternatives may be available. Confirm the current price before buying.
💡 Pro tip: Order all parts at once to save on shipping
Step-by-Step Instructions
Follow these steps carefully
1
Prepare and confirm the belt path
Park the 2019-2024 Chevrolet Silverado on level ground, set the parking brake, switch off the ignition, and let the engine cool. Confirm the replacement belt's length and check the under-hood routing label or service info for your exact engine.
2
Gain safe access
Open the hood and remove only the engine cover, splash shield, or intake ducting blocking the belt. Keep every fastener organized, and never reach near the belt with the engine running.
3
Release tension and remove the old belt
Fit the correct tool on the tensioner and rotate it only in its designed direction. Unload the belt slowly, slip it off a smooth pulley first, then release the tensioner. Compare the old belt's routing to the diagram before discarding it.
🔧 Mechanic's note — Tom Becker
I rotate the tensioner only in its designed direction with the correct tool — backwards breaks it. Belt off a smooth pulley first, tensioner eased back slowly; knuckles and housings both survive that way.
4
Inspect the drive system
With the belt off, spin each tensioner and idler pulley by hand — feel for roughness, wobble, play, noise, or binding. Check for oil or coolant contamination, damaged grooves, and misalignment; fix those faults before the new belt goes on.
🔧 Mechanic's note — Ray Delgado
I check grooves for damage and pulleys for misalignment while the belt's off — a cocked pulley shreds new belts. Every tensioner and idler gets a hand-spin; roughness means it gets replaced alongside the belt.
5
Install and route the new belt
Route the new belt around every pulley exactly as the diagram shows, saving the tensioner pulley for last where the layout allows. Center every rib in the grooved pulleys; the smooth side touches only smooth pulleys.
🔧 Mechanic's note — Tom Becker
I center every rib in the grooved pulleys and keep the smooth side on smooth pulleys only. The tensioner pulley goes last where the layout allows — that slack is what lets me seat everything properly.
6
Release tension and verify alignment
Release the tensioner slowly, then rotate the crankshaft by hand only if the manufacturer permits and access is safe. Recheck every groove and pulley face, reinstall the covers, and confirm the tensioner has normal travel.
7
Run a controlled final test
Start the engine from a safe position with hands and tools clear. Listen for squeal, chirp, slap, or grinding and watch the belt track at idle. Shut it off immediately if the belt walks, flutters, or a warning light appears.
All Done!
Test your repair before closing everything up. If something doesn't work right, double-check your steps.
⚠️ Common Mistakes to Avoid
- • Failing to photograph or draw the original belt routing before removal
- • Routing the belt on the wrong side of a pulley or leaving a rib outside a pulley groove
- • Using a pry bar or excessive force instead of the correct tensioner release point
- • Replacing only the belt when a noisy, rough, wobbling, or leaking pulley is the root cause