Quick answer: 12V Battery Replacement on a 2005–2009 Chevrolet Uplander is rated Easy and takes about 30-90 minutes. You'll need 2 tools for this job, and parts cost about $180. This guide walks you through the full job step by step, including the mistakes to avoid.
| Part Name |
Part Number |
Price |
Buy |
| Replacement 12-volt battery for 2005-2009 Chevrolet Uplander; verify group size, CCA, terminal layout, and VIN fitment |
— |
$180.00 |
|
| Anti-corrosion terminal protectant or felt washers (optional) Optional |
— |
$8.00 |
|
About prices: shown prices are typical retail averages and change frequently; cheaper alternatives may be available. Confirm the current price before buying.
💡 Pro tip: Order all parts at once to save on shipping
Step-by-Step Instructions
Follow these steps carefully
1
Verify battery fitment and charging symptoms
Confirm your 2005–2009 Chevrolet Uplander (3.5L or 3.9L V6). Catalogs list a Group 34 battery (~700–850 CCA), some showing the dual-terminal 34/78 — match the old battery's terminals. Check for slow cranking, a charging warning, or a swollen case.
🔧 Mechanic's note — Tom Becker
I check the terminals before I even think about buying — too many people grab a top-post Group 34 when their van has side terminals, then drive back to the store with the new battery in the trunk.
2
Make the vehicle safe and preserve settings when permitted
Park, brake set, ignition fully off. Battery sits in the engine bay tray. You'll need a 10mm wrench or socket for top posts, or 8mm for side terminals. Memory saver only if the manual permits. Gloves and eye protection.
3
Disconnect the old battery
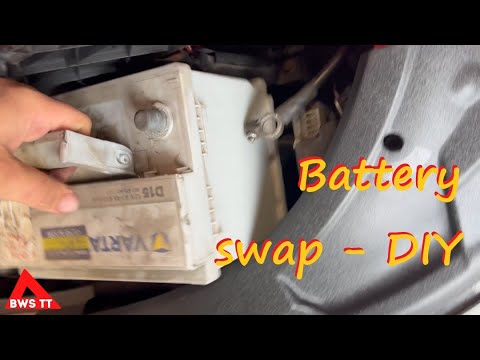
Remove the hold-down bracket. Disconnect negative first, then positive — don't twist the posts or short your wrench on the body. For side terminals, pull cable ends straight out; the bolts strip if forced. Photograph the routing, then lift the battery out.
🔧 Mechanic's note — Ray Delgado
My rule: If the case is bulging, treat it like it's fragile — because it is. A swollen battery can split if you tip it, so lift it straight out and set it in a tray or bucket for the trip to the recycler.
4
Compare and install the replacement
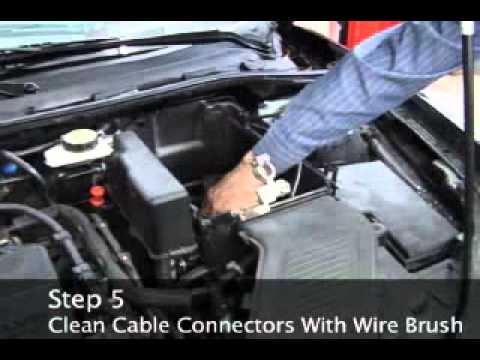
New Group 34 battery must match the old: same size, terminals, and equal or higher CCA. Clean the tray and cable ends. Set it in, refit the hold-down snug (don't crush the case), connect positive first, then negative, and confirm both terminals are tight.
5
Reset and verify operation
Start up: the charging light should go out and cranking should be brisk. Reset the clock and radio presets, idle a few minutes for the ECM to re-learn idle. Battery light on, a hot terminal, or a sulfur smell means stop.
🔧 Mechanic's note — Tom Becker
That rotten-egg smell with a new battery almost always means the alternator is overcharging — I've seen people burn through two batteries before someone finally tested the charging system.
All Done!
Test your repair before closing everything up. If something doesn't work right, double-check your steps.
⚠️ Common Mistakes to Avoid
- • Buying by appearance instead of group size, CCA, polarity, and hold-down fit
- • Shorting the positive terminal to the body with a metal tool
- • Lifting the battery by damaged terminals or leaving it unsecured
- • Skipping battery registration, window/clock resets, or charging-system checks when required
- • Assuming a new battery fixes a parasitic draw or charging fault