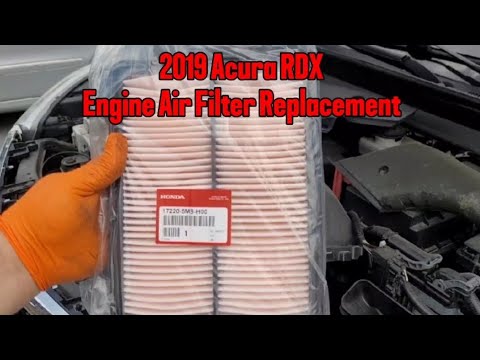
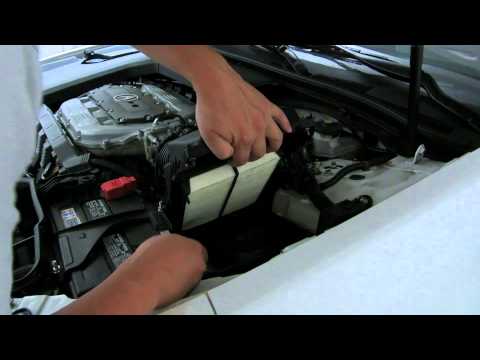
Quick answer: Engine Air Filter Replacement on a 2005–2009 Chevrolet Uplander is rated Easy and takes about 20-45 minutes. You'll need 2 tools for this job, and parts cost about $35. This guide walks you through the full job step by step, including the mistakes to avoid.
| Part Name |
Part Number |
Price |
Buy |
| Engine air filter for 2005-2009 Chevrolet Uplander; verify engine, housing shape, and VIN fitment |
— |
$35.00 |
|
About prices: shown prices are typical retail averages and change frequently; cheaper alternatives may be available. Confirm the current price before buying.
💡 Pro tip: Order all parts at once to save on shipping
Step-by-Step Instructions
Follow these steps carefully
1
Confirm filter fitment and engine state
The 2005–2009 Chevrolet Uplander (3.5L and 3.9L V6) carries its engine air filter in a black plastic airbox in the engine bay, connected to the throttle body by the intake duct. Park on level ground, switch the engine off, and let the bay cool — the front exhaust manifold sits close to the intake side on these vans. Match the replacement panel filter to the housing by footprint, seal, and airflow-arrow direction before opening anything. Plan on this service at least once a year or every 20,000 miles, sooner if the van sees dusty roads.
2
Open the air box
Release the lid's clips/fasteners — don't pry until every fastener is free; heat-aged plastic hinge tabs snap. Ease the lid up away from the intake duct without pulling the MAF sensor wiring, or you'll trigger a check-engine light. Cover the open intake with a towel.
🔧 Mechanic's note — Ray Delgado
Don't pry that lid until every fastener is free — those hinge tabs get brittle with heat age and snap. I keep a spare lid in the shop because of this exact mistake.
3
Inspect the old filter and housing
Lift the old panel filter out, noting which face is dirty to set airflow direction. Vacuum grit from the lower housing. Inspect the lid seal for flattening or cracking, the intake bellows and clamps for splits, and the MAF connector for corrosion or loose pins.
4
Install the new filter
Seat the filter with its gasket captured in the channel and the arrow matching the old dirty side. It must sit flat — proud or loose means the part is wrong. Lower the lid onto hinge tabs before fasteners to keep the seal from pinching.
🔧 Mechanic's note — Tom Becker
I've trained my ears for this one: Seat the lid square on its hinge tabs before touching a fastener. If the seal pinches at the back edge, you'll hear it whistle at idle.
5
Close and verify the intake
Engage every fastener with even tension; confirm the MAF connector is seated and its wiring clears the lid. Remove the towel, start the engine, and listen for a hiss or whistle. Confirm no check-engine light, rough idle, or loose-lid rattle.
🔧 Mechanic's note — Ray Delgado
I've trained my ears for this one: No whistle, no light, no rattle — that's the whole test. A hiss at the airbox means the seal isn't seated, so don't just close the hood and hope.
All Done!
Test your repair before closing everything up. If something doesn't work right, double-check your steps.
⚠️ Common Mistakes to Avoid
- • Confusing the engine filter with the cabin filter
- • Installing the filter upside down or leaving a corner unseated
- • Dropping clips, dirt, or shop towels into the intake tract
- • Over-tightening plastic air-box fasteners
- • Failing to confirm the MAF connector is seated.