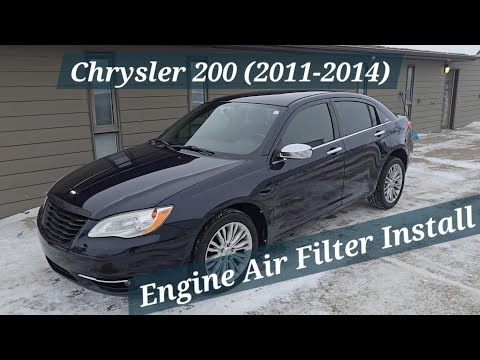
Quick answer: Cabin Air Filter Replacement on a 2011–2017 Chrysler 200 is rated Easy and takes about 15–25 minutes. You'll need 1 tool for this job, and parts cost about $28. This guide walks you through the full job step by step, including the mistakes to avoid.
| Part Name |
Part Number |
Price |
Buy |
| Cabin air filter for 2011-2017 Chrysler 200; verify arrows, size, and VIN/trim fitment |
— |
$28.00 |
|
About prices: shown prices are typical retail averages and change frequently; cheaper alternatives may be available. Confirm the current price before buying.
💡 Pro tip: Order all parts at once to save on shipping
Step-by-Step Instructions
Follow these steps carefully
1
Identify your 200’s generation
The 2011-2017 Chrysler 200 spans two different cars. 2011-2014: filter behind the glove box. 2015-2017: filter under the passenger-side dash, footwell behind a plastic closeout panel. Check the build year on the driver's door jamb sticker.
🔧 Mechanic's note — Tom Becker
I always check the door jamb sticker before ordering — the 2014-to-2015 split is the #1 reason 200 owners buy the wrong filter.
2
Lower the glove box (2011–2014)
2011-2014 only. Empty the glove box, then unhook the damper cord from its right-side post — it resists the drop. Squeeze both sides inward so the stops clear the dash, then swing the box down to expose the filter housing.
3
Remove the footwell closeout panel (2015–2017)
2015-2017 only. Find the closeout cover under the glove box. Pull it rearward to free the front tab, then sideways toward the passenger door for the rear tabs. Set it aside where it won't get stepped on.
4
Open the filter housing door
2011-2014: unclip the housing cover from the HVAC case. 2015-2017: push down the tab at the bottom of the filter door to release it, then rotate outward and lift off the hinge. Don't yank — the plastic hinge cracks easily.
🔧 Mechanic's note — Tom Becker
That little plastic hinge on the filter door snaps if you yank — I've replaced more doors than filters on these cars.
5
Pull out the old filter
Slide the old filter straight out. Note the airflow arrow on its frame — on these cars it points downward, toward the floor. Check the empty housing for leaves, foam crumbs, or mouse nesting material, and pick out anything loose.
6
Install the new filter
Compare the new filter to the old — same footprint, thickness, and pleat style. Slide it in with the airflow arrow pointing down. Push it in until it seats against the housing's back so air can't slip around the edges.
7
Reassemble and test the airflow
Latch the filter door (2015-2017) or snap the housing cover on (2011-2014). Refit the closeout panel, or swing the glove box up, rehook the damper cord, and close it. Run the fan — whistling means the filter isn't seated.
All Done!
Test your repair before closing everything up. If something doesn't work right, double-check your steps.
⚠️ Common Mistakes to Avoid
- • Following the wrong generation’s procedure — prying at the glove box on a 2015 or newer 200 will never reveal the filter, because the second generation moved it under the footwell behind a closeout panel.
- • Forcing the glove box past its stops on the 2011–2014 without first unhooking the damper cord, which can crack the glove box or snap the cord.
- • Installing the new filter with the airflow arrow pointing up; in the 2015–2017 cars the arrow must point down toward the floor.
- • On the 2015–2017, pulling the closeout panel straight out instead of rearward first, which snaps the front retaining tab.