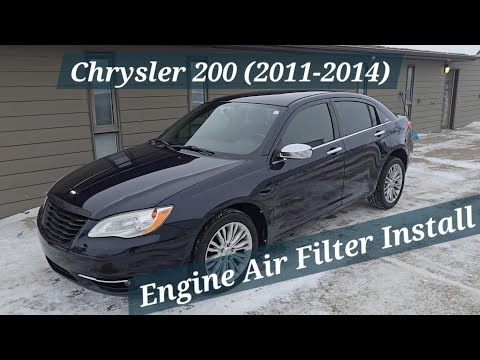
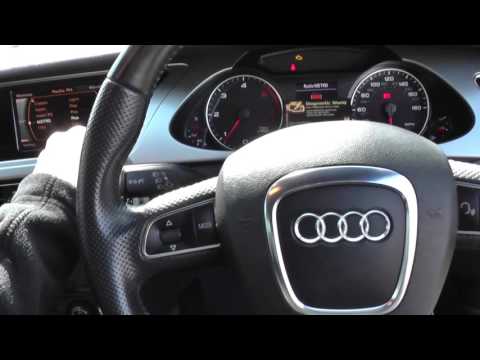
Quick answer: Check Engine Light / OBD2 Diagnosis on a 2015–2017 Chrysler 200 is rated Easy and takes about 15-30 minutes. You'll need 2 tools for this job, and parts cost about $25. This guide walks you through the full job step by step, including the mistakes to avoid.
| Part Name |
Part Number |
Price |
Buy |
| OBD2 scanner |
— |
$25.00 |
|
About prices: shown prices are typical retail averages and change frequently; cheaper alternatives may be available. Confirm the current price before buying.
💡 Pro tip: Order all parts at once to save on shipping
Step-by-Step Instructions
Follow these steps carefully
1
Check severity — and check the oil level first
Flashing = active misfire — stop safely, shut off. Steady = scheduled-scan fault, but check the oil first. The 2.4L Tigershark is known for oil consumption; low oil can set sensor and performance codes — oil check first, diagnosis second.
2
Plug into the DLC under the driver-side dash
The 16-pin OBD-II connector is under the driver-side dash near the column. Ignition off; plug the scanner in straight — snug, never forced. Powers up but won't link? Check the accessory/cigarette-lighter fuse and confirm key is fully ON, engine off.
3
Record codes and freeze-frame carefully
Key ON, engine off; record every code plus freeze-frame. The 2.4L's signature fault is P0520 — oil pressure sensor circuit (Chrysler TSB 18-034-14) — alongside P0456, P0300-series misfires, P0128. Freeze-frame shows whether fault struck cold, at idle, or under load.
🔧 Mechanic's note — Tom Becker
I've chased P0520 on the Tigershark before — check the oil level and the sensor's wiring before condemning the sensor. It lives low on the engine where the harness takes abuse.
4
Inspect the 200's known trouble spots
P0520: check oil, then the sensor's wiring and connector. P0456: gas cap seal, then purge and vent solenoids, vapor lines. Misfires: coils, plugs, connectors. Real low oil is mechanical — never clear a P0520 and ignore it.
5
Clear, drive, rescan — and keep watching the oil
Clear only after verified repair; run a complete drive cycle, then rescan. Recheck the dipstick at every fuel fill; a recurring P0520 with dropping oil points at consumption or an internal issue — a shop job, not another sensor.
All Done!
Test your repair before closing everything up. If something doesn't work right, double-check your steps.
⚠️ Common Mistakes to Avoid
- • Replacing parts based on a code without checking wiring, connectors, or vacuum leaks
- • Clearing codes before recording confirmed, pending, and permanent codes
- • Using a scanner that cannot communicate with the vehicle protocol
- • Treating a stored code as proof that the named sensor itself failed