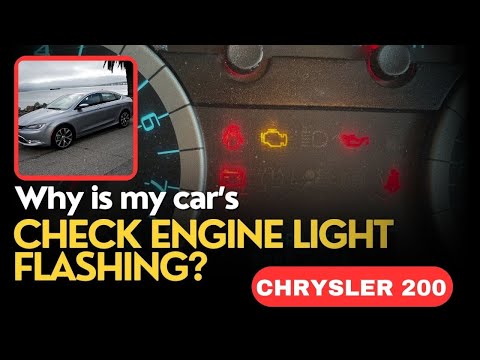
Quick answer: Battery Replacement on a 2011–2017 Chrysler 200 is rated Easy and takes about 45–75 minutes. You'll need 6 tools for this job, and parts cost about $140. This guide walks you through the full job step by step, including the mistakes to avoid.
| Part Name |
Part Number |
Price |
Buy |
| Correct group-size battery |
— |
$140.00 |
|
| Terminal cleaner Optional |
— |
$8.00 |
|
| Terminal protectant Optional |
— |
$7.00 |
|
About prices: shown prices are typical retail averages and change frequently; cheaper alternatives may be available. Confirm the current price before buying.
💡 Pro tip: Order all parts at once to save on shipping
Step-by-Step Instructions
Follow these steps carefully
1
Identify your generation’s battery location first
Park level, brake set, ignition off. On 2011–2014 models the battery is inside the driver-side front wheel well, behind the fender liner. On 2015–2017 it's ahead of the wheel well, reached the same way. If you don't see it, stop and check the owner's manual.
🔧 Mechanic's note — Tom Becker
I've watched 2015 owners tear half the engine bay apart before admitting the battery wasn't there. Check your owner's manual before touching a bolt — five minutes of reading beats an hour of removing the wrong parts.
2
Jack up the car and peel back the fender liner
Break the driver-side lug nuts loose with the car on the ground, then jack that corner at the lift point and set it on a jack stand. Remove the wheel, pop the splash shield's push pins with a trim tool, and peel the liner back.
3
Disconnect the negative cable first
Fit a 10mm wrench or socket on the negative (black) clamp and loosen it counterclockwise. Wiggle the cable off the post and tuck it where it can't touch metal. Keep strokes short in the tight wheel well. Negative off first, always.
4
Free the positive cable, bracket, and vent hose
Loosen the positive (red) clamp and slide the cable off its post. Unbolt the hold-down bracket, keeping the hardware safe. Pull the vent hose free if fitted, noting its routing. Lift the battery out with both hands, keeping it level.
5
Clean the pocket and the cable clamps
Brush out the battery pocket — wheel-well batteries collect grit and moisture behind the liner. Scrub both cable clamps with a wire brush until bright metal shows. Compare the new battery's post positions with the old one before installing.
🔧 Mechanic's note — Ray Delgado
While the liner is peeled back, rinse the wheel well and clear the drain holes at the bottom of the pocket. Most 200s I see have leaves and grit packed in there, and trapped moisture is what rots the tray and cable ends.
6
Install the new battery and reconnect the cables
Lower the new battery in the same orientation and push the vent hose onto its port if fitted. Refit the hold-down and snug its bolts. Connect positive first, then negative; tug each clamp to confirm it's seated. Coat both terminals with dielectric grease.
7
Shut it off, then reassemble the wheel well
Then shut it off, press the splash shield back into place with its push pins, remount the wheel, and torque the lug nuts in a star pattern. Lower the car and re-torque the lugs.
All Done!
Test your repair before closing everything up. If something doesn't work right, double-check your steps.
⚠️ Common Mistakes to Avoid
- • Removing the front bumper instead of just the fender liner — the liner alone gives full access on both generations.
- • On a 2015–2017, assuming the 2011–2014 wheel-well procedure without checking the owner’s manual — published sources genuinely disagree on the redesign, so verify first.
- • Tearing the push-pin fasteners out by force — use a trim tool so the liner goes back on tight and does not flap at highway speed.