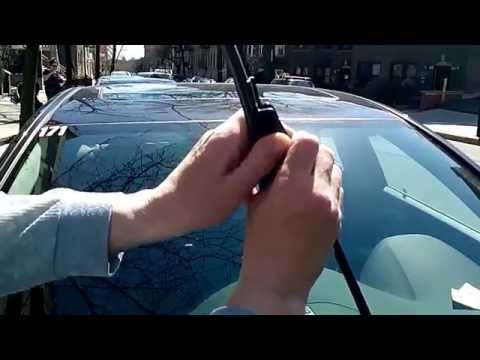
Quick answer: Wiper Blade Replacement on a 2011–2023 Dodge Charger is rated Easy and takes about 10–15 minutes. You'll need 1 tool for this job, and parts cost about $66. This guide walks you through the full job step by step, including the mistakes to avoid.
| Part Name |
Part Number |
Price |
Buy |
| Driver wiper blade, 24" |
Bosch 24A |
$32.99 |
|
| Passenger wiper blade, 21" |
Bosch 21B |
$32.99 |
|
About prices: shown prices are typical retail averages and change frequently; cheaper alternatives may be available. Confirm the current price before buying.
💡 Pro tip: Order all parts at once to save on shipping
Step-by-Step Instructions
Follow these steps carefully
1
Confirm the sizes and buy the blades
The 2011–2023 Charger runs an asymmetric pair: 24 inches driver, 21 inches passenger — the spec across the whole LD generation; the 2015 facelift didn't change it. So don't buy a matched pair.
🔧 Mechanic's note — Tom Becker
Don't buy a matched pair for the Charger — 24 driver, 21 passenger, every year. The one seller listing 20" on the passenger side is an outlier, but it's why I measure old against new before opening anything.
2
Park the wipers and get the arms up
The arms park on the glass at the base of the windshield, fully reachable — no service position exists on this car, so don't hunt through menus. If the hinge feels gritty after years on, lift smoothly and don't bend the arm sideways.
3
Remove the old driver's-side blade
Find the release tab on the blade's center connector, right where it wraps the J-hook. Press the tab and slide the blade down out of the hook, toward the bottom of the cowl.
🔧 Mechanic's note — Ray Delgado
Road grime is the real enemy of that release tab — years of it turns a simple slide into a fight, so I work it back and forth instead of yanking; I've snapped a connector and bought a new blade to finish.
4
Prep the new blade
Open the 24-inch blade (driver's side — keep the 21 sealed for now) and strip off the plastic edge guard. On a universal blade with a bag of adapters, seat the J-hook adapter in the center until it clicks.
5
Install the new blade and verify the lock
Ease the arm back down by hand, never letting it snap. Check the rubber lies flat along its full 24 inches; the big windshield shows any twist as an unwiped stripe in your line of sight.
6
Do the passenger side (this sedan has no rear wiper)
Same routine on the passenger side with the shorter 21-inch blade — press the tab, slide the old one out, click the new one in, tug-test it. Don't mix them up: 24 always driver, 21 always passenger.
7
What a clean wipe should look like
You want a clean arc from each with no chatter, no missed bands along the top edge, and no water trailing off the tips. If the passenger side streaks near the A-pillar, double-check the adapter is fully clicked — that's the usual culprit.
All Done!
Test your repair before closing everything up. If something doesn't work right, double-check your steps.
⚠️ Common Mistakes to Avoid
- • Installing the 24" blade on the passenger side and the 21" on the driver's side — they look close enough to mix up at a glance.
- • Skipping the tug test; a blade that isn't fully clicked into the J-hook can fly off at highway speed.