1
Spot the big plastic cover
Park on level ground, switch the engine off, and pop the hood. No tools are needed for any of this.
1995–1999 Dodge Neon
By Tom Becker ✓ Certified Mechanic · Published Sep 21, 2026 · Updated Oct 22, 2026
Save $75 by doing it yourself! Shop cost: $110
Quick answer: Engine Air Filter Replacement on a 1995–1999 Dodge Neon is rated Easy and takes about 10–15 minutes. No tools are required for this job, and parts cost about $35. This guide walks you through the full job step by step, including the mistakes to avoid.
| Part Name | Part Number | Price | Buy |
|---|---|---|---|
| Engine air filter for 1995-1999 Dodge Neon; verify engine, housing shape, and VIN fitment | — | $35.00 |
About prices: shown prices are typical retail averages and change frequently; cheaper alternatives may be available. Confirm the current price before buying.
💡 Pro tip: Order all parts at once to save on shipping
Follow these steps carefully
Park on level ground, switch the engine off, and pop the hood. No tools are needed for any of this.
Twist it off by hand — it should come free easily — and put it somewhere safe like a cup holder. This one fastener is all that holds the cover down.
Lift the big plastic cover straight up and out. Set the cover aside flat, top-side up, where it will not get stepped on or cracked.
I tell every DIYer this: that crackling, breaking feeling when the cover releases is normal — it just pulls free of the housing. Don't baby it; a hesitant wiggle is what actually cracks the plastic.
The filter housing is at the back of the bay. Work gently around any sensor wiring plugged into the intake duct — ease connectors rather than yanking them, and never touch a sensing element with your fingers. There is nothing to unplug for this job if you are careful.
Lift the old filter element out of the housing, noting exactly which way round it sits — which face is up and which edge leads. If it is stuck with age and grit, work it free gently with a flathead rather than tearing the media and leaving bits behind.
Wipe or vacuum the empty housing, clearing dust and leaves without pushing anything toward the intake opening. Drop the new filter in the same orientation as the old one, with its sealing edge flat and even all the way around so no unfiltered air can sneak past.
Set the big plastic cover back over the engine so it reconnects to the air filter housing — it should drop into place with a solid feel, not perch crookedly. Refit the wing nut at the lower-left corner and tighten it snugly by hand. Close the hood, start the engine, and confirm it idles smoothly with no rattling from the cover.
Test your repair before closing everything up. If something doesn't work right, double-check your steps.
⚠️ Common Mistakes to Avoid

1995–1999
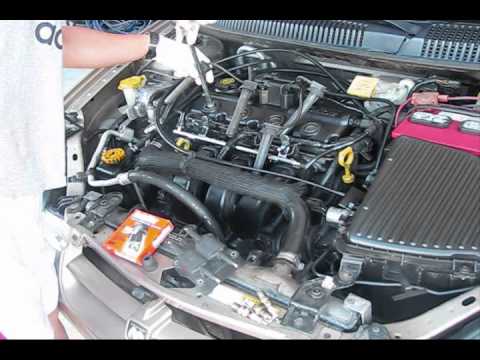
1995–1999

1995–1999
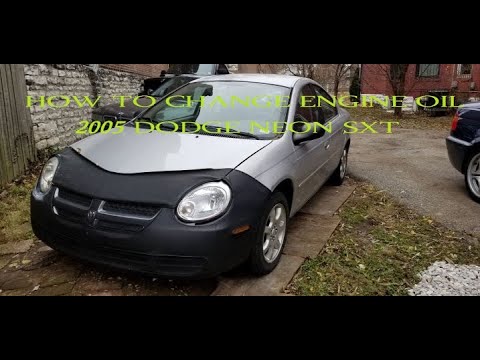
2000–2005

2000–2005

2000–2005

Acura ADX · 2025–2026

Acura CL · 2001–2003

Acura Integra · 2023–2026

Acura MDX · 2014–2020

Acura RDX · 2019–2024

Acura RL · 2005–2012

Acura TL · 2009–2014

Acura TLX · 2015–2020


