Quick answer: Engine Air Filter Replacement on a 2019–2024 Chevrolet Blazer is rated Easy and takes about 10-20 minutes. You'll need 1 tool for this job, and parts cost about $20. This guide walks you through the full job step by step, including the mistakes to avoid.
| Part Name |
Part Number |
Price |
Buy |
| Engine air filter |
— |
$20.00 |
|
About prices: shown prices are typical retail averages and change frequently; cheaper alternatives may be available. Confirm the current price before buying.
💡 Pro tip: Order all parts at once to save on shipping
Step-by-Step Instructions
Follow these steps carefully
1
Prep and locate the air box
Park, set the parking brake, and shut the engine off. The air box is the black plastic housing under the hood with the intake tube attached. One filter fits all Blazer engines here (2.5L, 2.0L turbo, 3.6L V6), so any quality replacement listed for your year works. Grab a flashlight and a rag.
2
Open the air filter housing
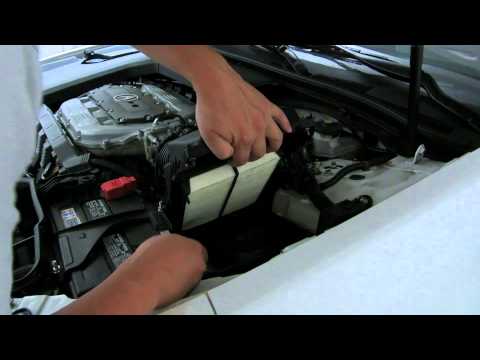
Release the clips or remove the fasteners per your owner's manual -- styles vary, so don't force anything. Set screws where they can't roll away, then lift the lid straight up. Snap a phone photo of the open box before touching the filter -- the quickest orientation reference for reassembly.
🔧 Mechanic's note — Ray Delgado
In my experience, That phone photo is the cheapest insurance on this job -- with the fastener styles varying by year, one picture of the open box settles every what-goes-where question on the way back together.
3
Remove the old filter and clean
Lift the old filter out, noting which way it faced -- rubber seal down. Compare it with the new filter, then vacuum the box bottom and wipe the sealing lip, keeping debris out of the intake tube. GM: every 45,000 miles.
4
Install the new filter
Seat the new filter, rubber seal fully in the groove, matching the old orientation. Press it flat with no raised corners or pinched edges -- it should drop in without force. If it needs shoving, stop and recheck the part number.
5
Reseal and verify
Refit the lid and re-engage every clip or fastener until fully seated. Finger-check the lid seal and snug the intake tube. Start the engine, idle a minute, and listen for whistling. Jot the mileage in your service records so the next change isn't a guessing game.
All Done!
Test your repair before closing everything up. If something doesn't work right, double-check your steps.
⚠️ Common Mistakes to Avoid
- • Installing the filter upside down or unseated so unfiltered air bypasses the element
- • Leaving debris in the housing that then gets sucked into the intake
- • Forcing clips/screws and cracking the plastic air box lid
- • Reusing a heavily clogged filter instead of replacing it